
How to Create a Simple PHP chat-bot using Botman.io
-
You will get introduced to the most popular PHP chatbot framework in the world.
-
You will learn how to setup a simple chatbot with the botman package
-
PHP >= 7
-
Composer
-
Local Server (Xammp, Wamp, Laragon or Mamp)
This can be done by anyone ... ranging from a beginner to an expert.
- Basic
- Intermediate
- Advanced
Tutorial Contents
We all see various bots on platforms we come across with, examples are Slack bot, Telegram bot , Messenger bot.
Today, together I'll show how to integrate a simple chatbot of your own , using the botman library.
the stage 4 task .
Probably, I should take this tutorial in steps, So ....
STEP 1
Make a Folder in your local web server .... I'm using laragon, so mine goes like this 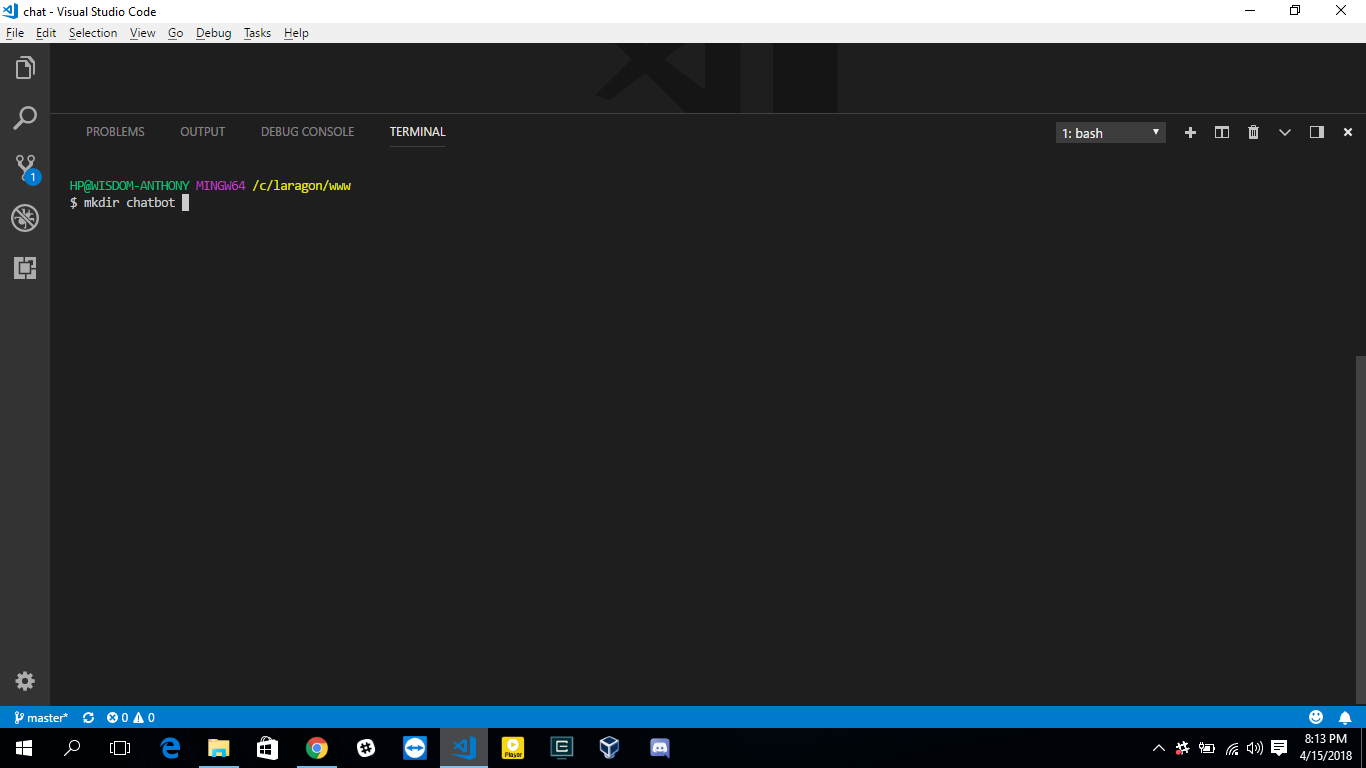
Now open this folder using your preferred text-editor.
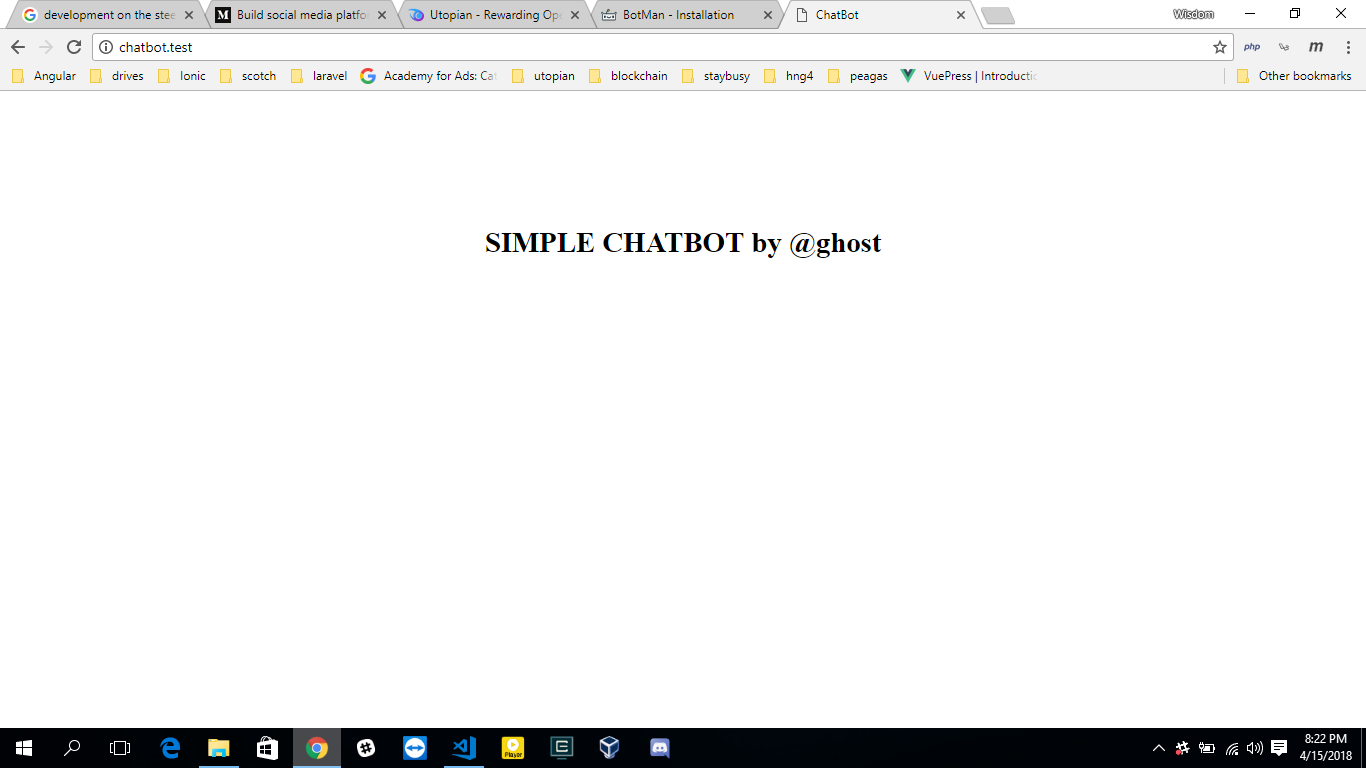
STEP 2
Make a simple page index.php and draft out a html template on it .... Mine looks like this
STEP 3
Okay ... we have our view now .... Next we install the the botman library.
In this project folder, lets run the command to setup the required dependencies
composer require botman/botman
and then
composer require botman/driver-web
This two commands above , helps us install the botman library we will use for this project using the PHP dependency manager Composer. Now we are setup for our chatbot.
STEP 4
Make two files in this project folder chat.html and chat.php.
A)
chat.html will be chat interface that will be rendered on our index.php.
Open the chat.html file and copy this to it.
<!doctype html>
<html> <head> <title>BotMan Widget</title> <meta charset="UTF-8"> <link rel="stylesheet" type="text/css" href="https://cdn.jsdelivr.net/npm/botman-web-widget@0/build/assets/css/chat.min.css">
</head> <body> <script id="botmanWidget" src='https://cdn.jsdelivr.net/npm/botman-web-widget@0/build/js/chat.js'></script>
</body> </html>
The html code above contains the link to botman css and javascript which will help style the widget.
B)
chat.php hosts the php code we will use in getting messages for the bot to listen and reply to .
Open chat.php and copy this ....
<?php require_once 'vendor/autoload.php'; use BotMan\BotMan\BotMan; use BotMan\BotMan\BotManFactory; use BotMan\BotMan\Drivers\DriverManager; $config = [// Your driver-specific configuration // "telegram" => [ // "token" => "TOKEN" //]
]; DriverManager::loadDriver(\BotMan\Drivers\Web\WebDriver::class); $botman = BotManFactory::create($config); // Give the bot something to listen for.
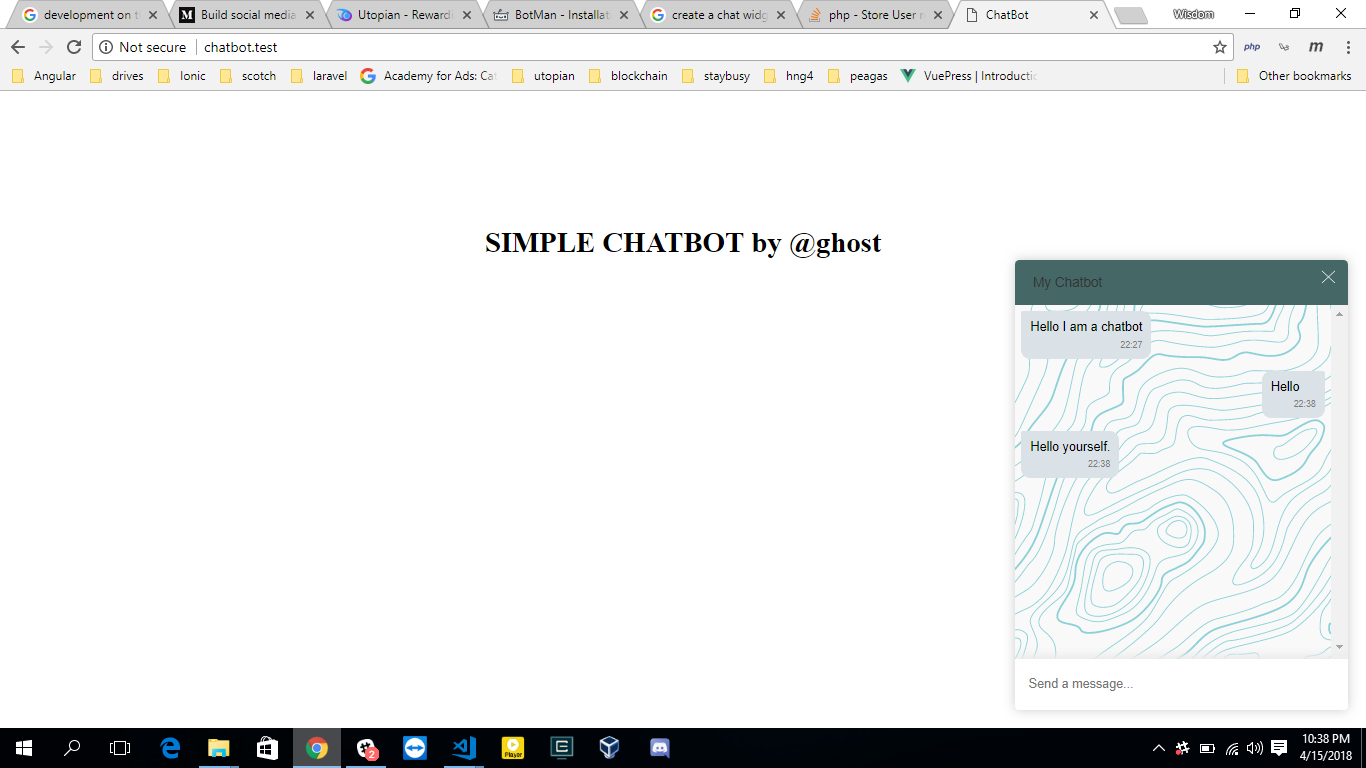
$botman->hears('Hello', function (BotMan $bot) { $bot->reply('Hello too');
}); $botman->fallback(function($bot) { $bot->reply('Sorry, I did not understand these commands. Here is a list of commands I understand: ...');
}); // Start listening
$botman->listen();
As you can see from the above ... we have use used the botman library in chat.php to create our own bot instance ... which provides our bot with a hearing capability and replying back to what it heard.
- I required the vendor autoload file installed via composer.
- Then required the various Botman instance we will use for this tutorial.
DriverManager::loadDriver(\BotMan\Drivers\Web\WebDriver::class);
This line of code invokes the botman web instance ... Other Instance may include ( Telegram, Facebook, Slack")$botman = BotManFactory::create($config);here we create our own BotManFactory.$botman->listen();this functions listens to any incoming message$botman->hears('Hello', function (BotMan $bot){ }is used to define what our bot listens to then interpreting it before replying.$botman->reply();Our bot is now able to reply any incoming message it hears .$botman->fallback(function($bot) { }For any message our bot listens too any does not hear ... We can include a fallback reply for it.
C)
Now in our index.php we have to include 2 script tag ... which will call our chat.html and chat.php files.
In the body tag of the index.php include this
<script> var botmanWidget = { frameEndpoint: '/chat.html', introMessage: 'Hello, I am a Chatbot', chatServer : 'chat.php', title: 'My Chatbot', mainColor: '#456765', bubbleBackground: '#ff76f4', aboutText: '', bubbleAvatarUrl: '', }; </script> <script src='https://cdn.jsdelivr.net/npm/botman-web-widget@0/build/js/widget.js'></script>
- The first script tag is an object used to define custom properties for our botman widget.
FrameEndPoint defines where our widget which calls thechat.htmlfile .... ChatServer
receives all incoming messages and send to the bot to listen to and waits for it reply.
Viewing my index.php on the browser using a local server ... my page looks like this
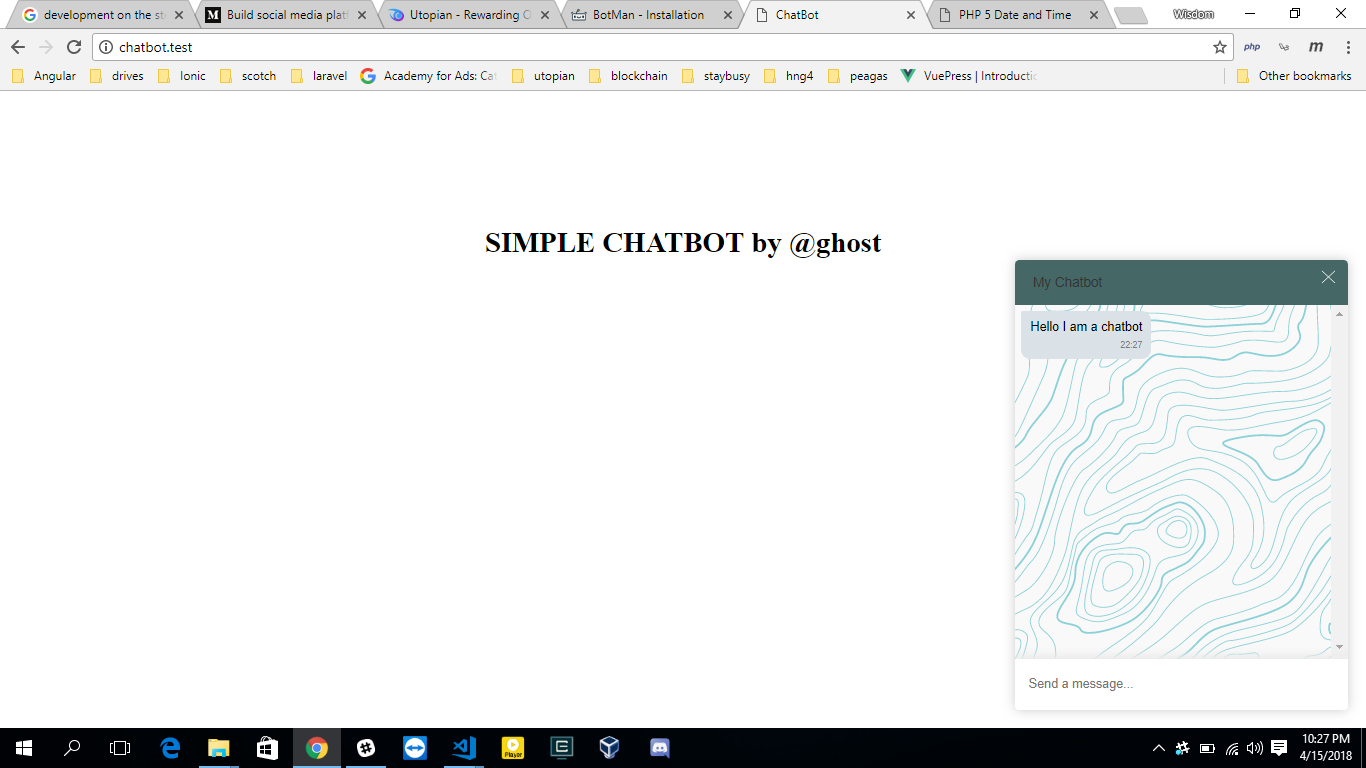
This is Cool Right!....
STEP 5
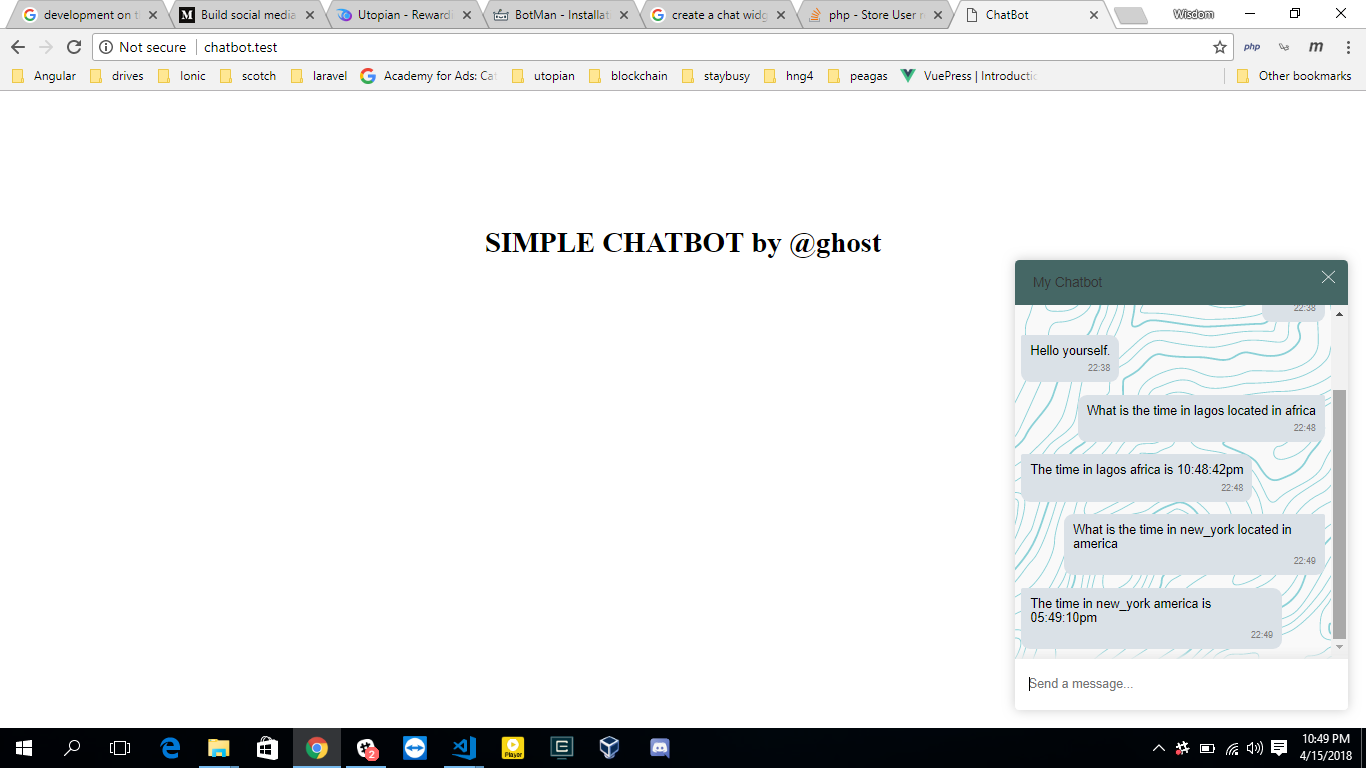
So far .... we can now see our chat interface ... For this step I'll implement a simple time query for our chatbot to listen.
Let's say we ask our chatbot .... What's the time in Lagos located in Africa and it replies with the time ... cool right.
Okay open your chat.php and add this new hearing capability for our chatbot
$botman->hears('what is the time in {city} located in {continent}' , function (BotMan $bot,$city,$continent) { date_default_timezone_set("$continent/$city"); $reply = "The time in ".$city." ".$continent." is ".date("h:i:sa"); $bot->reply($reply);
});
Let's try this in the browser:
To add more features to your chatbot I recommend you read the botman documentaion.
Checkout the repository of this tutorial here
And also a live demo of this tutorial here also