
Developing for Ethereum: Getting Started with Ganache
Remix - the browser based IDE for writing and deploying Solidity code for the Ethereum blockchain - is fine and all, but it can be slow to develop on. It is a browser based system and as such, tooling is limited.
When working with EVM (Ethereum Virtual Machine) code that's going to end up in production, you're going to need inheritance, tests, auto-completion, helper tools like linters and validators and much more. This is something that Remix cannot (smoothly) help with. What if you could have your own private environment to play in where you can't break anything while at the same time being able to connect any external tool to this environment?
Enter Ganache.
Ganache
Ganache, previously Testrpc, is a virtual blockchain which sets up 10 default Etheruem addresses, complete with private keys and all, and pre-loads them with 100 simulated Ether each. There is no "mining" per-se with Ganache - instead, it immediately confirms any transaction coming its way. This makes iterative development possible - you can write unit tests for your code which execute on this simulated blockchain, deploy smart contracts, play around, call functions, and then tear it all down for further simulation or new tests, returning all addresses to their initial state of 100 Ether.
Ganache comes in two flavors: CLI and UI. You can decide which one you want to download on their download page. My recommendation is the UI version purely because of simplicity.
When you fire it up, it will default to a certain port and IP address. Usually for the UI version (which I'll assume we're using throughout the rest of this post) that's localhost:7545 or 127.0.0.1:7545 while the CLI version tends to go with port 8545.
Once you run Ganache, you should see a screen like this:

Notice that there are several addresses with 100 Ether each.
By running Ganache, you effectively have your own Ethereum node running. It's a virtual node, sure, but it's used the same way as any real node and that means you can connect to it with wallets like MyEtherWallet or even browser wallets like MetaMask. Let's connect to each, then send Ether from one to the other.
How to Connect MetaMask to Ganache
If you're not familiar with MetaMask, I recommend reading this introduction. The TL;DR of it is that MetaMask is a Chrome extension (or native plugin if you're using the Brave Browser which can connect to remote Ethereum nodes and read user wallets. This effectively lets you use Ethereum from the browser.
When you first install MetaMask, you'll need to accept some terms and conditions, then input a password.
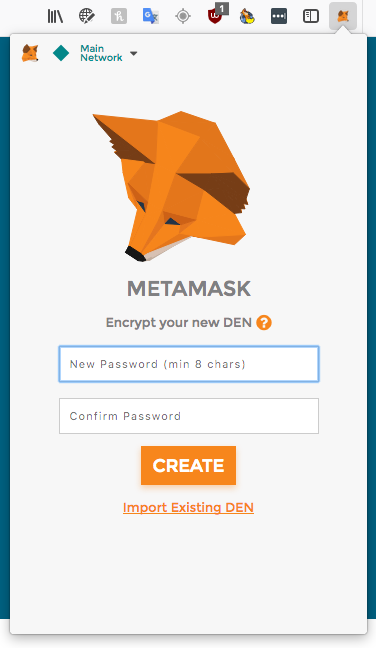
This password will encrypt your wallets so that every time you access MetaMask (which can have as many wallets as you wish) you need to enter this before it lets you use them.
Next you'll be given some seed words. These words should be stored in a safe place - preferably written down and put in a drawer or a safe. A computer is always hackable, so either store the words offline or commit to never having serious funds in MetaMask.
These words are derived from a private key and their combination always produces that key when pulled through a specific algorithm. Your previously entered password is effectively another word, so a combination of those words PLUS your password is needed to unlock the wallets. The only way to access a wallet directly without a password is by accessing its private key - something we'll look at later.
Once you've gone through this process, MetaMask will open your first auto-generated wallet. It will be called Account 1.
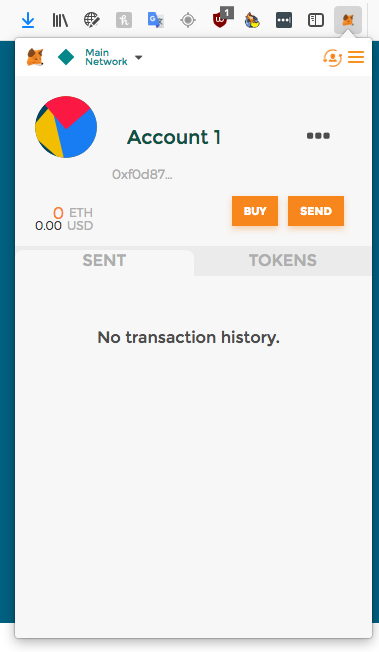
Note: MetaMask is transitioning to a new user interface soon. Activate it now by going to TRY BETA in the menu!
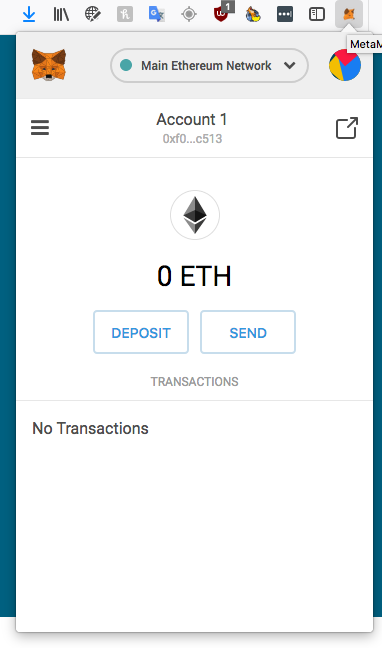
We don't really care about this account, though. We want to use our Ganache wallets to send the simulated ether around!
Remember the aforementioned IP and port that Ganache selects when starting up? In my case that's 127.0.0.1 (a.k.a. localhost) and port 7545:
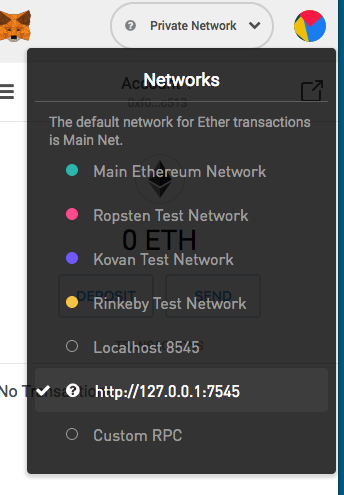
I can use this information to connect MetaMask to Ganache. In MetaMask, above "Account 1", there is a dropdown menu which currently says "Main Ethereum Network":
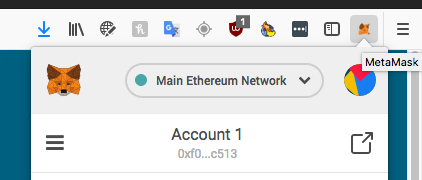
Click it, select Custom RPC, and then under New RPC URL input http://127.0.0.1:7545, then click Save.
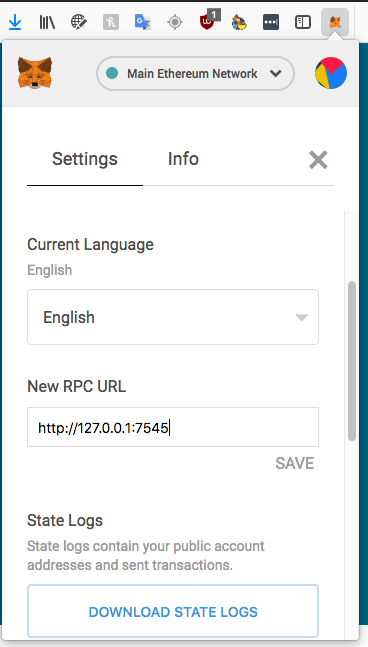
You can click X then to close this tab, and you'll notice the new network appears in the dropdown now.
Finally, let's load one of the Ganache wallets into our MetaMask.
Click the colorful avatar icon (top right) and then select Import Account.

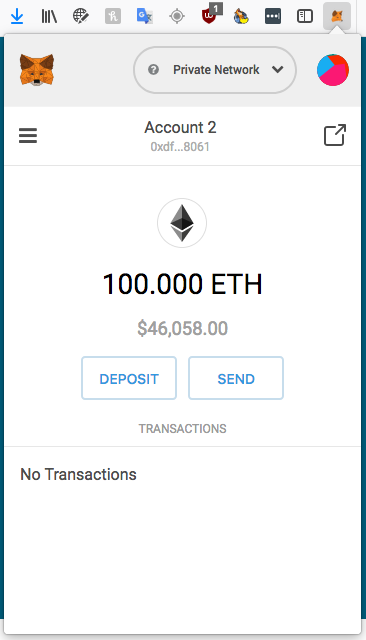
The option it will default to is private key import, which is what we want. In Ganache, grab the private key of the first wallet in the list by clicking the key icon to the right of the wallet.
Then copy this private key and paste it into MetaMask's import. Confirm and voilà - you'll have 100 Ether ready for sending on your private Ganache blockchain. You can even try sending it to the original address that MetaMask generated for you!
How to Connect MyEtherWallet to Ganache
Now that we've connected MetaMask to our private blockchain, let's connect MyEtherWallet. MetaMask is good for Ether sending and will let you send some tokens around, but to get a full interaction with your blockchain going - including communciation with Smart Contracts, deployments, etc., you need a more fully fledged wallet UI like MyEtherWallet. If you're not familiar with it, here's an Introduction to MyEtherWallet.
Once you've opened https://myetherwallet.com in your browser, take note of the top right dropdown menu: Network ETH.
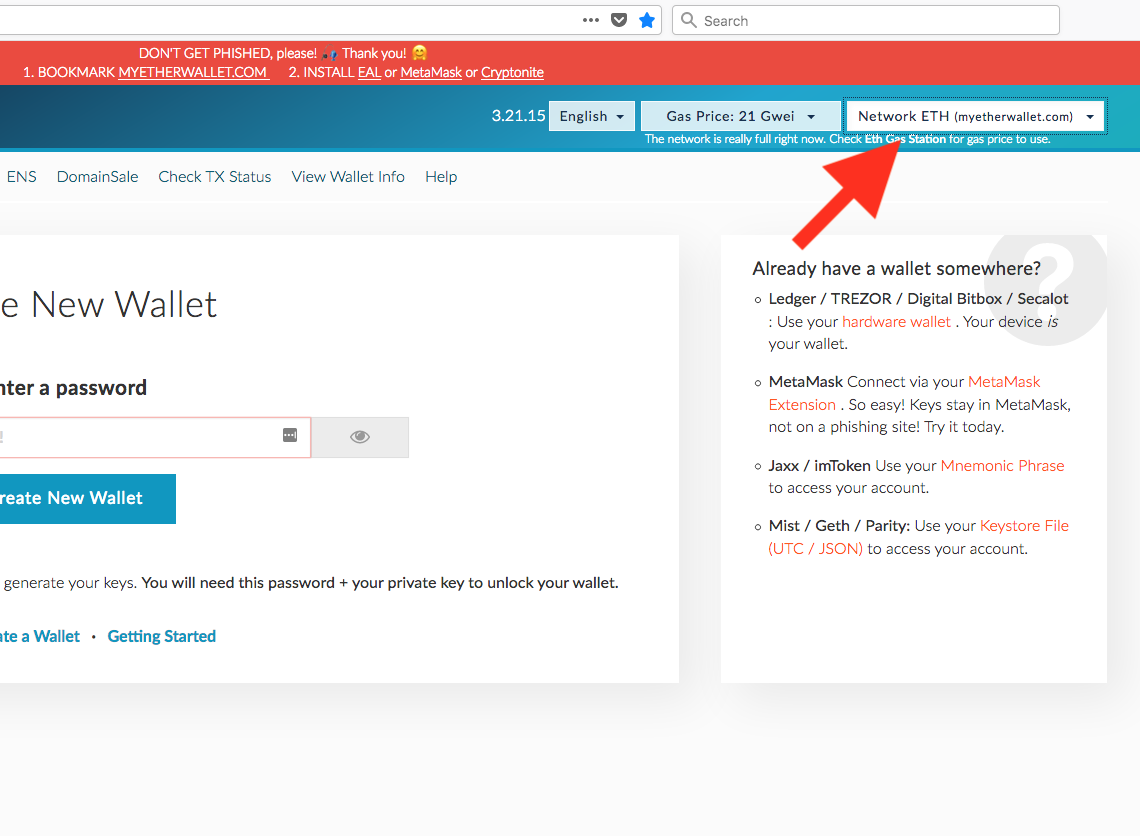
This is the same dropdown we just dealt with in MetaMask! However, we can't just use it outright because MEW requires a node to be on HTTPS while our Ganache node is just HTTP. To support HTTP, MEW needs to be downloaded and run locally - from our computer (which is also the more secure way of running MEW, so highly recommended!).
To run it locally, download the etherwallet-vX.xx.xx.zip file from here, then double click it to unzip this archive. Inside you'll find the file index.html - double click that and MEW will run locally. It's that simple.
Now we can use the Network menu. Just select Custom Node at the bottom and input the Ganache information like so:
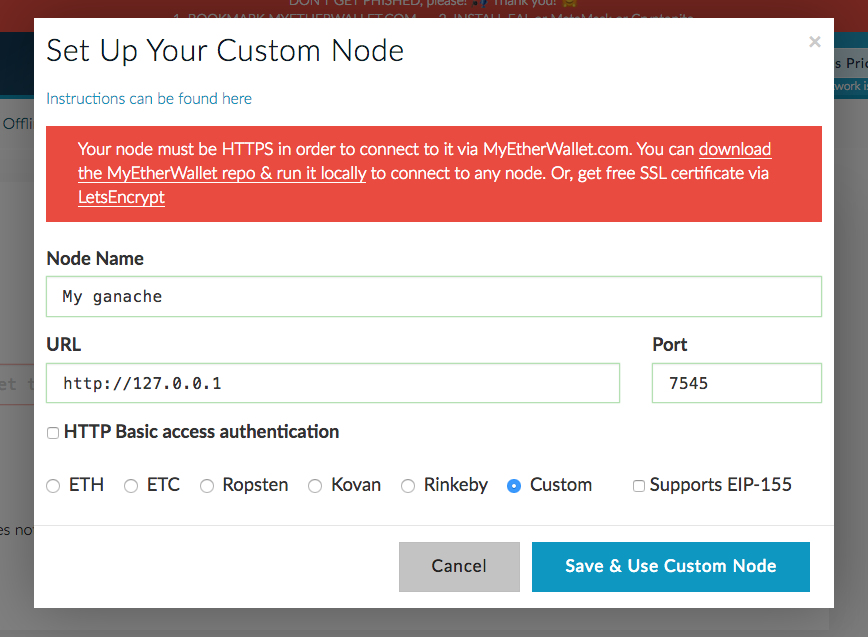
Ganache will then become accessible via MEW. Now let's grab the private key of the second address in Ganache and import it in the Send Ether & Tokens tab.
Select "Private Key" as a method, paste the key in, and unlock. You'll notice you have 100 Custom ETH in your account - just as expected!
How to send Ether with Ganache
Now let's try sending some of that simulated ether around.
In MEW, let's input the address of the imported account from MetaMask. Select it either in Ganache or in MetaMask, doesn't matter.
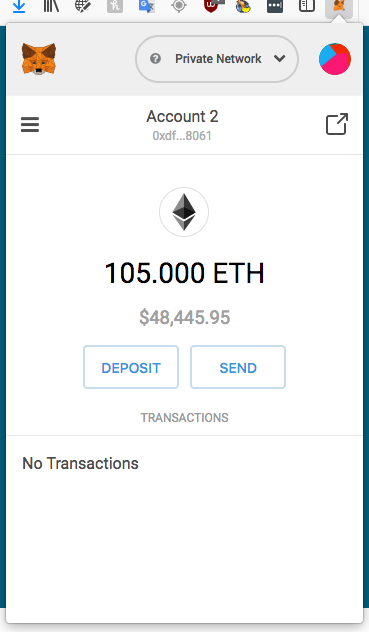
Enter 5 Ether, then send, and confirm all steps. Sure enough, in less than a second the sending account will have 5 ether less than it used to, while the one in MetaMask should be reading 105 Ether. Notice that it's not going to be exactly 5 Ether - it'll be a little more that's gone because the transaction costs gas which is expressed and paid in ether. For a primer on what gas is and how it's calculated, see this guide.
That's it! Send the Ether back and forth and notice Ganache processing the transactions! In fact, if you look at the transactions screen of Ganache, you'll see everything you just did logged there and by clicking an individual transaction you'll see how much it cost in gas, which block it was mined in, and more.
Bonus: How to Connect Remix to Ganache
OK, that's MEW and MetaMask but Remix is still really useful. It offers debugging, compilation, interaction with contracts and loading them through already deployed addresses and so much more. Can we connect Remix to Ganache?
We sure can!
Because we already connected MetaMask to Ganache and Remix offers the ability to load an external connection via "Injected Web3" (which is MetaMask), we can just select that option from Remix's Environment menu!
Notice that it says "or similar". This means Remix is fully compatible with any extension which in the future decides to implement Web3 and offer Ethereum interaction services. With a connection established like this, you can now easily use Remix to interact with your Ganache blockchain - deploy contracts, call functions, and do a plethora of other stuff like this.
A similar process applies to all custom tools you might want to connect to your Ganache chain - simply change the network they're connecting to, and that's it! The process of importing accounts and selecting the network's settings might vary slightly between implementations, but this is generally how simple it is to get started with a private, virtual blockchain.
Conclusion
In this tutorial, you learned what Ganache is and how to use it to simulate a local blockchain. With this as a starting point, you can now start developing for Ethereum and experimenting without fear! In a future post, I'll cover Solidity basics, deployment of smart contract code to Ganache, and much more. Keep an eye out here or over at Bitfalls.