
UI Implementation - Confirmation popup
In previous post, I shared you how to show an animated popup, and explained how to customize your popup. In this post, I share how I use the popup in my projects with confirmation and information alert.
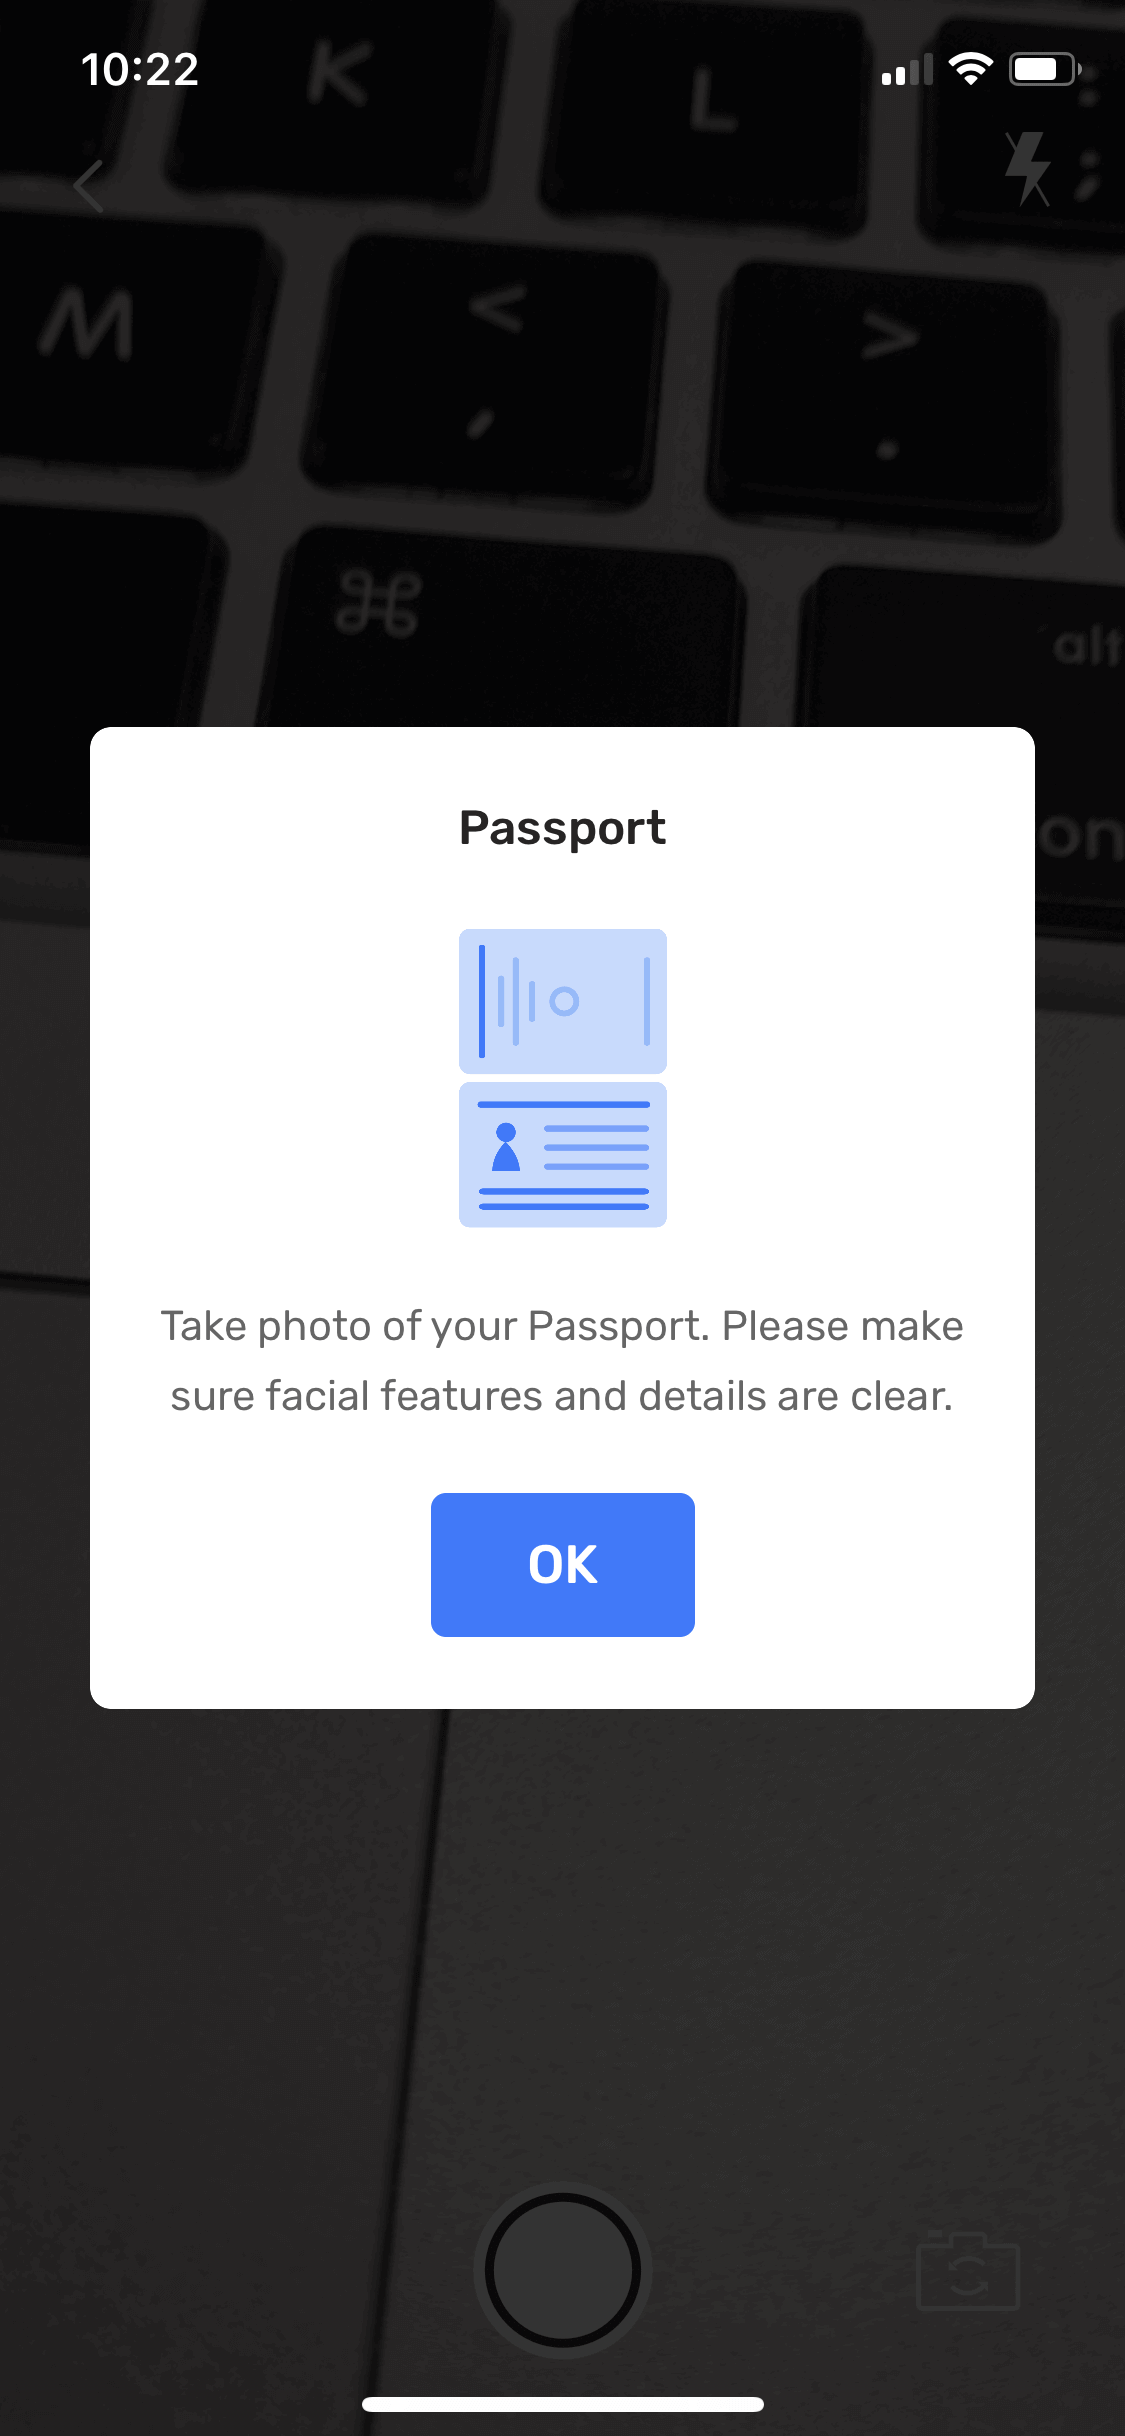
An information popup is used to alert user about some important information, like this
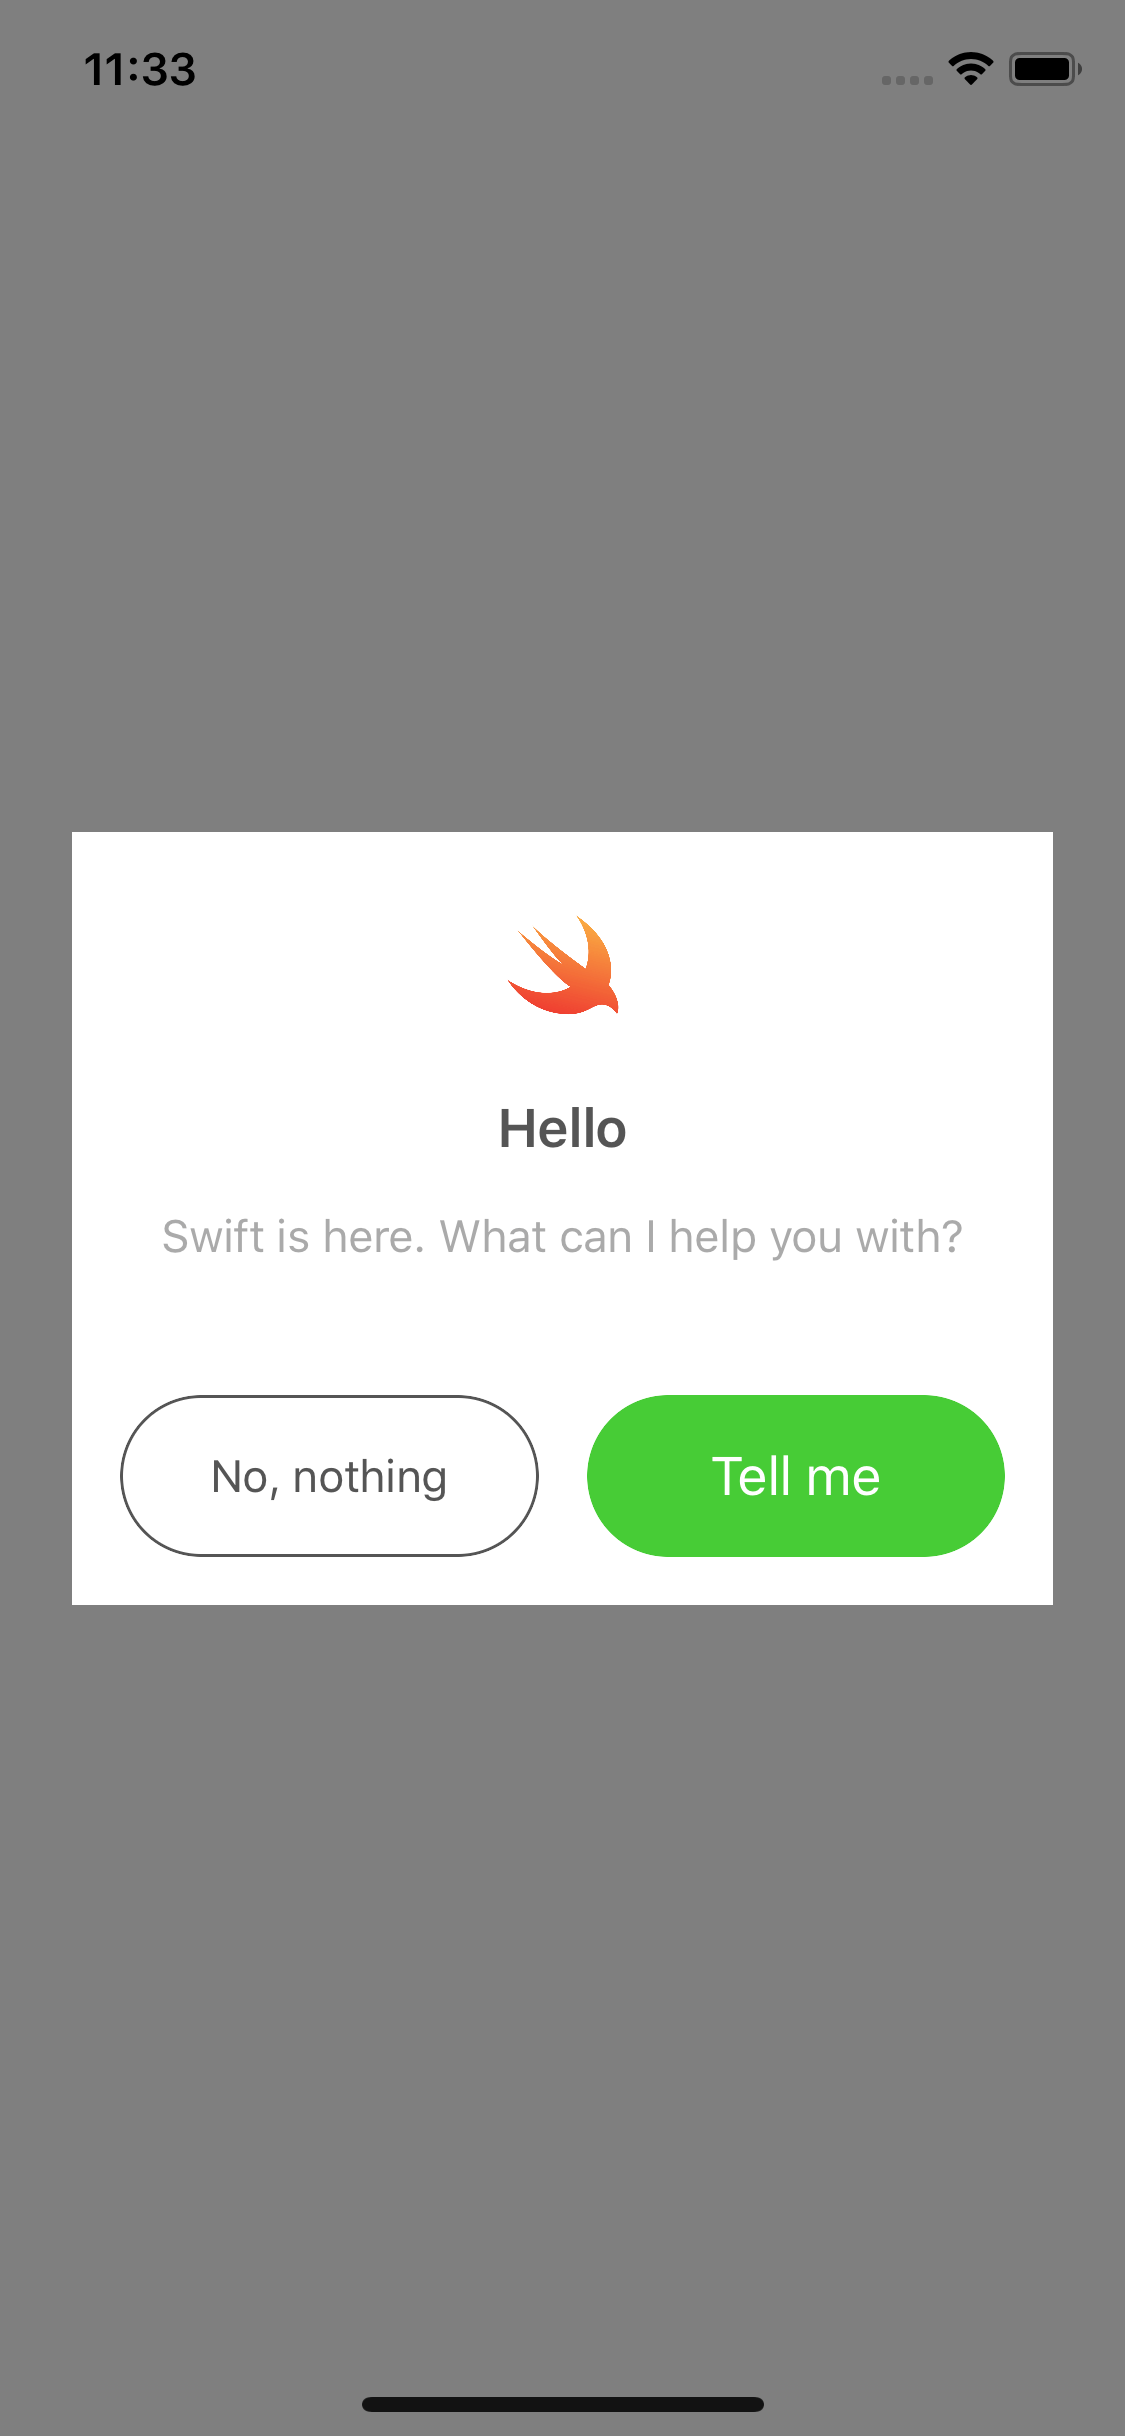
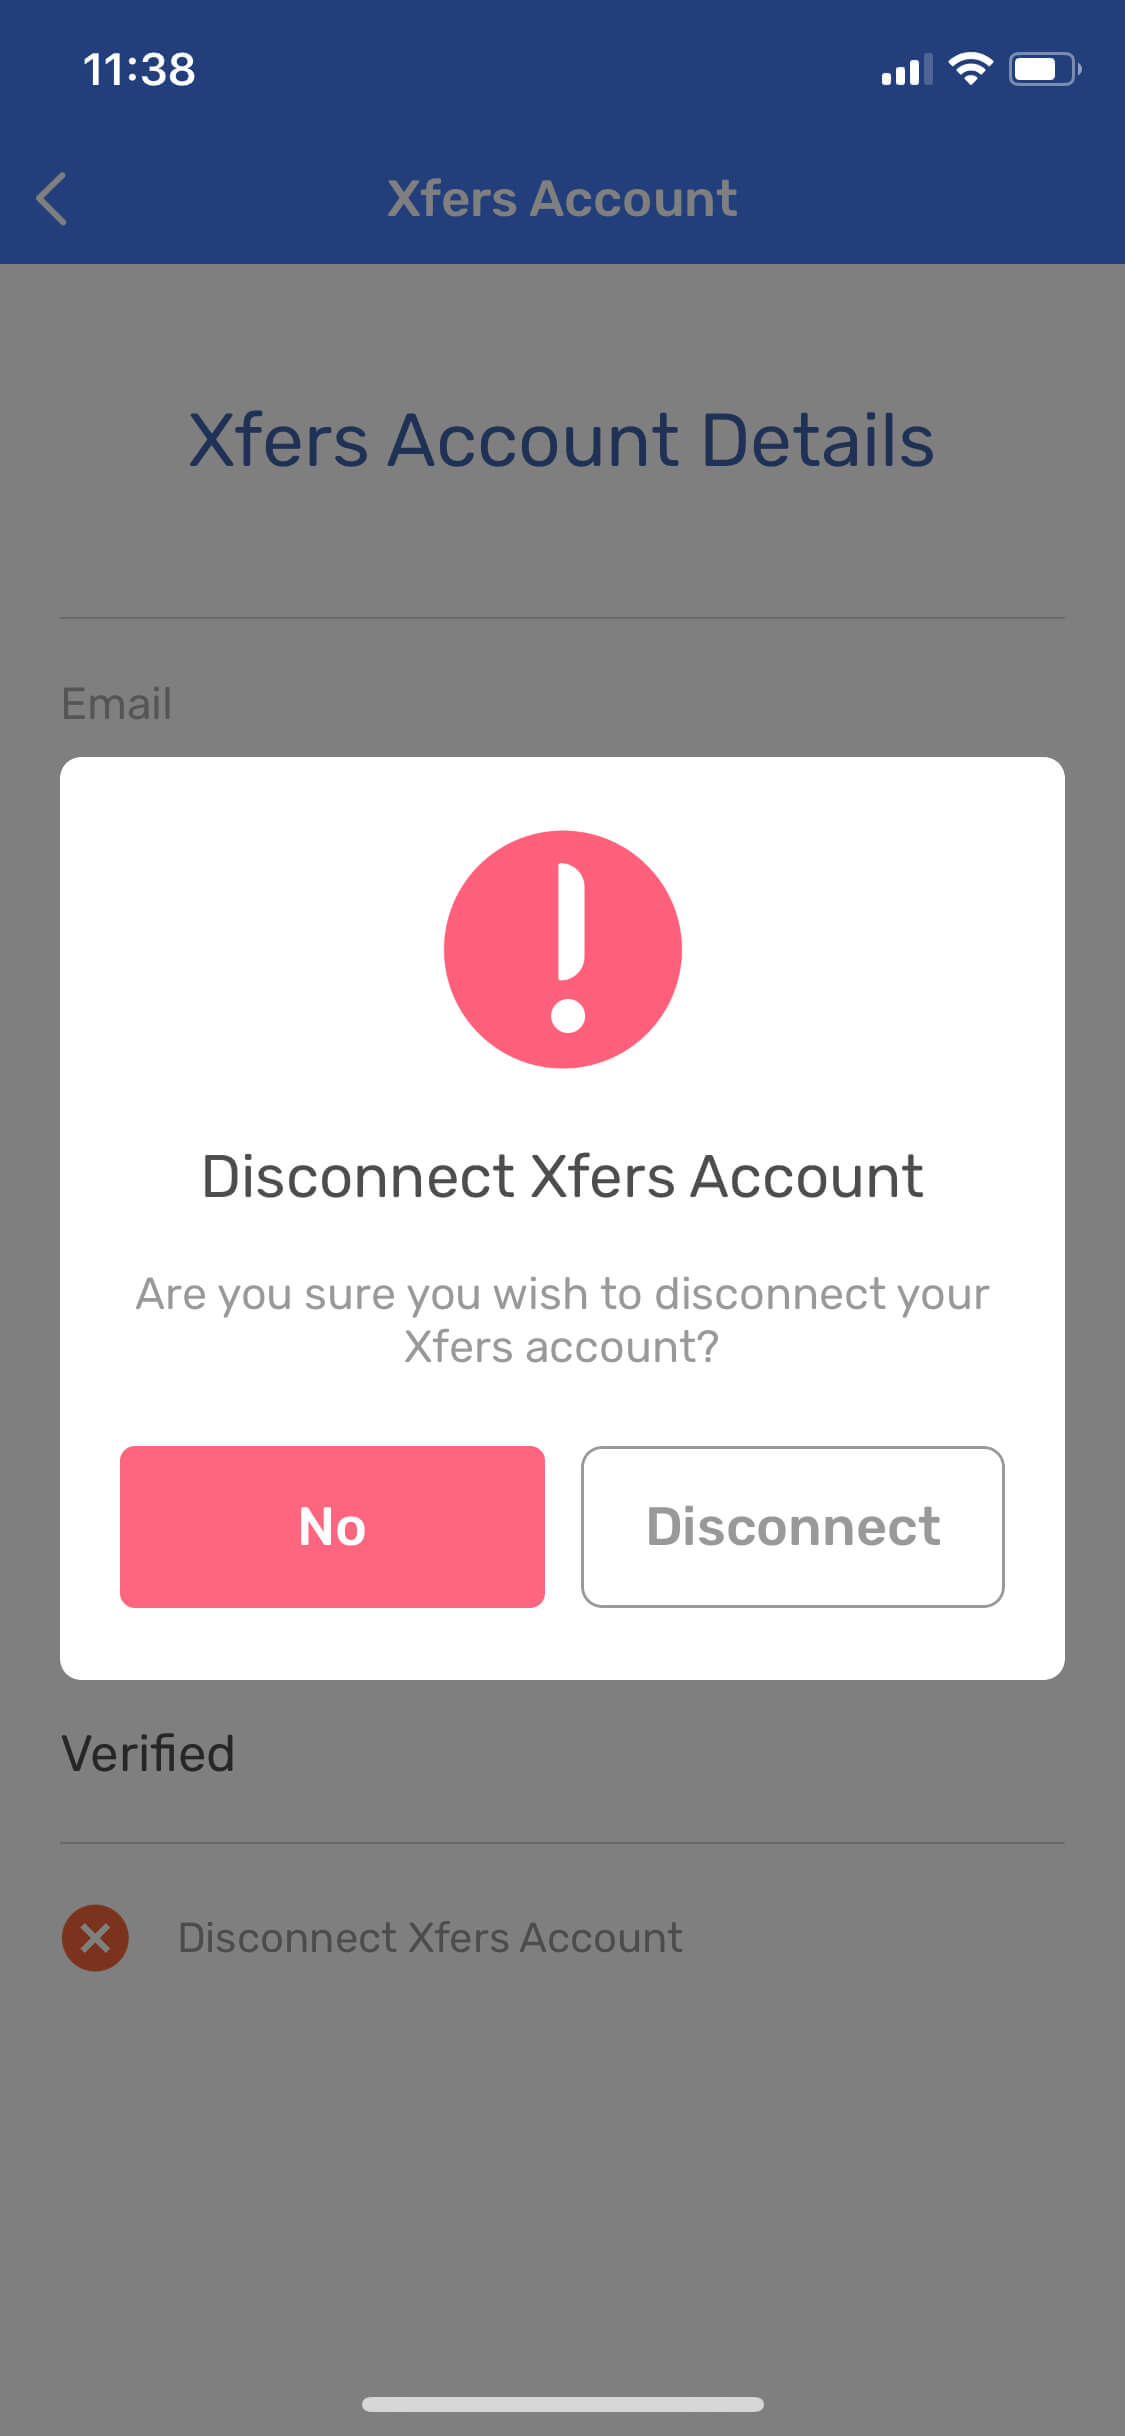
A confirmation alert is very useful to warn user about next action, for instance, confirm to remove a photo, confirm a withdrawal request… In this post, I will extend the knPopup to knConfirmation to display a confirmation popup.
The idea is same to the previous post, you can customize any UI you want in setupView.
Define new controls
class knConfirmation: knPopup {
    private let iconImgView = UIMaker.makeImageView()
    let titleLabel = UIMaker.makeLabel(font: UIFont.boldSystemFont(ofSize: 18),
                                    color: UIColor.darkGray, numberOfLines: 2,
                                    alignment: .center)
    let contentLabel = UIMaker.makeLabel(font: UIFont.systemFont(ofSize: 15),
                                    color: UIColor.lightGray, numberOfLines: 0,
                                    alignment: .center)
    private let stack = UIMaker.makeStackView()
    private let cancelButton = UIMaker.makeButton(titleColor: .darkGray,
                                        font: UIFont.systemFont(ofSize: 15),
                                        cornerRadius: 27,
                                        borderWidth: 1,
                                        borderColor: .darkGray)
    private let buttonStack = UIMaker.makeStackView(axis: .horizontal, distributon: UIStackView.Distribution.fill, alignment: UIStackView.Alignment.fill, space: 16)

    required init?(coder aDecoder: NSCoder) {
        super.init(coder: aDecoder)
        setupView()
    }
}
A confirmation popup needs:
- 1 icon (optional)
- 2 labels: title (optional), content
- 2 buttons: 1 for accept action, 1 for reject action (optional). We have
okButtoninknPopup, just need one more for reject action - 2 stack views: 1 to contain 2 buttons, 1 to contain all controls
Layout the view
We will setup auto layout for all controls by code in setupView function
override func setupView() {
    // (1)
    buttonStack.addViews(cancelButton, okButton)
    cancelButton.size(toView: okButton)
    okButton.vertical(toView: buttonStack)
    cancelButton.centerY(toView: okButton)

    // (2)
    let spaceView = UIMaker.makeView()
    spaceView.height(12)

    stack.addViews(iconImgView, titleLabel, contentLabel, spaceView, buttonStack)
    iconImgView.square(edge: 56)
    iconImgView.centerX(toView: stack)
    titleLabel.horizontal(toView: stack, space: 16)
    contentLabel.horizontal(toView: stack, space: 16)
    buttonStack.horizontal(toView: stack, space: 16)

    // (3)
    container.addSubview(stack)
    stack.fill(toView: container, space: UIEdgeInsets(top: 16, bottom: 16))

    okButton.addTarget(self, action: #selector(didSelectOK), for: .touchUpInside)
    cancelButton.addTarget(self, action: #selector(dismiss), for: .touchUpInside)
}
(1)
buttonStackis aUIStackView, so we can’taddSubviewsas usual, but have toaddArrangedSubview. I extend to new functionaddViewsto shorten the name.
buttonStackcontains the button, so when you don’t need cancel button, you can remove it frombuttonStack, andokButtonautomatically fill thesuperView. That’s why I choose UIStackView for this UI.
(2)
- In stackView, you can’t change specific space between 2 views, so I did this trick. Insert a space view with a height I want.
(3)
- We need to add
stacktocontainer. Thecontaineris setup to animate when appear/disappear. So we don’t need to care about animation anymore.
Dynamically display what you want
Some popups, you need to show an icon to make it be colorful. Others don’t need title and cancel button. We will dynamicall init what we want.
init(icon: UIImage? = nil, title: String? = nil, content: String, okTitle: String? = nil, cancelTitle: String? = nil) {
    super.init(frame: .zero)
    set(icon: icon, title: title, content: content, okTitle: okTitle, cancelTitle: cancelTitle)
}

private func set(icon: UIImage? = nil, title: String? = nil, content: String, okTitle: String? = nil, cancelTitle: String? = nil) {
    if icon == nil {
        iconImgView.removeFromSuperview()
    } else {
        iconImgView.image = icon
    }

    if title == nil {
        titleLabel.removeFromSuperview()
    } else {
        titleLabel.text = title
    }

    contentLabel.text = content
    if okTitle != nil {
        okButton.setTitle(okTitle, for: .normal)
    }

    if cancelTitle == nil {
        cancelButton.removeFromSuperview()
    } else {
        cancelButton.setTitle(cancelTitle, for: .normal)
    }
}
Just pass nil or remove that param from the init function. What param is nil, the related control will be removed from UI.
Run the app
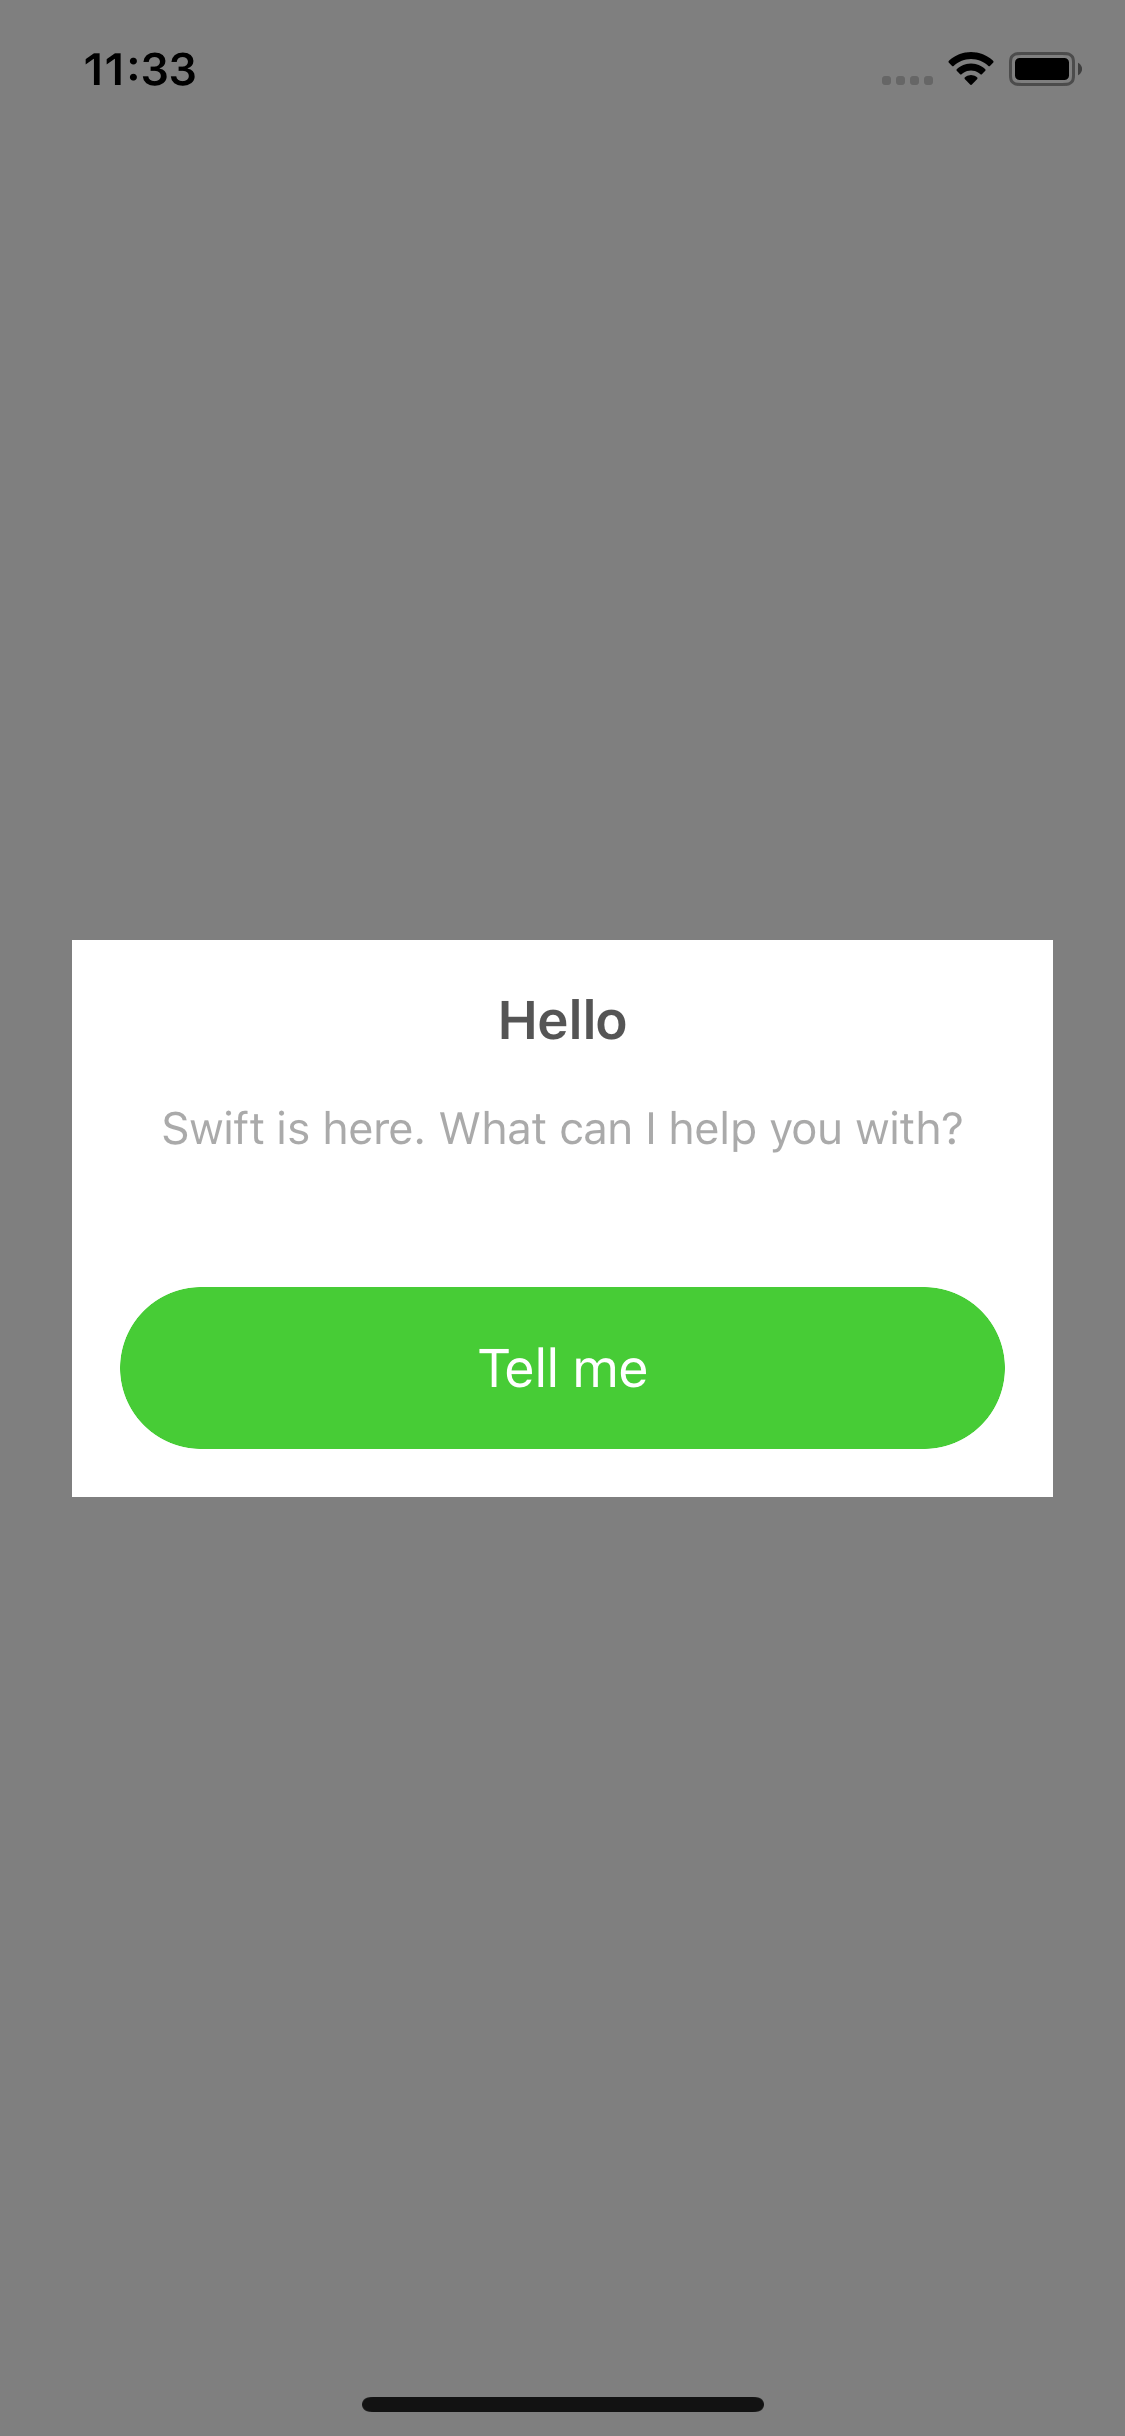
Live sample
Conclusion
Hope this popup can help you save your time and efforts to display a popup. Customize what you want and share it to me via this repository.
Very helpful!