
Make UITextField easy again
UITextField is one of the most popular controls and appears in any apps. I am sure you use UITextField hundreds times in your life.
And I am sure, no designer allows you to use default UITextField. They will design something different like below:
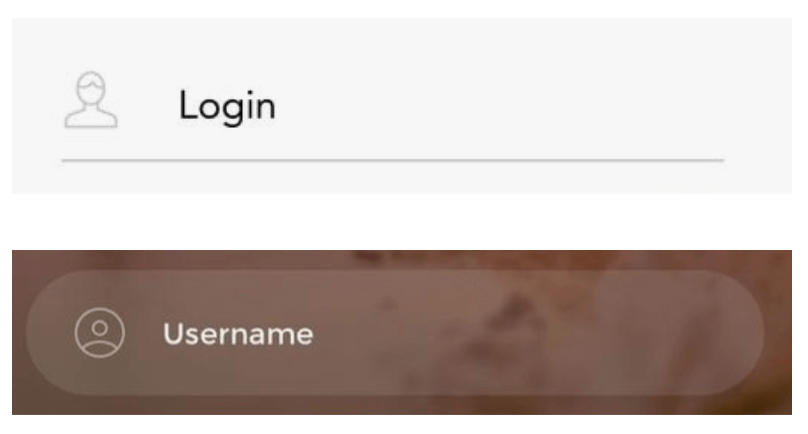
You usually have to customize the UITextField with
- Corner radius
- Border
- Icon on the left
- Button on the right (reveal password, very popular)
- Underline
I will tell you how to do it very quick and you can reuse it anywhere in your projects.
Let's start with first thing, Corner radius.
1. Corner radius
extension UIView {
  func setCorner(radius: CGFloat) {
        layer.cornerRadius = radius
        clipsToBounds = true
    }
}

textField.setCorner(radius: 5)
Easy, right? Sometimes you need to make circle corner, not only round corner. You can write like this.
extension UIView {
  func circleCorner() {
        superview?.layoutIfNeeded()
        setCorner(radius: frame.height / 2)
    }
}
But I don't use this way, I usually calculate the corner radius equal to half of the textfield height.
2. Border
extension UIView {
    func setBorder(width: CGFloat, color: UIColor) {
        layer.borderColor = color.cgColor
        layer.borderWidth = width
    }
}

textField.setBorder(width: 1, color: UIColor.green)
Similar to corner radius, this is very popular and use many many times.
I usually suggest border width should be 0.5px - 1px. That looks very nice in any iPhone screens.
3. Icon on the left and button on the right
We use leftView and rightView properties of UITextField to add icon or button.
3.1. General function
extension UITextField {
    enum ViewType {
        case left, right
    }

    // (1)
    func setView(_ type: ViewType, with view: UIView) {
        if type == ViewType.left {
            leftView = view
            leftViewMode = .always
        } else if type == .right {
            rightView = view
            rightViewMode = .always
        }
    }
}
(1) is the general function to set a view to be leftView or rightView. It's good but not convenience enough to use.
3.2. Add text as view
Add this function into UITextField extension
// (2)
@discardableResult
func setView(_ view: ViewType, title: String, space: CGFloat = 0) -> UIButton {
    let button = UIButton(frame: CGRect(x: 0, y: 0, width: 50, height: frame.height))
    button.setTitle(title, for: UIControl.State())
    button.contentEdgeInsets = UIEdgeInsets(top: 4, left: space, bottom: 4, right: space)
    button.sizeToFit()
    setView(view, with: button)
    return button
}
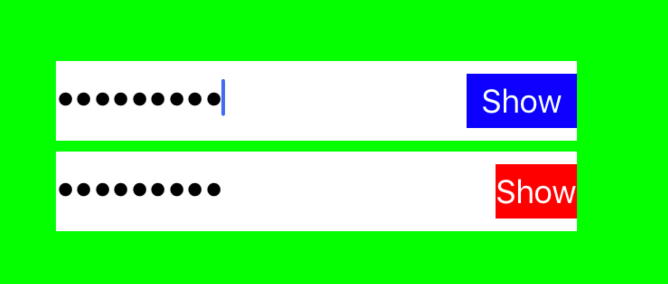
(2) creates a button and set to leftView/rightView, and return it to you. Then you can format the button as you want, change color, font, set corner or any.
Parameter space is optional. See example below.
let blueButton = topTextField.setView(.right, title: "Show", space: 8)
blueButton.backgroundColor = .blue

let redButton = bottomTextField.setView(.right, title: "Show")
redButton.backgroundColor = .red
3.3. Add image as view
@discardableResult
func setView(_ view: ViewType, image: UIImage?, width: CGFloat = 50) -> UIButton {
    let button = UIButton(frame: CGRect(x: 0, y: 0, width: width, height: frame.height))
    button.setImage(image, for: .normal)
    button.imageView!.contentMode = .scaleAspectFit
    setView(view, with: button)
    return button
}
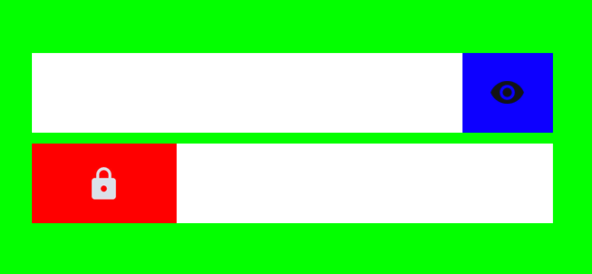
This also return a UIButton. Why do I return a button than an imageView? Because you can easily add target and I prefer a UIButton than then UIImageView 
Same to previous, there is width parameter to help you define your button width.
See how it work...
let blueButton = topTextField.setView(.right, image: UIImage(named: "show_pass_active"))
blueButton.backgroundColor = .blue

let redButton = bottomTextField.setView(.left, image: UIImage(named: "password"),
                                         width: 80)
redButton.backgroundColor = .red
3.4. Add white space as view
By default, there is no space on the left (topTextField) and it looks very bad if textField has border or different background color (view demo).

This is how to do it.
@discardableResult
func setView(_ view: ViewType, space: CGFloat) -> UIView {
    let spaceView = UIView(frame: CGRect(x: 0, y: 0, width: space, height: 1))
    setView(view, with: spaceView)
    return spaceView
}
Conclusion
Hope this can help you save your time and efforts when working with UITextField. You can access the whole code here.
Don't forget to share me your extension of UITextField.
Share to grow.
PS: Add underline to UITextField is interesting and quite long to write in this post. If you're interested in how to add and use underline in UITextField as an indicator, I write about this topic.
Enjoy coding.