AirBnB Clone with React Native Part 12: Request Push Notification UI
This is the twelfth chapter of our implementation of an AirBnB clone in React Native. In the previous chapters, we successfully implemented a splash screen on iOS and Android versions of our app.
If you missed any of the previous tutorials, we recommend that you follow them first by going through the following links:
- AirBnB Clone with React Native Part 1: Home Screen UI
- AirBnB Clone with React Native Part 2: Login Screen UI
- AirBnB Clone with React Native Part 3: Email Authentication with Firebase
- AirBnB Clone with React Native Part 4: Login error notifications
- AirBnB Clone with React Native Part 5: Loading Modal Implementation
- AirBnB Clone with React Native Part 6: Animated Checkmarks
- AirBnB Clone with React Native Part 7: “Forgot Password?” with Firebase
- AirBnB Clone with React Native Part 8: Firebase Facebook Login (iOS)
- AirBnB Clone with React Native Part 9: Persistent login, drawer navigation, and logout
- AirBnB Clone with React Native Part 10: Implementing a splash screen [iOS]
- AirBnB Clone with React Native Part 11: Implement a splash screen [Android]
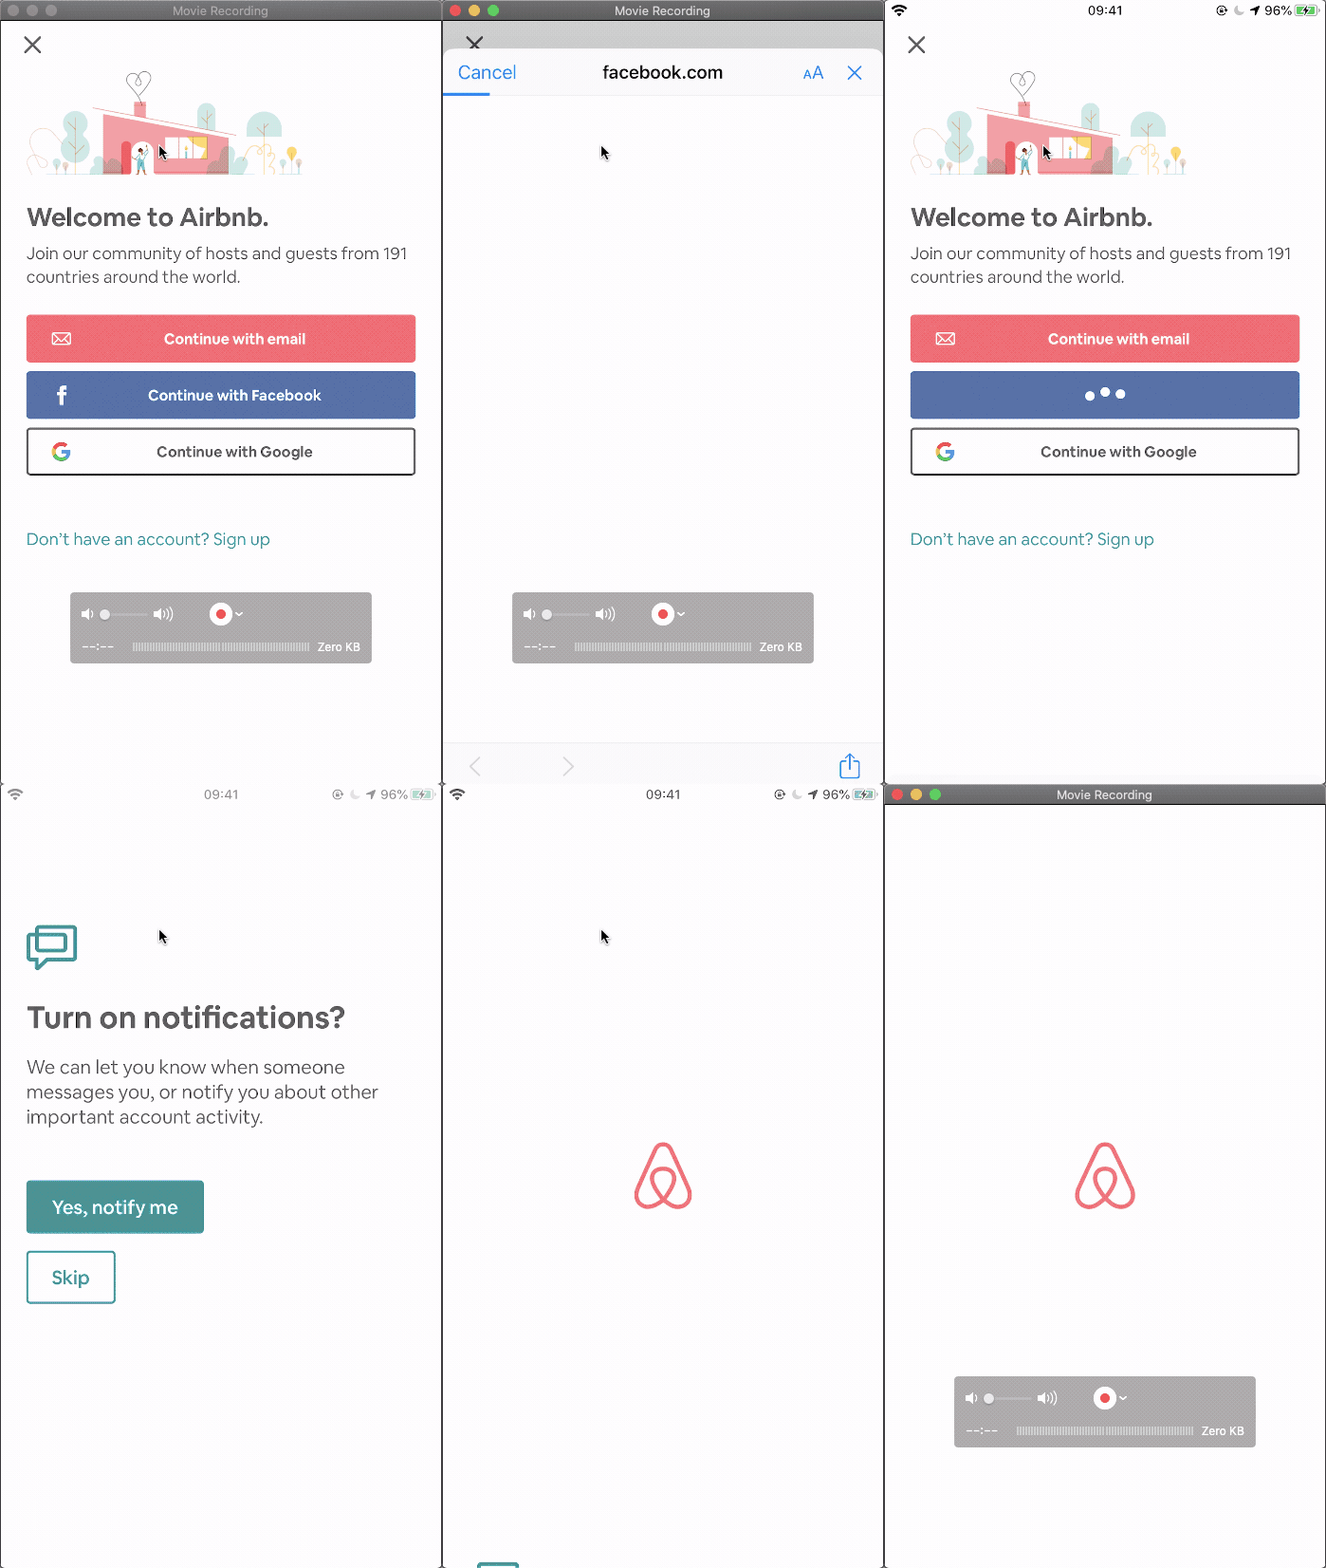
In this chapter, we’re going to implement a turn-on-notification screen. In a turn-on-notification screen, if you have not yet turned on notifications, a permission request to turn on notifications appears once you log in. How the turn-on screen works can be seen in the following video.
Before we set up push notifications and handle request tokens in the next chapter, we’ll create a simple UI for the request to permit notifications. Let’s get started!
First, create a new screen named RequestSendNotification.js
{% gist https://gist.github.com/krissnawat/07e9fdba722a690bafbe2f07e8fef2a1 %}
Inside the file, set the initialRouteName to RequestSendNotification.


As we found out in the previous chapter, we don’t have to show the logout button until the user is logged in and authenticated. So we’ll remove the header from this screen to solve this problem.
We can hide the header by simply wrapping the logout menu inside the onAuthStateChanged option.
{% gist https://gist.github.com/krissnawat/39c44150eba325fc04a3a197a24ff511 %}
Then, we set the header to null for this screen.
{% gist https://gist.github.com/krissnawat/a307253fbe4addd3bd8d2d6bc9cce4d3 %}
Now when we reopen the screen, the header is not shown.


Now we can bootstrap the new screen.
Did you know: It’s possible for mobile apps to easily see, hear, sense, and think — all in real-time. Learn how and start building for free with Fritz AI.
Find an Icon
Since this is only a simple app, we can use a screenshot of the original AirBnB icon as our icon. In a real-world application, you’ll have to use Photoshop to create a new icon.

Bootstrap the Screen
Now let’s start adding styles to the screen. We need to import the StyleSheet component from React and the color configuration file to the RequestSendNotification.js file. The color config file contains the configured colors for our app.
{% gist https://gist.github.com/krissnawat/98bb7fe5d6bde48a5c5080fb6bc3624d %}
Then, create two wrappers as displayed in the following code snippet:
{% gist https://gist.github.com/krissnawat/53d3f084b39e33de5fea17d4d6429ec2 %}
And add a suitable style to the wrappers:
{% gist https://gist.github.com/krissnawat/6fa941ccdf5323644d913245d1122034 %}
We can see the text ‘notification’ has moved down the screen now:


Add a Logo
We need to add a logo to the screen. As aforementioned, we can take a screenshot of this logo/icon from the AirBnB app itself. And as a reminder, you’d likely need to work with Photoshop or another image editor in a real-world application.
{% gist https://gist.github.com/krissnawat/ee4abf1395c62a2d63ef8446b80500c7 %}
Style the logo using relevant styling options:
{% gist https://gist.github.com/krissnawat/9900439f631b6b99d589a0cf9e5a2b14 %}
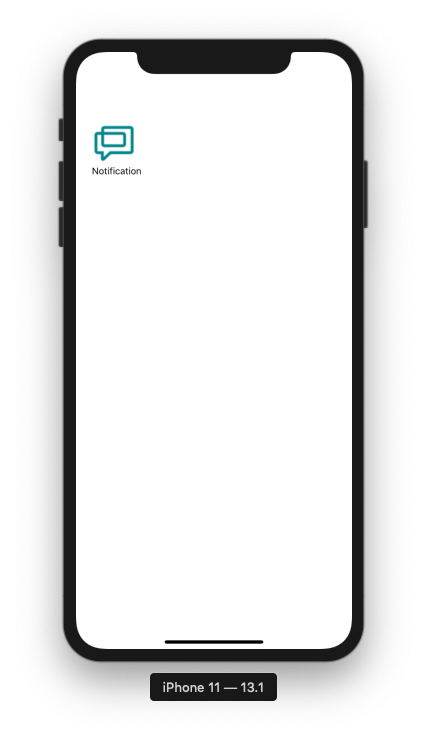
Now, the image will appear on the screen as follows.

Personalization, instant expertise, game changing user experiences — these are just a few of the values machine learning can add to mobile apps. Subscribe to the Fritz AI Newsletter to discover more.
Add a Title
We need to add a title for this request to turn on the notifications.
{% gist https://gist.github.com/krissnawat/16dba1dfccc3a28923a7e66ef7329a9e %}
Style the title for a better look.
{% gist https://gist.github.com/krissnawat/84b9fdc9a51218b12cb7c99a0c00db11 %}
The resulting screen has a better look now:

Add Description Text
We can add a detailed description of why we want to send notifications.
{% gist https://gist.github.com/krissnawat/587e87d64e527b27d258fdaac5607d5d %}
Add some styling to the description.
{% gist https://gist.github.com/krissnawat/0c0b94df400acb45eaf46c1e6254e3f2 %}
Does it look closer to our final screen?

Add a Notify Button
Add a button to trigger the native request notification popup.
{% gist https://gist.github.com/krissnawat/0e04a67f8627c730bcffe194dc5a12ba %}
We can style the button as well.
{% gist https://gist.github.com/krissnawat/d7c182b41ca6d89c7f432c1f0f05eb98 %}
Our screen now looks like this.

Add a Skip Button
Finally, we should add a skip button.
{% gist https://gist.github.com/krissnawat/d8211f9de1e7f4225e96815766c59112 %}
This button will share the style of the previous button, but we need to add a custom text color for this.
{% gist https://gist.github.com/krissnawat/15fb1b5d917bee6ad5d3a9b333544d25 %}
The screen now looks like this.
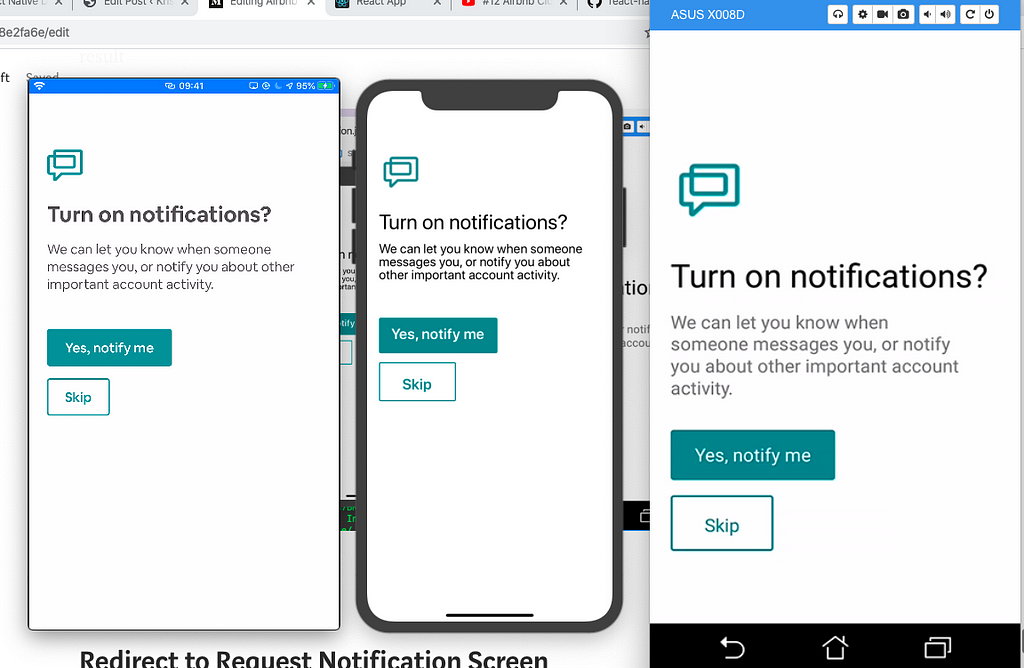
We have now completed the layout section.
Handle Underlay Color
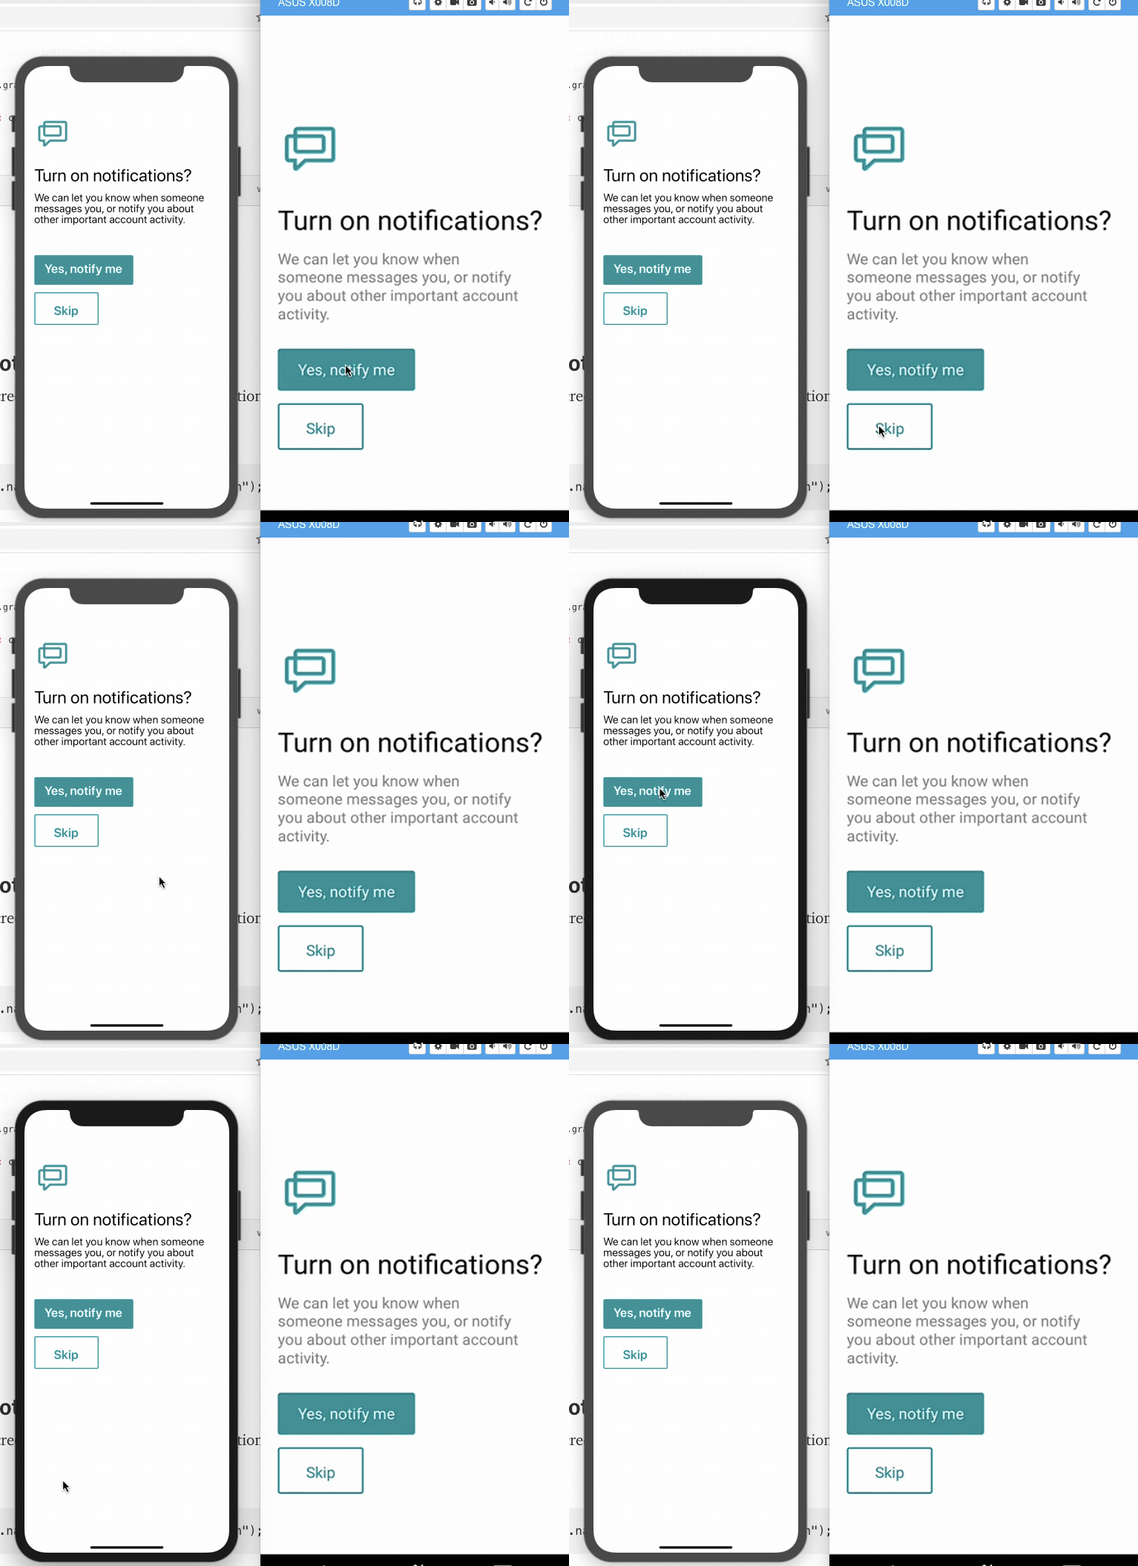
Now we have to add a function to handle TouchableHighlight color when the button is pressed and released.
If we do not handle this, the default color looks like this:
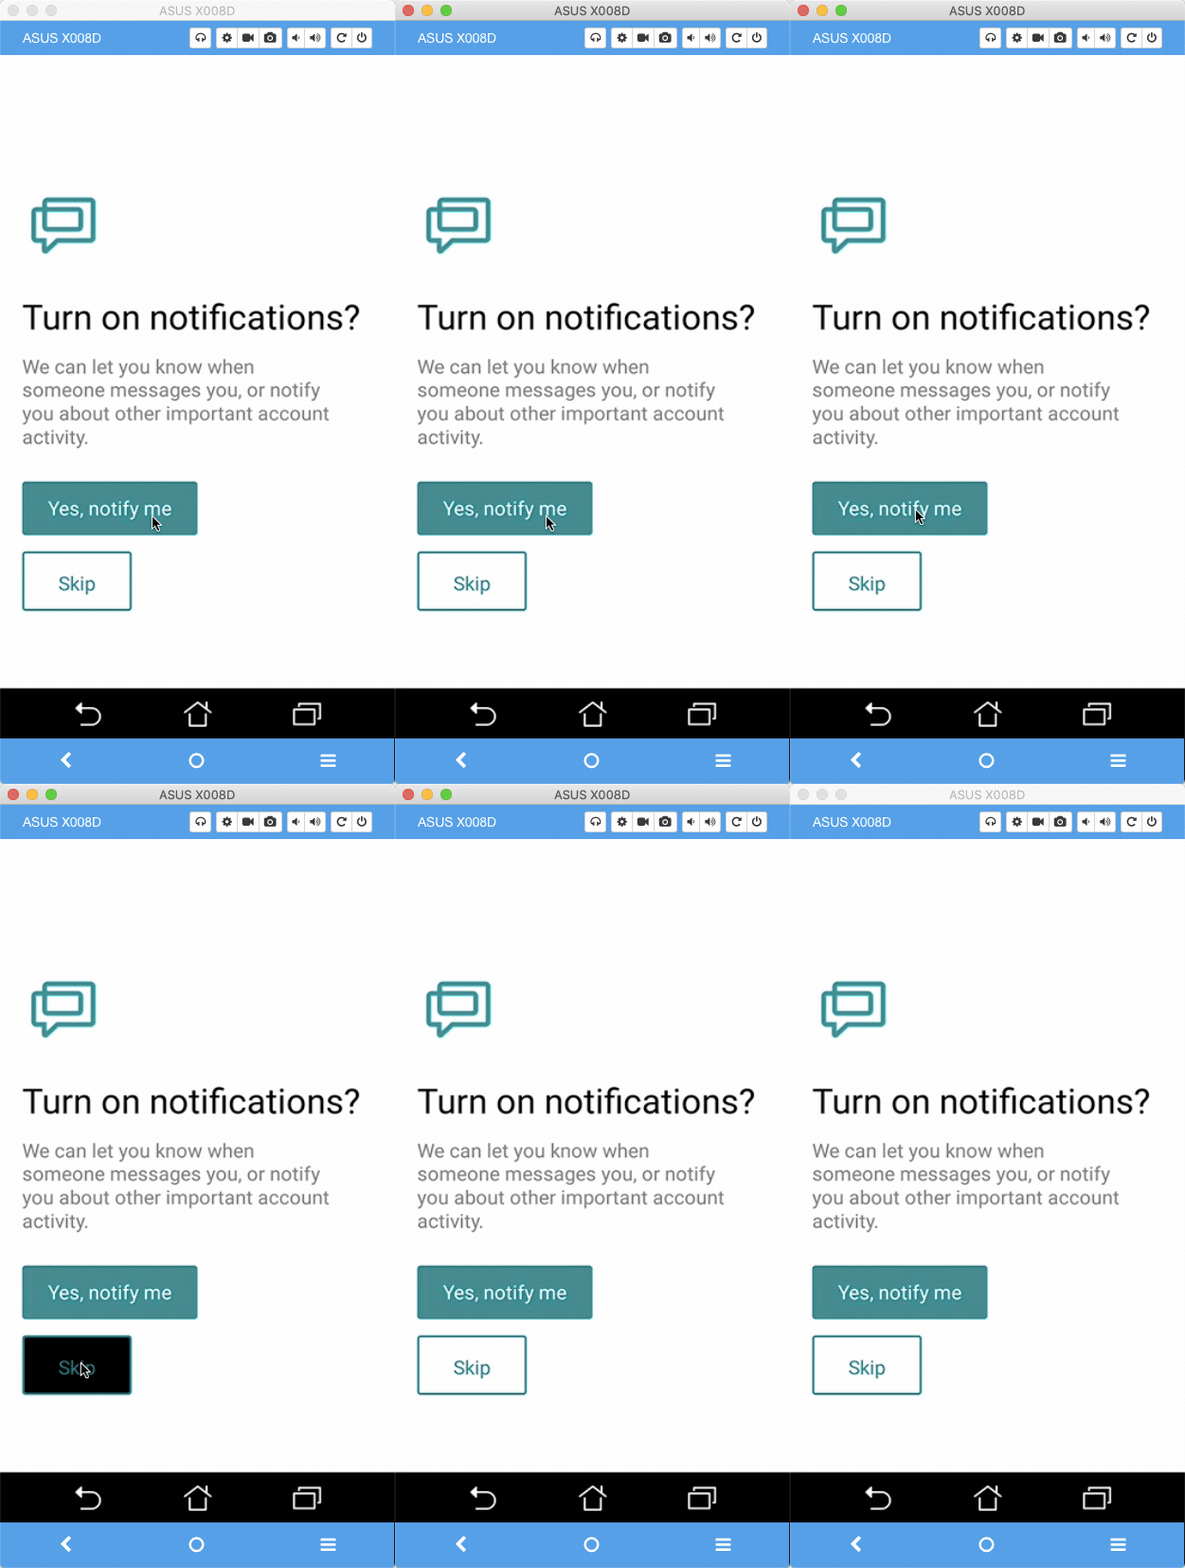
We can change the color to a custom color to make it look better.
First, create a state and a function to toggle the show and hide states of the overlay.
{% gist https://gist.github.com/krissnawat/24dd9dd25818784cafc1f130e204c30b %}
Then add a function to TouchableOpacity.
{% gist https://gist.github.com/krissnawat/c52e62e66a08b24cddf7589f43f3f477 %}
Now, when the button is pressed, the color will not be changed.
Redirect to Request Notification Screen
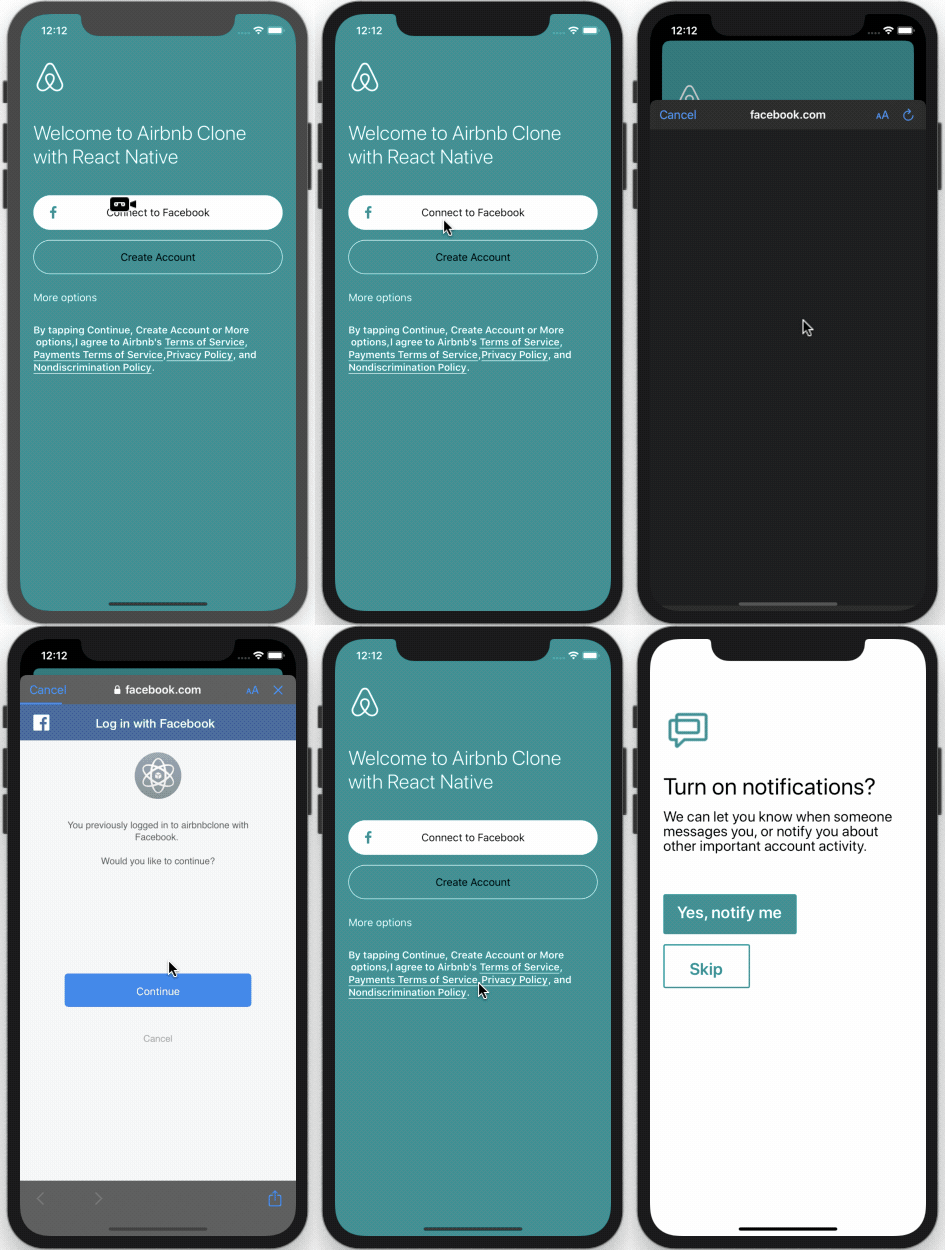
We need to modify the LoggedOut screen to navigate to the request notification screen after the log in.
return this.props.navigation.navigate("RequestSendNotification");
The final result of our turn-on screen should look like this.
Summary
In this chapter, we learned how to build a request-to-send-notification screen and use different styles for Android and iOS with platform components. In the next chapter, we’ll work on setting up push notifications for iOS and Android.
