
AirBnB Clone with React Native Part 10: Implementing a splash screen [iOS]
This tutorial is the tenth chapter of our implementation of an AirBnB clone in React Native. In the previous chapter, we successfully implemented a persistent login state and logout with Firebase before adding a drawer navigator.
If you missed any of the previous tutorials, we recommend that you follow them first by going through the following links:
- AirBnB Clone with React Native Part 1: Home Screen UI
- AirBnB Clone with React Native Part 2: Login Screen UI
- AirBnB Clone with React Native Part 3: Email Authentication with Firebase
- AirBnB Clone with React Native Part 4: Login error notifications
- AirBnB Clone with React Native Part 5: Loading Modal Implementation
- AirBnB Clone with React Native Part 6: Animated Checkmarks
- AirBnB Clone with React Native Part 7: “Forgot Password?” with Firebase
- AirBnB Clone with React Native Part 8: Firebase Facebook Login (iOS)
- AirBnB Clone with React Native Part 9: Persistent login, drawer navigation, and logout
In this chapter, we’ll continue developing our AirBnB clone in React Native by adding a splash screen. A splash screen is a screen that displays an app’s logo upon opening and before continuing to the main screen. The task of adding a splash screen is rather simple, even though the process involves several steps. This chapter will only focus on adding a splash screen for an iOS app.
Let’s begin!
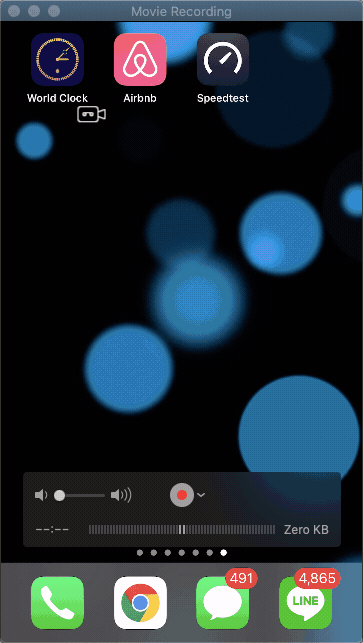 <figcaption>Airbnb splashscreen</figcaption>
If you pay attention to the original AirBnB splash screen, which you see in the short video above, you’ll notice the simple screen that shows only the AirBnB logo for a second or two before continuing to the main screen.
Download the AirBnB Logo
You can download the Airbnb logo here.

Design the Splash Screen in Xcode
Open our AirBnB clone project in Xcode and select the file airbnbclone.xcworkspace

Then select the folder Images.xcassets and click on the option “New Image Set”.

Name the new image set as “splash screen” and add the previously downloaded AirBnB logo to the image set.

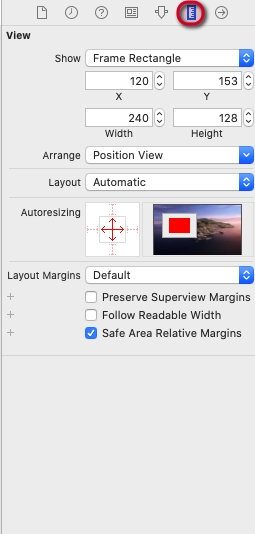
Next, open the file named LunchScreen.xib.

Remove the default text from the file and choose the option to add a new image view.

Pick the previously created splash screen image set as the image source.

You can select the ruler icon on top of the sidebar to allow auto-resizing.
Now we have a fully-designed splash screen. That’s all it took!
Looking for new ways to elevate your mobile app’s user experience? With Fritz AI, you can teach your apps to see, hear, sense, and think. Learn how and start building with a free account.
Install React Native’s Splash Screen Package
The splash screen package in React Native makes it easier to handle the app’s splash screen. We can install this package, react-native-splash-screen, by running the following command with Yarn.
yarn add react-native-splash-screen
For iOS, we need to install the pod dependency by running the following command:
cd ios ; pod install
Activate the Splash Screen Using Xcode
After successfully installing the package, we can add it to the Xcode project by selecting Add File to “airbnbclone” under the File menu.

Following the path node_modules ➜ react-native-splash-screen ➜ ios
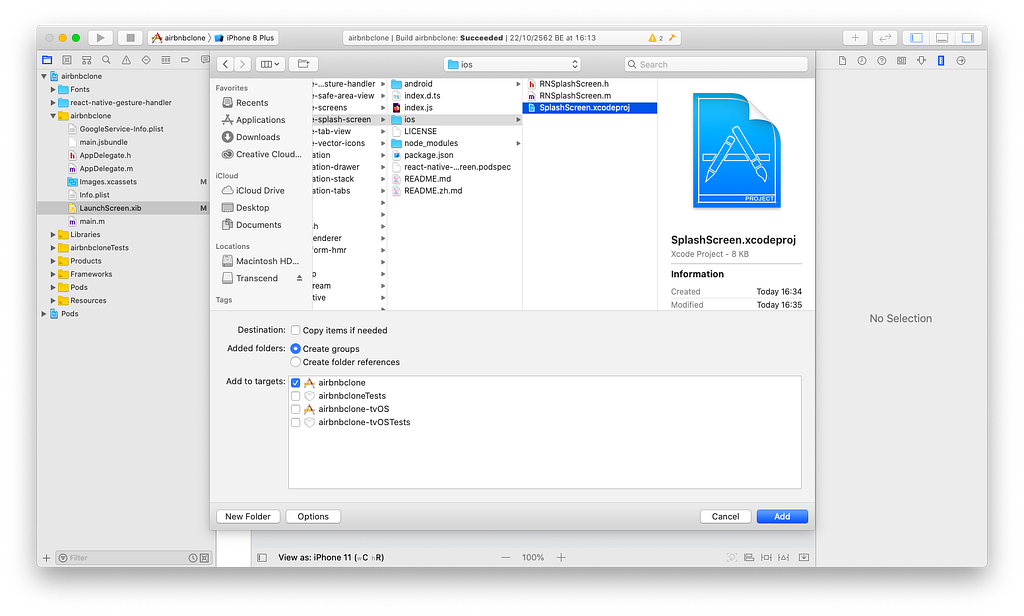
Then, add the file SplashScreen.xcodeproj to the project, as shown in the image below.

Go to the path Build Settings → Search Paths → Header Search Paths and add the following path, as shown in the image below.
$(SRCROOT)/../node_modules/react-native-splash-screen/ios

Now we can activate the splash screen in the AppDelegate.m file. Here, the package is imported as RNSplashScreen.h. To activate the package, we need to add [RNSplashScreen show], as shown in the example below.

This concludes the activation of the splash screen.
The next revolution in mobile development? Machine learning. Don’t miss out on the latest from this emerging intersection. Sign up for weekly updates from our crew of mobile devs and machine learners.
Hide the Splash Screen After Displaying
After a couple of seconds, when the app starts up and brings the user to the Home screen, we’ll want to hide the splash screen. To adopt this behavior, first, import react-native-splash-screen and call the hide() function provided in the package inside the ComponentDidMount method.
{% gist https://gist.github.com/krissnawat/38d17984ea4b34b025599997c2b08692 %}
Next, we need to call the hide() function provided by the SplashScreen module inside the componentDidMount function, as shown in the code snippet below:
{% gist https://gist.github.com/krissnawat/072c8ba7b1d9b6c332d0c7d6838e9cbb %}
The addition of a fully-functioning splash screen to our AirBnB clone app is now complete!
Summary
In this chapter, we learned how to set up a splash screen in an iOS mobile app on Xcode. We also learned how to alter this screen using the react-native-splash-screen package. Finally, we learned how to hide the splash screen once the app itself has loaded.