
Deploying a Go app (with Gin) to an Azure Container App
One of the first things that made me want to learn Go, apart from an unquenchable curiosity, is the ability to write web APIs. For that I found the Gin framework quite easy to use. However, an API always needs to be deployed, and since Microsoft Azure is my platform of choice for deploying APIs, I decided to give that a go.
Prerequisites
To follow along in this tutorial, you will need several tools:
- An Azure subscription. This can be a free subscription. For more information look here
- Visual Studio Code installed on your machine. You can download that fromhere.
- A Go-installation on your machine, I have version 1.20.1 installed on my machine. On this page, you can find installers.
- Docker desktop installed, and a Docker hub account
- An account on github is optional.
What we are building
We will build a very simple web-api consisting of nothing but an API-call returning a basic JSON message.
Setting up the go project
First make sure you have directory where you can build this, and the necessary prerequisites have been met.
For clarity: I am working on a Windows machine, using the terminal. If you are using Mac Os, you could also use the terminal tool, and if you are working on Linux, there are several terminals available.
In the commandline tool of your choice type:
go mod init github.com/<yourname>/azuregotut
A go.mod file is created. In this file, all the dependencies of our project are defined.
Installing Gin
In this project I will use Gin as the main backend-framework. Gin is easy to use, quite performant and developer-friendly.
To install Gin in your project simply use:
go get -u github.com/gin-gonic/gin
Open your project in Visual Studio Code (VSCode) by using
code .
In VS Code create a file called gotut.go
Now enter the following code in this file:
package main

import (
  "net/http"

  "github.com/gin-gonic/gin"
)

func main() {
  router := gin.Default()

  api := router.Group("/api")

  api.GET("/ping", func(c *gin.Context) {
    c.JSON(http.StatusOK, gin.H{"message": "OK"})
  })

  router.Run()
}
A short breakdown of what is happening here
First we define a package and the imports. For this simple API we only need two imports: the standard net/http library and the gin package.
In the main function we define a router, and an API-group (the latter is optional, but I always do it to keep my APIs neatly organized)
On this API-group I define a GET-action which returns some JSON.
Save this file, and then in VS Code open a terminal and type:
go run .
Now go to http://localhost:8080/api/ping and if everything is right, you should the JSON in your browser.
Building the Docker file
Now that we have a working web-API, we want to be able to run that on Azure. In order for us to do that we need to build a docker-image.
To build such an image, we need a Dockerfile. In your VS Code project, add a new file called Dockerfile and enter the following contents:
FROM golang:1.20-alpine

WORKDIR /app

COPY go.mod .
COPY go.sum .
RUN go mod download

COPY . .

RUN go build -o gotut .

EXPOSE 8080

CMD ["./gotut"]
A quick breakdown of this Dockerfile
We start off by using a small go image, then we define the working directory and download all the mods. In our case this is just one: gin. Then we copy the rest of the code, and build the application.
After that we expose port 8080, this will be important later on, and then we start the executable.
Now make sure you have either the Docker daemon running or Docker desktop, and type:
docker build -t <your dockerhub username>/gotut:v1 .
Docker will now build the image, this can take several minutes, so be patient.
To be able to use this image in Azure we need to push it to the Docker hub. First we need to login
docker login
If needed enter your credentials
Now we are ready to push the image to the Docker hub
docker push <your dockerhub username>/gotut:v1
Depending on the speed of your internetconnection, this can take several minutes.
Preparing the Azure Environment
In order to deploy this image to Azure, we need to set up the Azure environment and the resources needed.
Setting up the Resource Group
All Azure resources, like the Azure container App we will be creating, are part of a Resource Group, so that is what we will set up first.
After logging in you are presented with the homescreen, on top of which you will see this bar

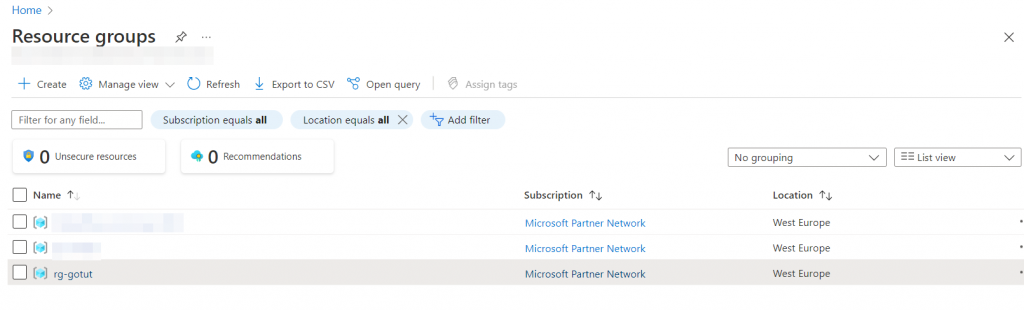
From here choose the Resource Group icon, and you are presented with this screen
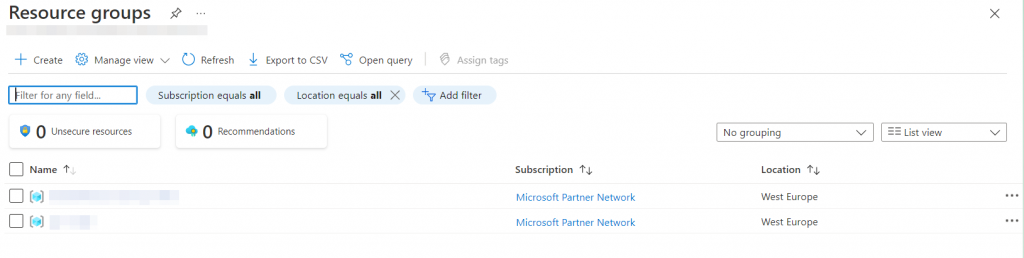
Click on the ‘Create’ button in the top left of the screen, then you are presented with this screen:
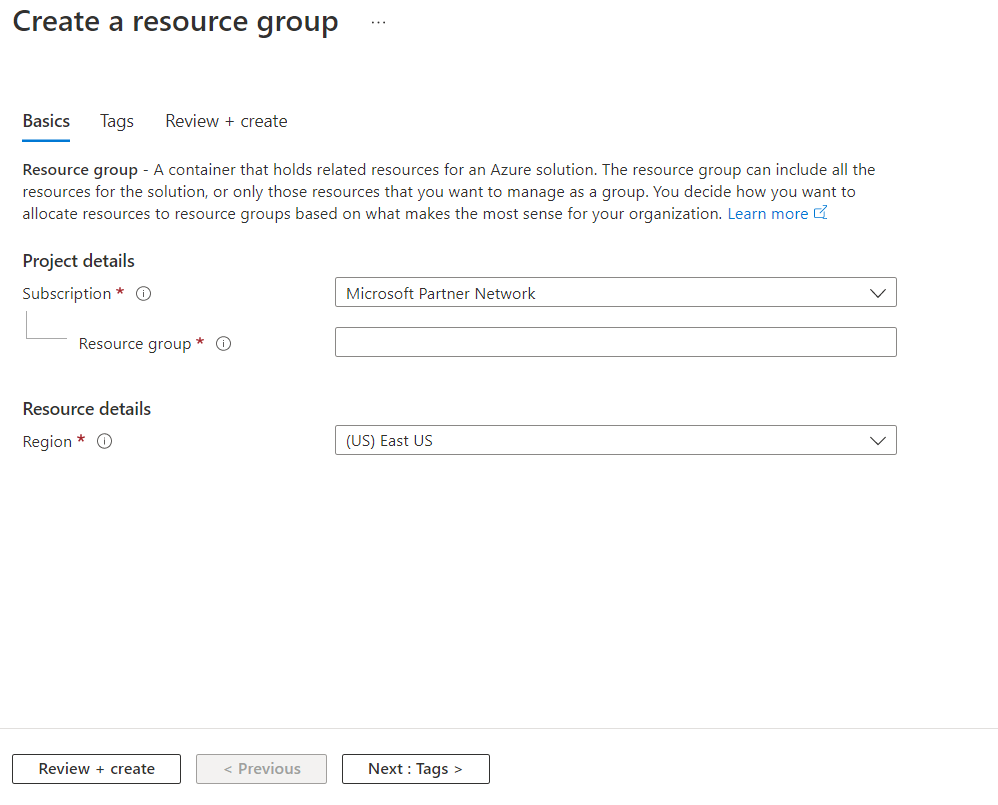
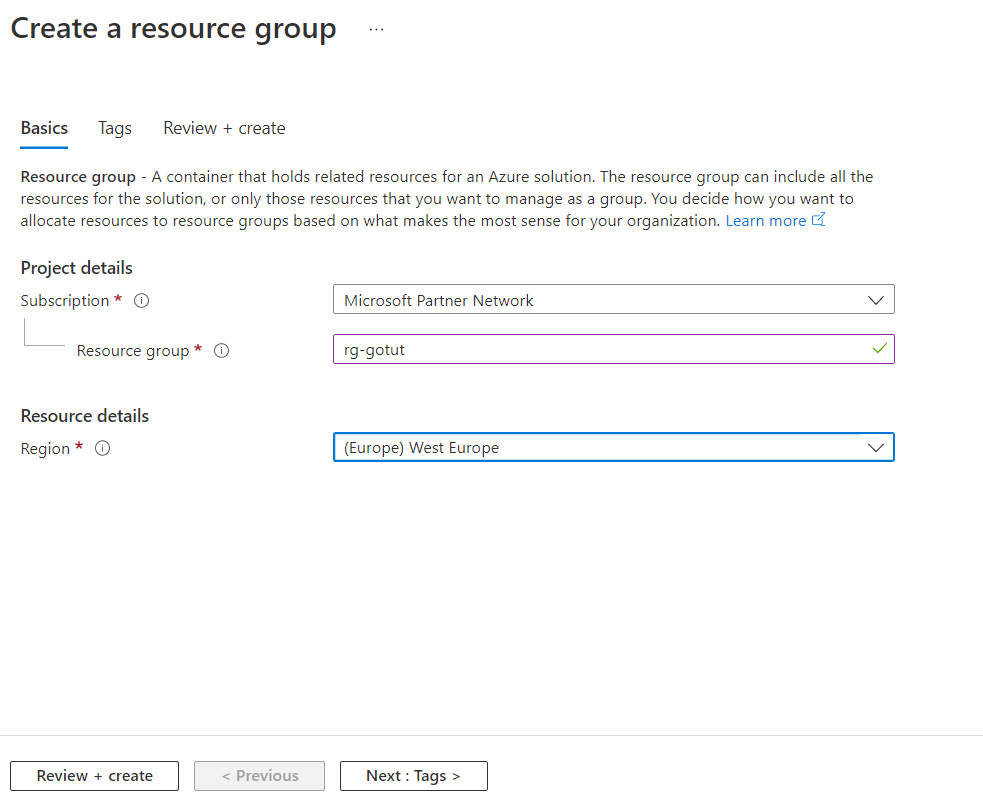
For this tutorial I chose the resource group name ‘rg-gotut’, and the region closest to you (in my case that is ‘West Europe’):
Click on ‘Review + create’ button, and your installation will be validated and you will be presented with this screen:
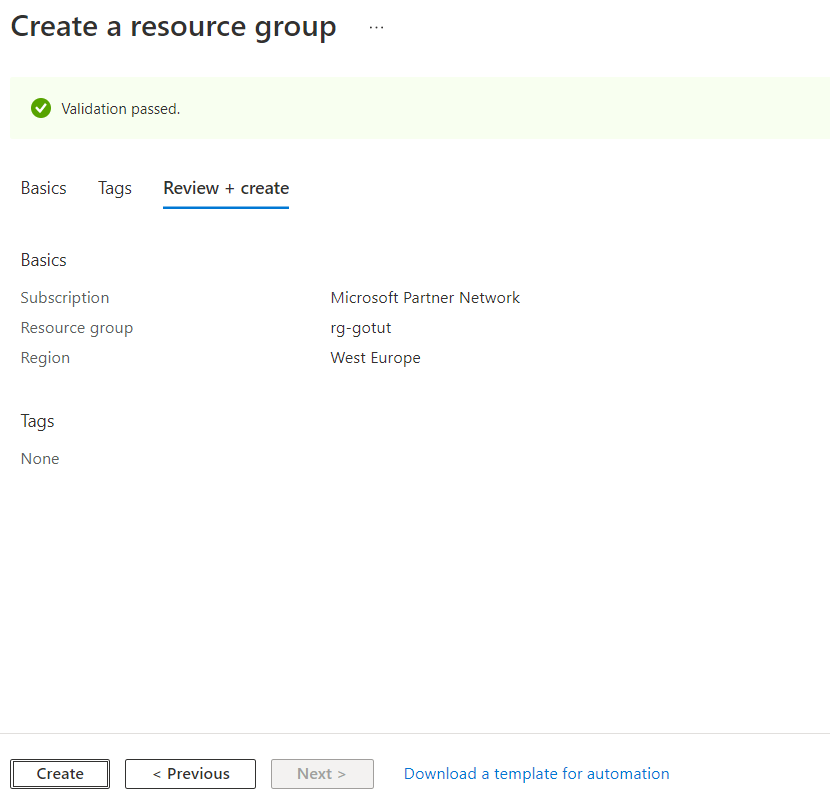
Click the ‘Create’ button and the resourcegroup will be created:
Adding the Azure Container App
Now it is time to add the container app to the resource group. A container app within Azure consists of two parts:
- The Azure Container App
- The Azure Container App Environment
Do not worry to much about this at the moment, if you create a container app with the portal, the environment will be automatically created.
First of all go to the resource group you just created:
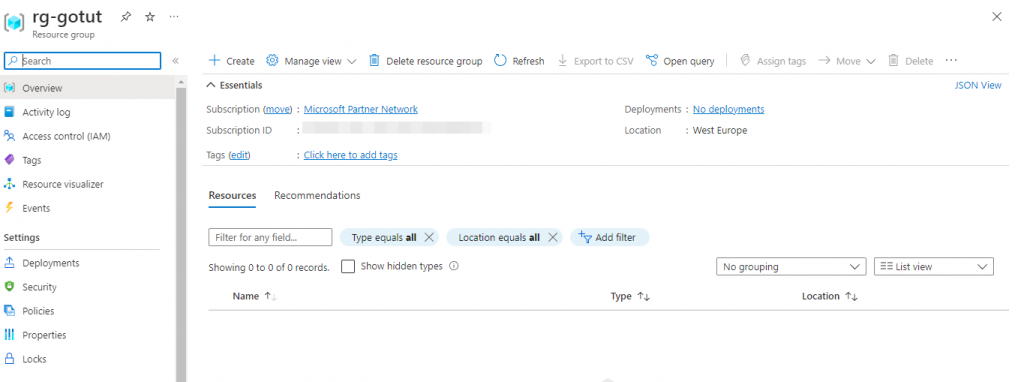
Click on the ‘Create’ button in the top left corner and you will be taken to this screen:
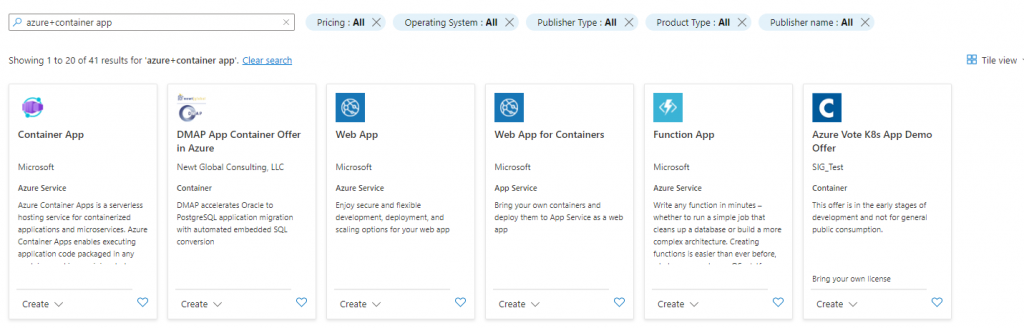
Enter ‘azure+container app’ in the search bar, and choose ‘Container App’ in the box below.
You will be taken to this screen:
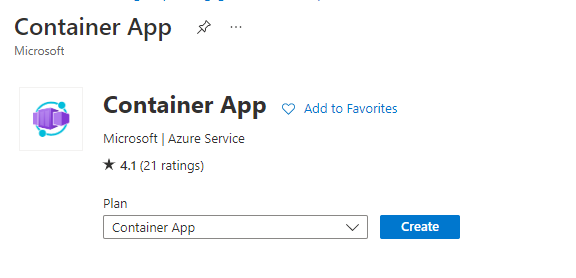
Click the ‘Create’ button:
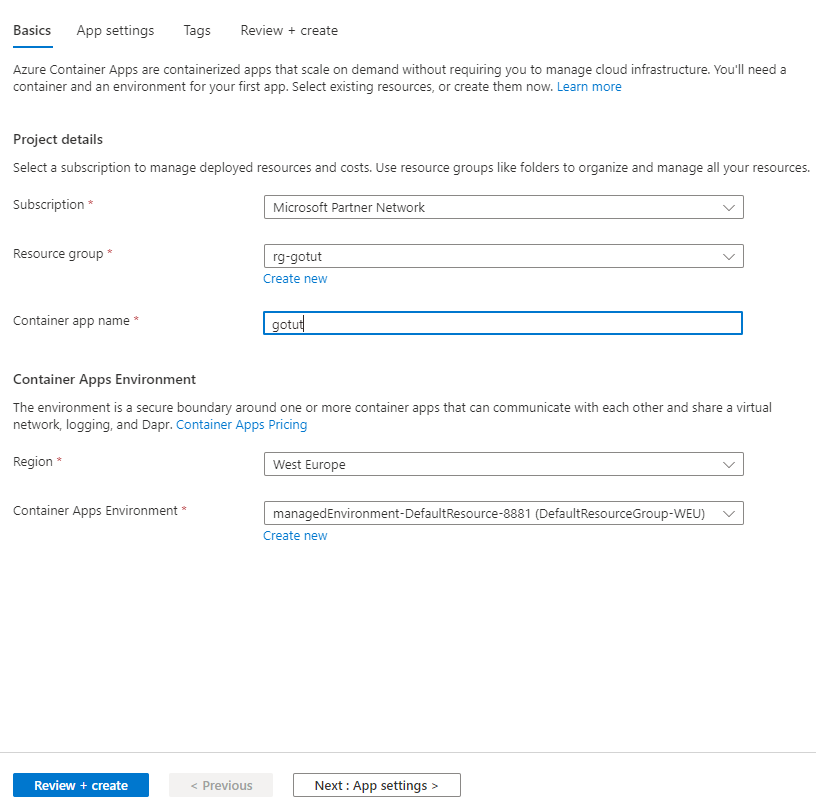
Name your container app ‘gotut’ and choose the region closest to you. Leave all the other settings as they are and click ‘App settings’
This will take you to this screen:
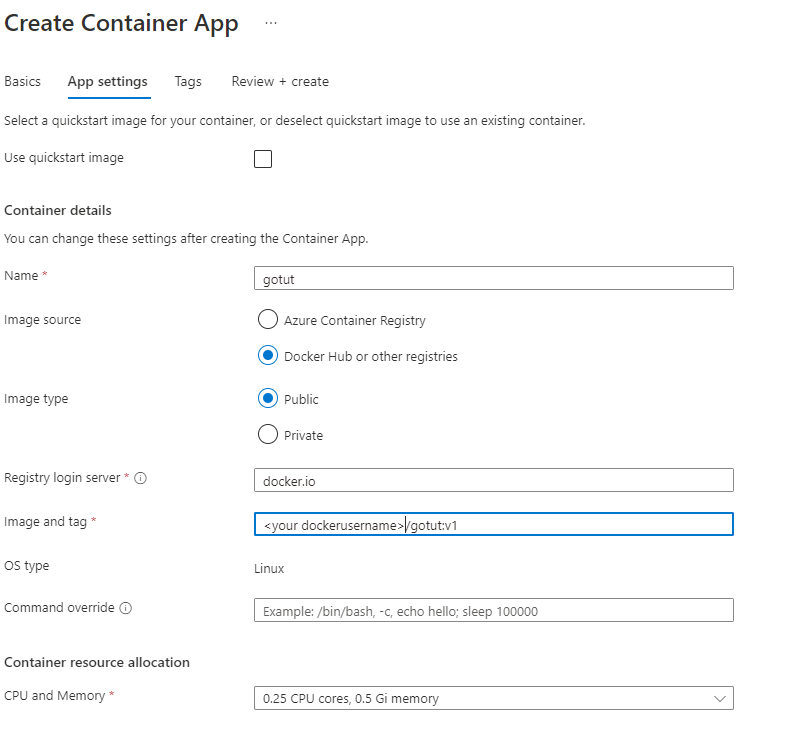
- Uncheck ‘Use quickstart image’
- Choose ‘Docker hub or other registries’
- Image type is ‘Public’
- In ‘Image and tag’ enter ‘<your dockerusername>/gotut:v1

- Ingress is enabled
- Choose ‘Accepting traffic from anywhere’
- Ingress type is ‘HTTP’
- Set target port to ‘8080’. That is the port that we are exposing from the image.

Click ‘Review + create’
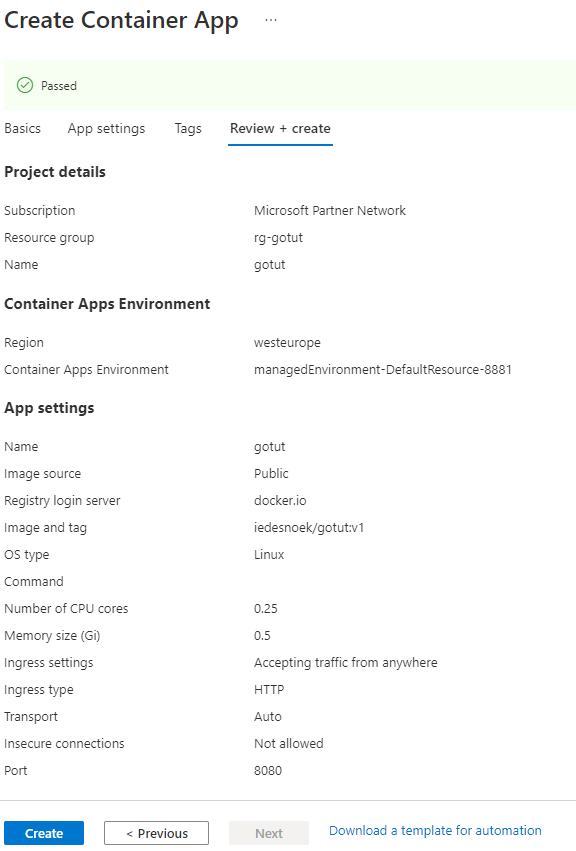
Click ‘Create’:

And after a while you will see this screen:
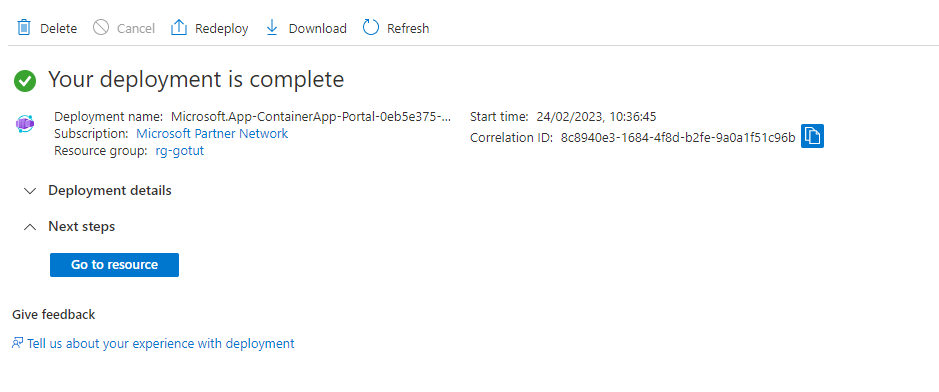
Click on ‘Go to resource’
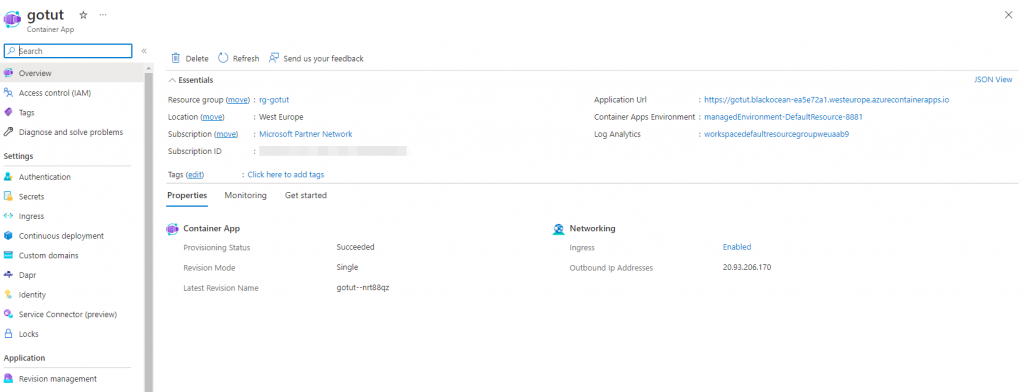
That is it, basically. To test your installation, copy the ‘Application Url’ and paste it in the browser like this:
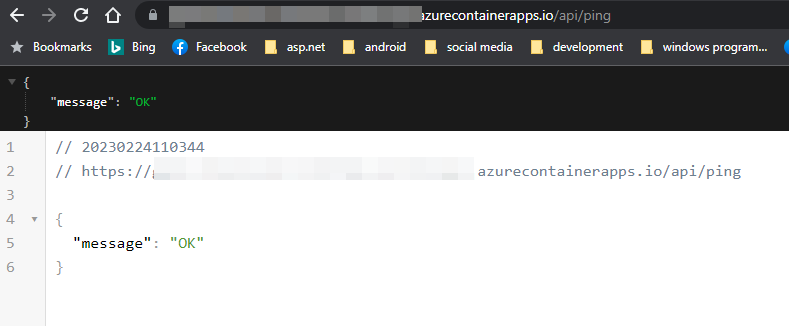
If things go well, you should this browser message.
Feel free to play around with the code. What would be really nice is to setup CI/CD for this small project. That will be the subject for my next post.