
Using a shared access signature (SAS) to read from an Azure Blob container
Cross-posted from my personal blog.
A shared access signature (SAS) is a URI with an expiry date that provides permissions to one or more resources. Both the resources and the permissions are defined when creating the SAS. It is a secure way of providing access to our resources in Azure to users, as long as we properly generate and distribute it, of course. It is very common for a service to be responsible for generating and providing the SAS keys automatically, but in this case, we will take a simpler route, as we only want to see it in action.
Scenario
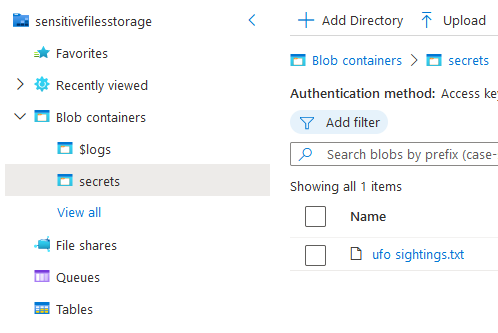
We have a storage account named sensitivefilesstorage and a blob container called secrets , that contains a file named “ufo sightings.txt”. If you are not familiar with creating storage accounts and blob containers, follow this article from Microsoft. Our objective is to create an application that can fetch this file so we can start UFO hunting.
Generating a SAS
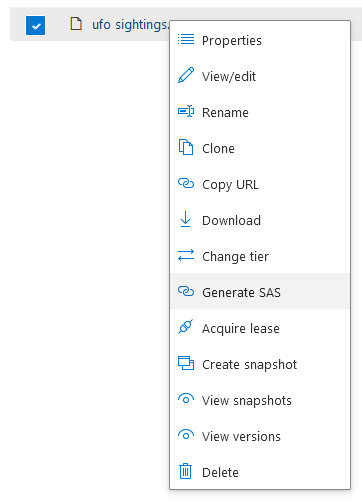
A SAS token can be generated for a Container, Directory, or File. Since we only need to provide access to a single file, let’s put the Principle of Least Privilege (PoLP) into practice and generate it only for the “ufo sightings.txt” file. So let’s open our sensitivefilesstorage storage account, click on “Storage browser”, navigate to our file, and right-click on it. Then, on the context menu, select “Generate SAS”.
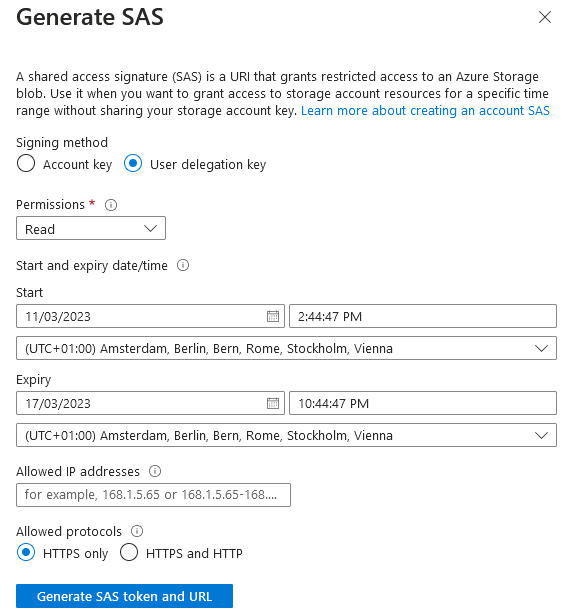
A menu will appear to your right, where we can configure some of our SAS fields, such as the access policies. First, we will change the signing method to “User delegation key”. For permissions, we will stick to the PoLP and only enable the Read permission. Feel free to fiddle with the Expiry if you want, and then click “Generate SAS Token and URL”. After a while, the Blob SAS token and Blob SAS URL will be generated, so copy and paste them somewhere, we will be needing them.
AuthorizationPermissionMismatch error
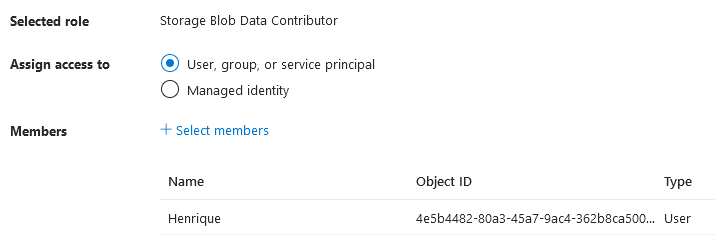
In case you get an error starting with “Generating SAS failed. Error: ‘authMode: 4 code: AuthorizationPermissionMismatch”, you might have to add a role to your user. Go to your storage account’s Access Control (IAM) > Add role assignment. Then search for Storage Blob Data Contributor, click Next, and on Members add your user, similarly to the image below. Then click Next and Review + Assign.
Downloading and reading the Blob
Now, let’s create a new console application and consume our SAS. Since we have provided access to a specific file, and we are only reading it, the code gets really simple:
using Azure.Storage.Blobs;

var uri = new Uri(@"Your Blob SAS URL here");

var blobClient = new BlobClient(uri, null);

var blobDownloadInfo = await blobClient.DownloadAsync();

using (StreamReader reader = new StreamReader(blobDownloadInfo.Value.Content, true))
{
    string line;
    while ((line = reader.ReadLine()) != null)
    {
        Console.WriteLine(line);
    }
}

Console.ReadKey();
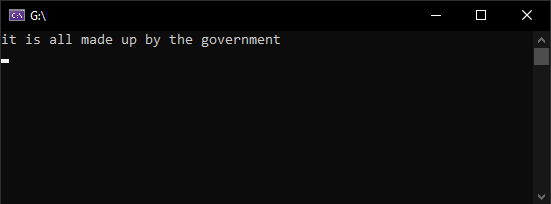
First, we create a Uri with the Blob SAS URL that we generated earlier. Then we make a new BlobClient, that we use to download our file. After that, we got a standard StreamReader snippet to read our file and that’s it! Below we can see the contents of the file:
Conclusion
Downloading a Blob file using a SAS is pretty simple and quick. It can also be secure, but it will come down to how we generate and distribute our SAS. As a rule of thumb, apply the PoLP whenever possible in your developer practices, as it will hugely decrease your chances of introducing a security risk.