
Easily testing e-mail with Papercut SMTP – A short tutorial
Cross-posted from my personal blog
Testing e-mail can be scary. We absolutely don’t want anybody to receive our junk, especially not our customers. So how do we prevent this from happening? That’s right, with a fake SMTP server that receives our requests but does not actually send them. And for that, we have a great candidate: Papercut SMTP. It’s free, it’s open source, and it’s super easy to set up, so follow along with the tutorial if you are interested.
You can find the GitHub project here, and the releases here. You are free to choose to go with the installer, the portable service, or the portable client/server. In this tutorial, we will go with the latter as it is easier to visualize and to set up.
So then, proceed by downloading the file “Papercut.Smtp.x64.X.X.X.zip” or “Papercut.Smtp.x86.X.X.X.zip”, according to your system. After downloading, extract all the files to a location of your choosing and run the Papercut executable. You should now have a window similar to the following:
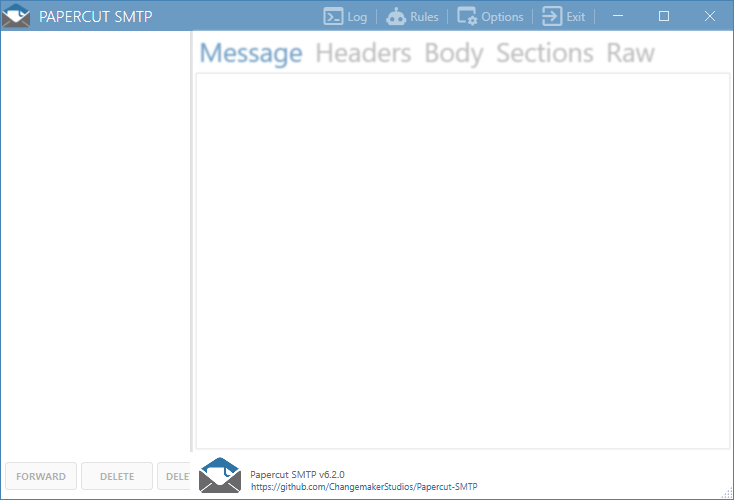 Papercut SMTP client
Papercut SMTP runs by default on port 25, so if you have anything else running there, be sure to change it on Options > Port. For the sake of it, I have changed mine to 25000, but if you do not have a reason to do it, KISS.
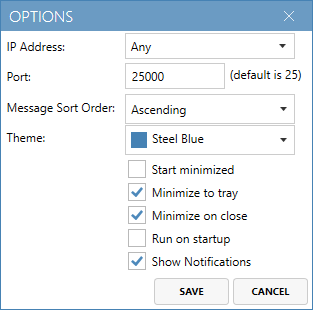 Papercut SMTP options with the changed port
Let us create a simple console app that will create a MailMessage and load it with a very common hoax.
using System.Net.Mail;

var smtpClient = new SmtpClient("127.0.0.1", 25000);

var message = new MailMessage("me@intodot.net",
                              "you@intodot.net",
                              "FREE EASY MONEY",
                              "I am a Brazilian prince and I have an amazing opportunity. Donate 10,000.00 USD to intodot.net and you shall receive 10,000,000.00!!!!");

smtpClient.Send(message);
That should be enough. Let’s quickly review what we have written here:
- Line 3: Creation of the SmtpClient, which will send e-mails through the specified IP and port (127.0.0.1:25000).
- Line 5: Creation of the MailMessage that we will send. It contains the sender, the recipient, a captivating subject, and a suspicious body.
- Line 10: Magic happens and our e-mail is sent.
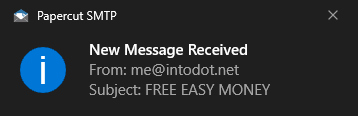
So shortly after we run our project, we will get the following notification:
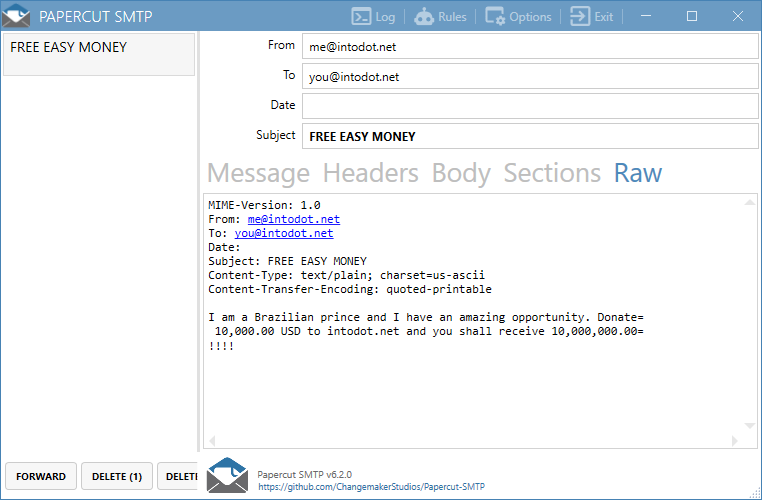
Great! Now we can visualize it in the Papercut SMTP client to see how it was generated. You can choose to view the message, headers, body, etc.
And that’s it! Simple right? Now you can easily test and debug your code without fear of accidentally sending e-mails to people. And we also have learned how to send e-mails, so please, do not send phishing attempts like this one.