
Deploy Your Angular App to Netlify In Minutes
Life has been made easy with Netlify. Now you can deploy all your angular applications to Netlify and have a unique link to access it anytime.
Sometime ago, I published How to Deploy Your Angular App To Heroku. Here’s the Netlify version
This tutorial is a step by step guide that takes you through the process of deployment from start to finish and it contains:
- Setting up your Angular application — fresh app
- Pushing your app to Github
- Continuous Integration of your app from Github to Netlify
Lets Start!
Spoiler Alert: If you have an existing angular application or you already know how to setup an angular app, Click Here to jump to the Netlify Deployment section
Setting up your Angular application
This step is for fresh angular application creation. In case you don’t have angular cli installed, run npm install -g @angular/cli in your terminal.
Then run ng new angular-netlify
This sets up a fresh angular app in the current directory and names it ‘angular-netlify’. You can replace ‘angular-netlify’ with any name of your choice or your application’s name.
Then cd angular-netlify to change to your application directory.
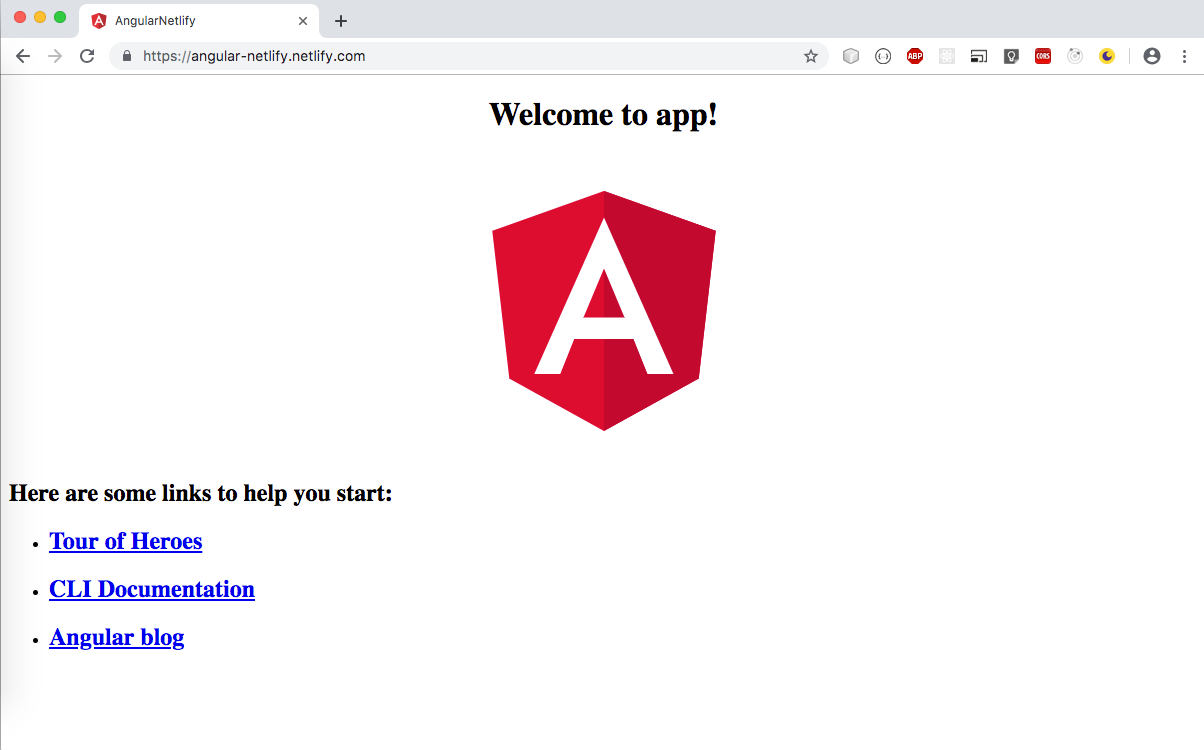
Run ng serve to serve up/run your application. This will run on http://localhost:4200 on your default browser.

Fresh Angular application
Pushing Your Application to Github
Create a new repository by clicking New Repository from the menu on your navigation bar

Creating new repository on github
Fill the Create New Repository form and submit form

Follow the following steps to push your application to Github:
- In your terminal, make sure you are in the angular-netlify directory and run the following commands:
git initto initialize the directory for gitgit add .git commit -m 'initial commit'to add your files and commit themgit remote add origin <your-github-remote-url>git pushto finally push your application to github. You might need to rungit push --set-upstream origin master
Setup Netlify and Deploy Your Angular Application
If you have not signed up yet on netlify, visit www.netlify.com and click Login
Login with your Github account.
Click New Site from Git
Select Github under Continuous Deployment and Authorize netlify’s access to your github repository. This takes you to next step: Pick a repository

Search and select the repository on your github you would like to publish to Netlify
At the third stage: ‘Build options, and deploy!’, select the master branch.
Under Basic build settings, enter ng build --prod
Under Publish directory, enter dist
Click Deploy site

aaaaannnddd… Bingo!!! We are LIVE!
Netlify will generate a unique url where your application can be easily reached.
Optionally, create unique url for your application
Go to your app dashboard > Settings > General > Site Details
Under Site Information, click Change Site Name and enter the your app’s preferred name (in my case: angular-netlify).
So it becomes https://angular-netlify.netlify.com
Click Save
Advantage of using this is as you make updates on your application and push to github, it automatically deploys to Netlify and is available at the same url.
If this article provided a solution to you in anyway, Like and share.