
Flask Bootstrap 5 - Volt Admin Dashboard (Free)
Hello Coders,
This article presents an open-source Flask Bootstrap 5 seed project crafted with authentication, ORM and deployment scripts on top a modern jQuery-free design - Volt Dashboard. For newcomers, Flask is a lightweight web application framework written in Python. Sometimes classified as a microframework, Flask provides a lightweight codebase that can be easily extended to become an API, a simple web app, or a complex eCommerce platform.
Thank you for reading!
- Flask Bootstrap 5 Volt - product page
- Flask Bootstrap 5 Volt - Demo - LIVE deployment
The project comes with basic modules like session-based authentication, database, Flask-SqlAlchemy ORM, Blueprints and deployment scripts for Docker, HEROKU and Gunicorn/Ngynx.
For those that find this codebase hard to digest, this Bootstrap 5 design can be donwloaded as a Jinja Template (simple Flask codebase without database or other hard dependencies).
- Jinja Volt
- Jinja Volt - Demo - LIVE deploy
Flask Codebase Features
- DBMS: SQLite, PostgreSQL (production)
- DB Tools: SQLAlchemy ORM, Alembic (schema migrations)
- Modular design with Blueprints
- Session-Based authentication (via flask_login), Forms validation
- Deployment scripts: Docker, Gunicorn / Nginx, Heroku
- Support via Github (issues tracker) and Discord.
The codebase uses Blueprints, a pattern that allows a modular design and structure for Flask applications. The (simplified) structure of the project is shown below using an ASCII chart:
< PROJECT ROOT >
   |
   |-- app/                      # Implements app logic
   |    |-- base/                # Base Blueprint - handles the authentication
   |    |-- home/                # Home Blueprint - serve UI Kit pages
   |    |
   |   __init__.py               # Initialize the app
   |
   |-- requirements.txt          # Development modules - SQLite storage
   |-- requirements-mysql.txt    # Production modules  - Mysql DMBS
   |-- requirements-pqsql.txt    # Production modules  - PostgreSql DMBS
   |
   |-- .env                      # Inject Configuration via Environment
   |-- config.py                 # Set up the app
   |-- run.py                    # Start the app - WSGI gateway
   |
   |-- ********************************************************
How the app starts
run.pyloads the.envfile- Initialize the app using the specified profile: Debug or Production
- If env.DEBUG is set to True the SQLite storage is used
- If env.DEBUG is set to False the specified DB driver is used (MySql, PostgreSQL)
- Call the app factory method
create_appdefined in app/init.py - Redirect the guest users to Login page
- Unlock the pages served by home blueprint for authenticated users
How to compile the code
To use the project, Python3 and GIT command tool are required. The first one is the ground base for Flask and GIT helps us to clone (download) the sources directly from the public repository. Please find below the steps to compile Flask Dashboard Volt from sources:
Download the code
$ git clone https://github.com/app-generator/flask-dashboard-volt.git
$ cd flask-dashboard-volt
Install Modules
$ # Virtualenv modules installation (Unix based systems)
$ virtualenv env
$ source env/bin/activate
$
$ # Install modules - SQLite Database
$ pip3 install -r requirements.txt
Start the app
$ # Set the FLASK_APP environment variable
$ export FLASK_APP=run.py
$
$ # Start the application (development mode)
$ flask run
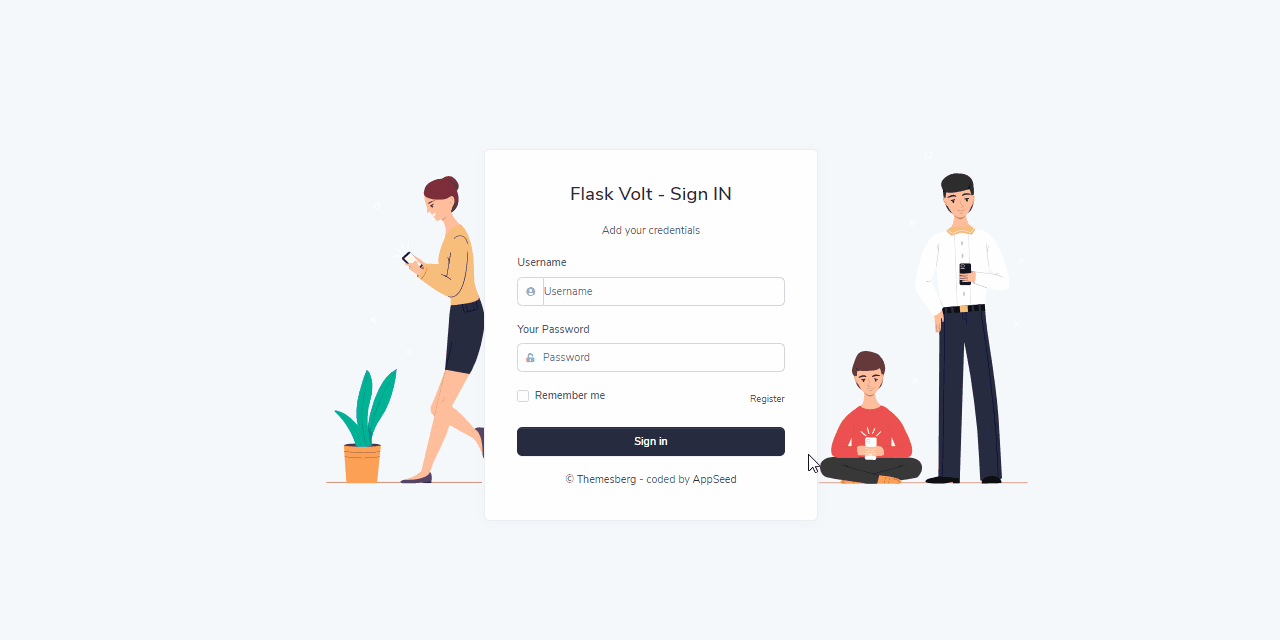
Once the app starts ( visit http://localhost:5000 in the browser), we can register a new user and login.
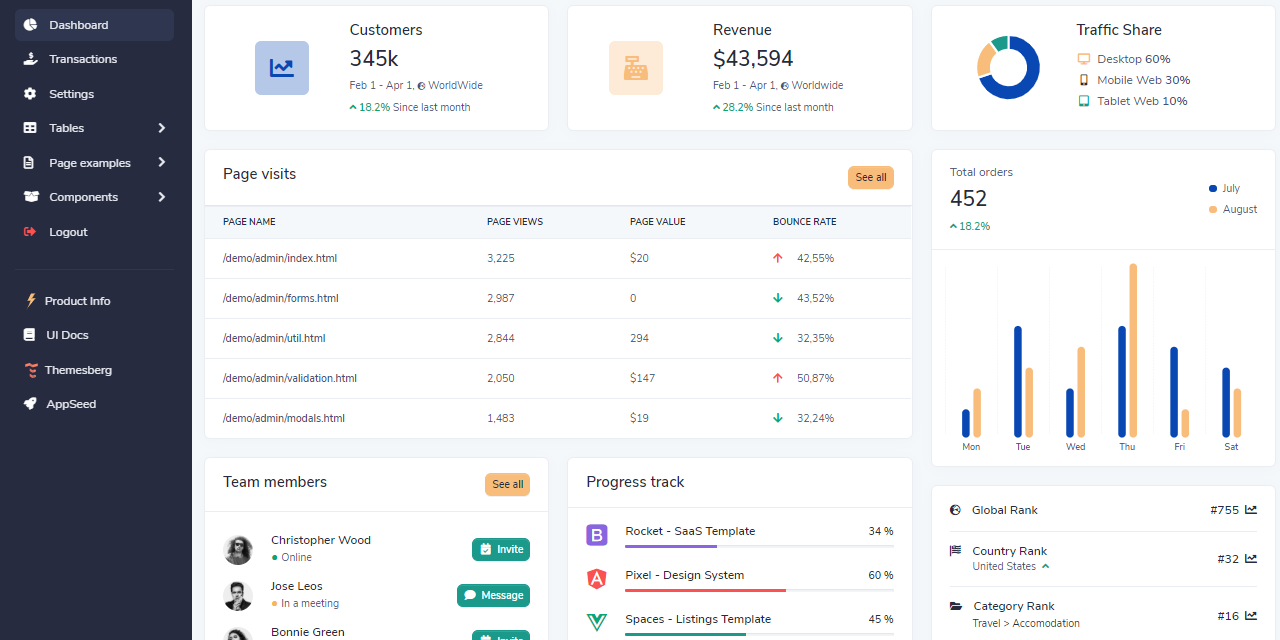
Flask Bootstrap 5 - Main Dashboard Screen
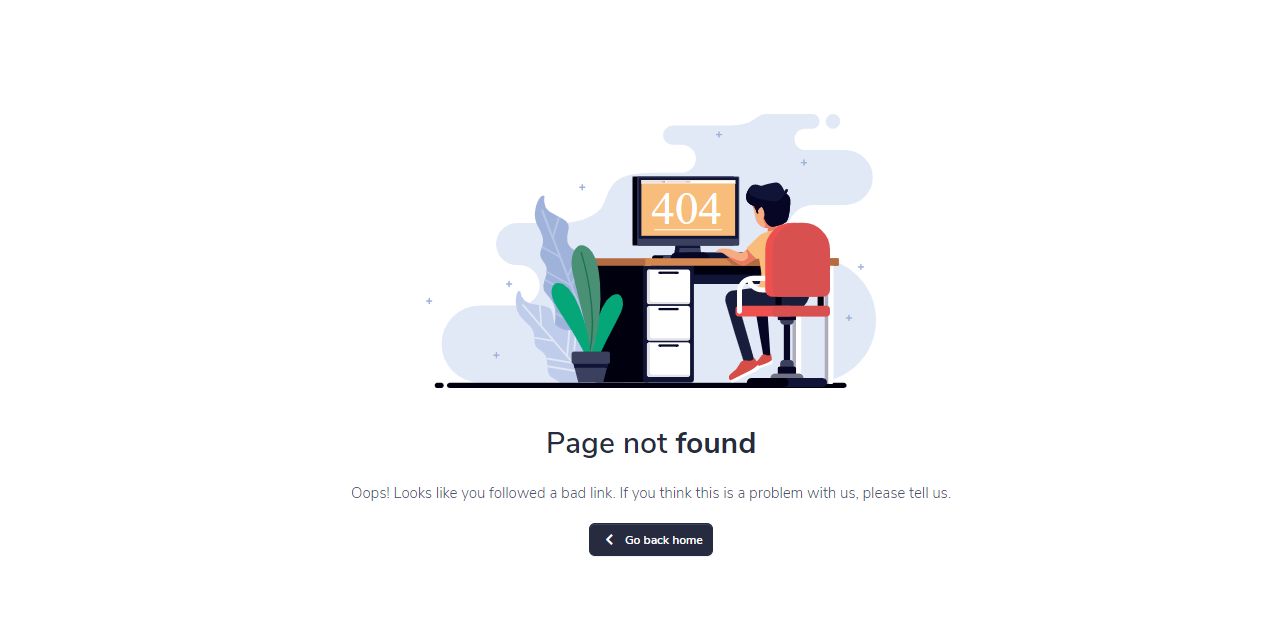
Flask Bootstrap 5 - 404 Page
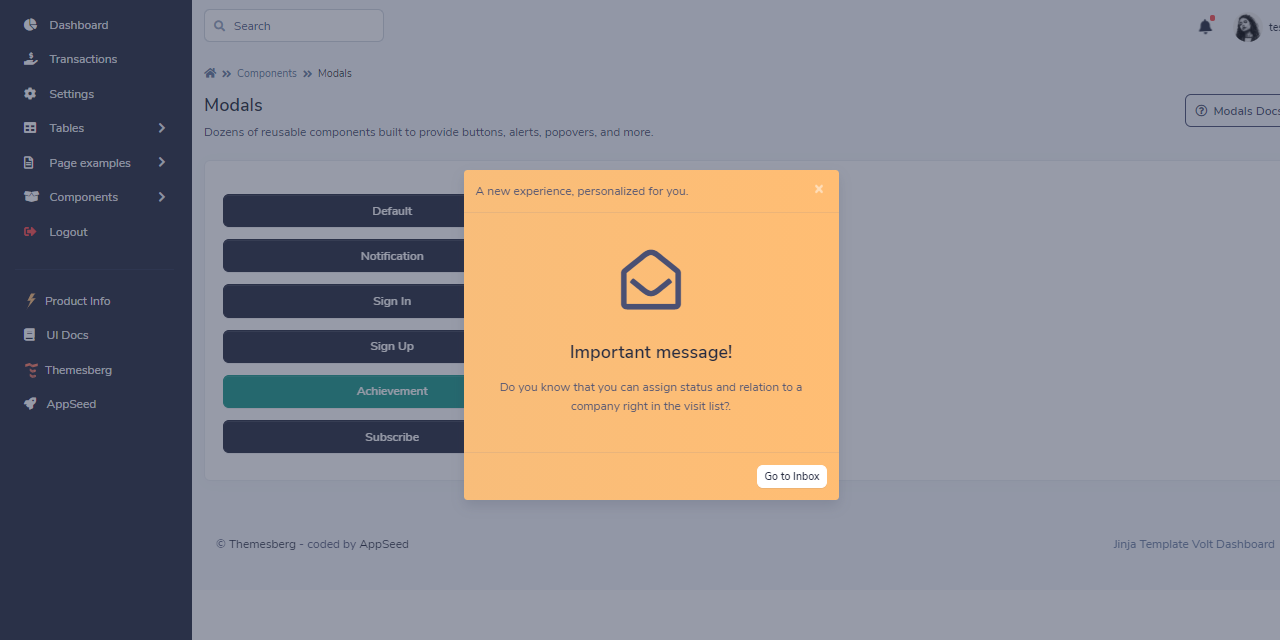
Flask Bootstrap 5 - UI Alerts
Thank you for reading! Feel free to ask me anything in the comments regarding the usage of this Flask Bootstrap 5 or access below links for more resources:
- Access Themesberg for more UI Kits
- Access AppSeed for more seed projects