
Learn Flask - Not a 5min tutorial
Hello Coders,
This article aims to help programmers, especially beginners, start coding a production-ready web application in Flask much faster. Flask is a lightweight framework designed to get started quickly. This amazing framework does not require particular tools or libraries, has no database abstraction layer, form validation, or any other hard dependencies. Compared to his older brother Django, Flask provides a lightweight codebase and more freedom to the developer.
TL;DR; - The relevant links are below:
- Flask - the official website
- Flask Dashboard Black - an open-source & production-ready Flask starter
- More Free Admin Dashboards released under MIT License
Set up PC for Flask
Being a Python framework, Flask requires Python to run and unleash the magic. To install Python3, the recommended version, we need to access the official download page and follow the set up that matches the workstation OS.
After running the installer, we can test the installation by typing python --version in a terminal window:
$ # Check Python version
$ python --version
Python 3.7.2 # <--- We are good
Once we have Python3 available in the console, we can move forward and install Flask, and use PIP - the standard package manager for Python.
$ pip install Flask
During Flask installation, other modules will be installed under-the-hood:
- Werkzeug implements WSGI, the standard Python interface between applications and servers.
- Jinja is a template language that renders the pages your application serves.
- MarkupSafe comes with Jinja. It escapes untrusted input when rendering templates to avoid injection attacks.
- ItsDangerous securely signs data to ensure its integrity. This is used to protect Flask’s session cookie.
- Click is a framework for writing command-line applications. It provides the flask command and allows adding custom management commands.
This short-list with modules will provide some rocket fuel for our app.
Werkzeug/WSGI
This library provides the necessary glue to make our app deployable in production under well-known servers like Apache, Gunicorn, or uWSGI. This interface is super important in terms of compliance with other protocols and servers.
MarkupSafe/ Jinja
Jinja is a powerful template engine that helps us to build pages dynamically by using small HTML chunks (components) to build the final pages served to the user. Without Jinja, we were forced to copy the common HTML chunks to all pages and this is basically the definition of hell in web programming.
Security in web apps is super important and this library provided implicitly by Flask helps a lot by cryptographically sign the sensitive information used by our amazing application.
Flask CLI, the tool that allows us to interact with the app database, data structures, and other assets, is coded on top of this library. Click is a Python package for creating beautiful command line interfaces in a composable way with as little code as necessary.
Flask - A minimal application
To code a super simple app with Flask we need to create a new file hello.py and write a few lines of code:
from flask import Flask
app = Flask(__name__)

@app.route('/')
def hello_world():
    return 'Hello, from Flask!'
Above lines, saved in hello.py, means:
Flaskis imported and become ready to be usedappis an object constructed by Flask libraryappobject inherit all Flask magic@app.routeis a decorator that define a default route for our app- When the browser access our app, the message
Hello, from Flask!will be displayed.
How to start the app
To run the application you can either use the flask command or python’s -m switch with Flask. Before starting the app, we should export the FLASK_APP environment variable:
$ # Set the FLASK_APP environment variable
$ export FLASK_APP=run.py      # Unix/Mac)
$ set FLASK_APP=run.py         # Windows
$ $env:FLASK_APP = ".\run.py"  # Powershell
Once we have the environment ready, we can effectively start the app:
$ flask run # this will execute hello.py file
By default, Flask will start the app on port 5000 - http://localhost:5000. By accessing this local address, we should see the message Hello, from Flask!.
To use another port, let say 9999, just use the --port argument using the new port value as argument:
$ flask run --port=9999
# this will start the app on port 9999 - http:localhost:9999
At this point the Flask fundamentals are covered and we can move forward with a real application, ready to be used in production:
Flask Dashboard - Black Design
This simple Flask starter is an open-source application generated by the AppSeed platform on top of a free dark-themed design. The project can be downloaded directly from Github and based on the permissive (MIT) license, can be used for unlimited hobby & commercial projects.
Being a production-ready starter, Flask Dashboard - Black Design comes with a tested codebase and a short-list with basic features like database, ORM, authentication (login & register), and deployment scripts for Docker, HEROKU, and Gunicorn/Nginx configuration.
Of course, this starter provides more than a basic hello world in Flask and might be used to code and deliver a commercial product on top. Some features and concepts provided in this starter:
- Modular codebase design via Blueprints - a similar Django app pattern, translated in Django.
- Database records are managed via SqlAlchemy ORM, the recommended way to interact with a database in a modern application.
- Deployment pre-configuration for Docker, HEROKU, and Gunicorn/Nginx
- The UI is a modern one with a good quality even for a commercial project.
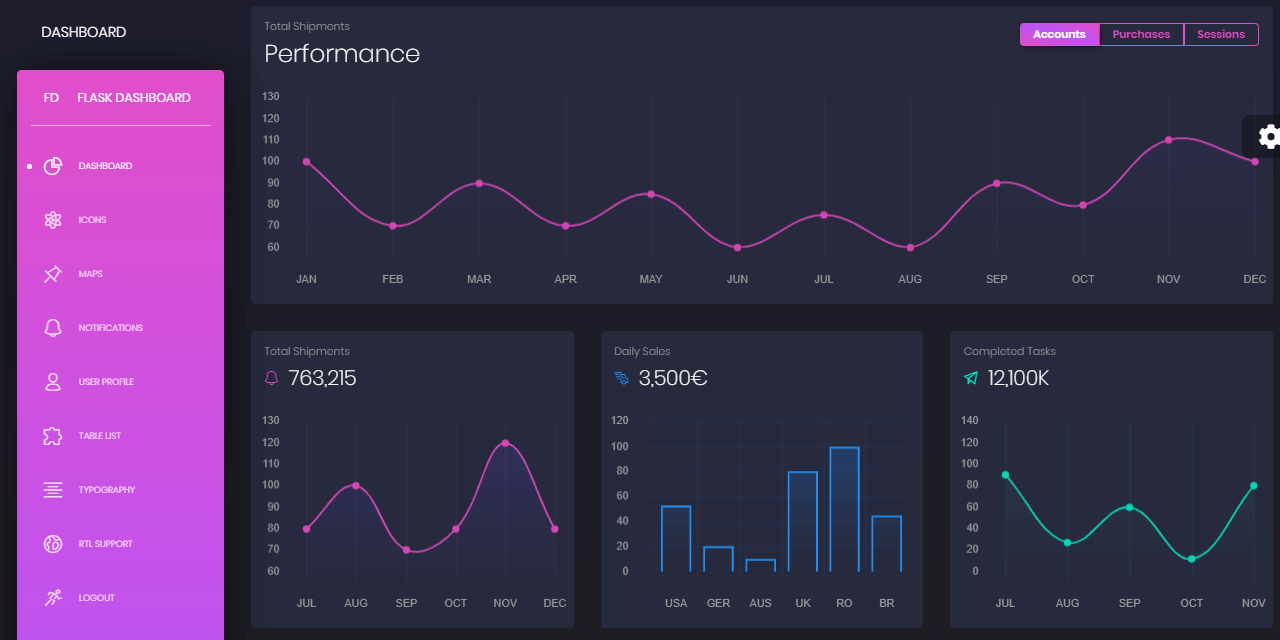
Flask Black Dashboard - Main Screen
Flask Black Dashboard - Compile the code
The build instructions provided in the README file should contain enough information to configure and see the app running in the local environment. In case you have some time to spare to build the app without leaving this page, please open a terminal window and follow the steps:
#1 - Clone the source code
$ # Get the code
$ git clone https://github.com/app-generator/flask-black-dashboard.git
$ cd flask-black-dashboard
The above commands use GIT command line to clone the sources from the official Github repository. In case you're not familiar with Git, please access the Github page, download the ZIP archive, unzip it and change the current directory inside the source code (where all project files are saved).
#2 - Install modules
All app dependencies (Including Flask) are saved in the requirements.txt file. The recommended way to install app dependencies is to use a Virtual Environment and execute the code inside a sandboxed environment. This is useful when we use the same environment for multiple Flask applications that required different versions of similar modules.
Imagine that a first Flask app requires version 1 and another app, another version, 1.5 for instance. To avoid conflicts, we can use Virtual Environments for both apps and safely move forward with our development.
$ # Virtualenv modules installation (Unix based systems)
$ virtualenv env
$ source env/bin/activate
$
$ # Virtualenv modules installation (Windows based systems)
$ # virtualenv env
$ # .\env\Scripts\activate
$
$ # Install modules - SQLite Database
$ pip3 install -r requirements.txt
#3 - Set up Environment
$ (Unix/Mac) export FLASK_APP=run.py
$ (Windows) set FLASK_APP=run.py
$ (Powershell) $env:FLASK_APP = ".\run.py"
*#4 - Start the app
$ # Start the application (development mode)
$ # --host=0.0.0.0 - expose the app on all network interfaces (default 127.0.0.1)
$ # --port=5000    - specify the app port (default 5000)
$ flask run --host=0.0.0.0 --port=5000
$
$ # Access the dashboard in browser: http://127.0.0.1:5000/
At this point, if all goes well (as it should), we can visit the Flask Dashboard Black in the browser:
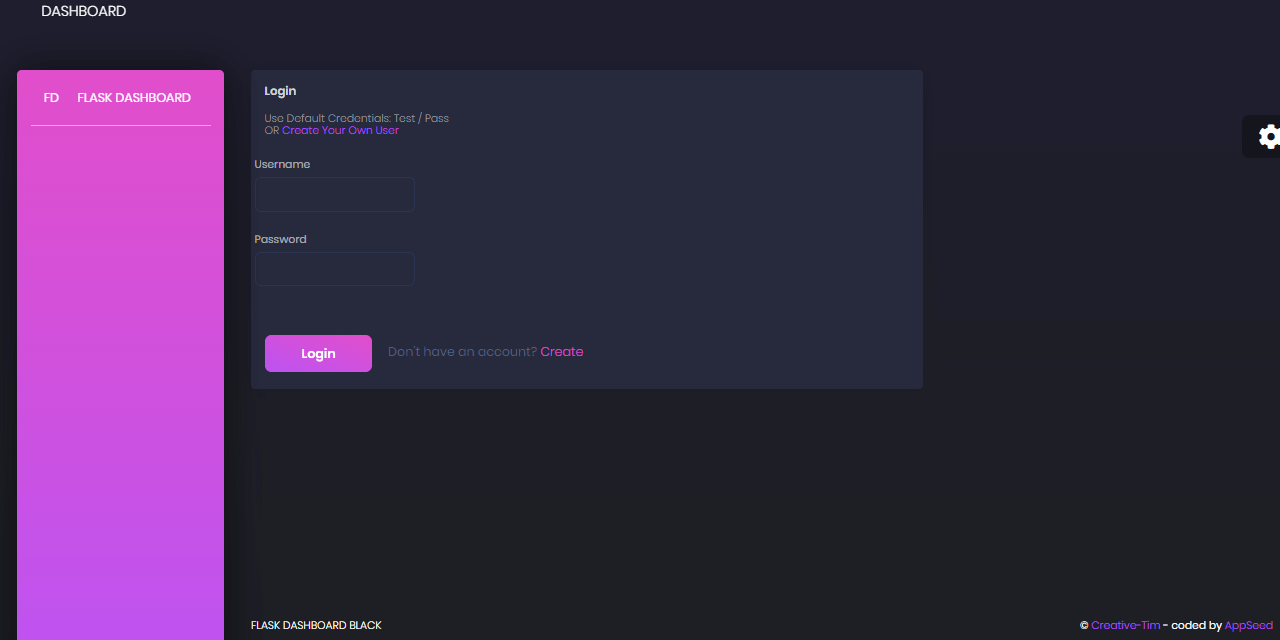
Flask Black Desing - Login Page
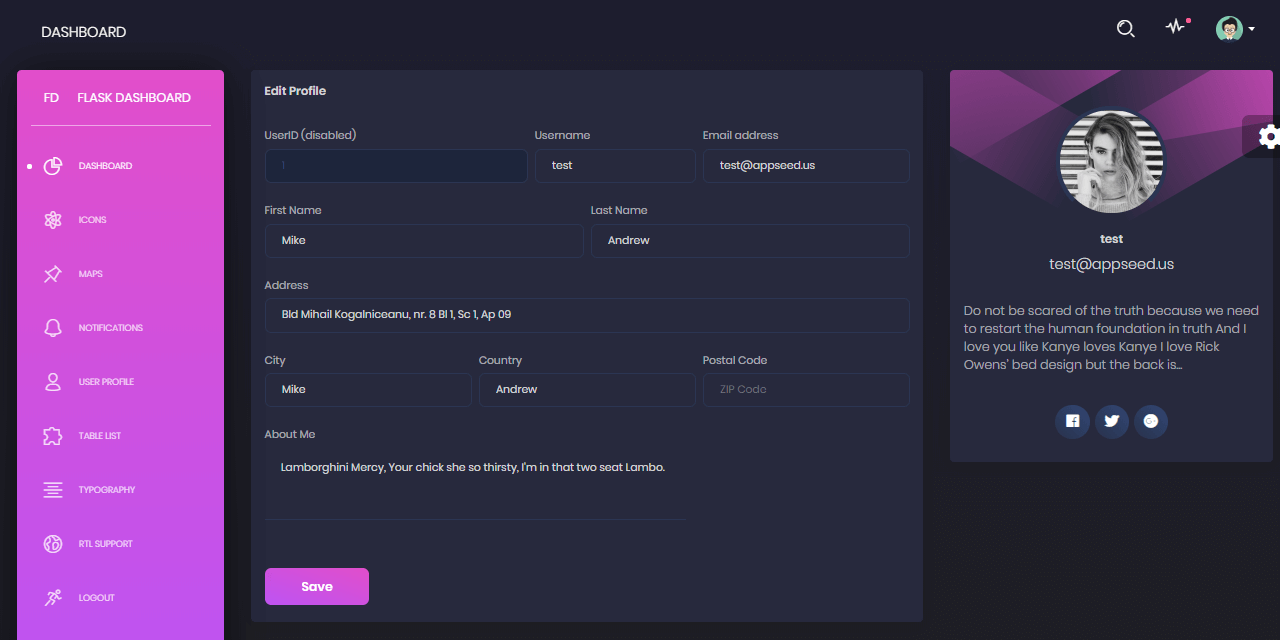
After we pass the authentication, the private pages will be unlocked:
Flask Black Desing - User Profile Page
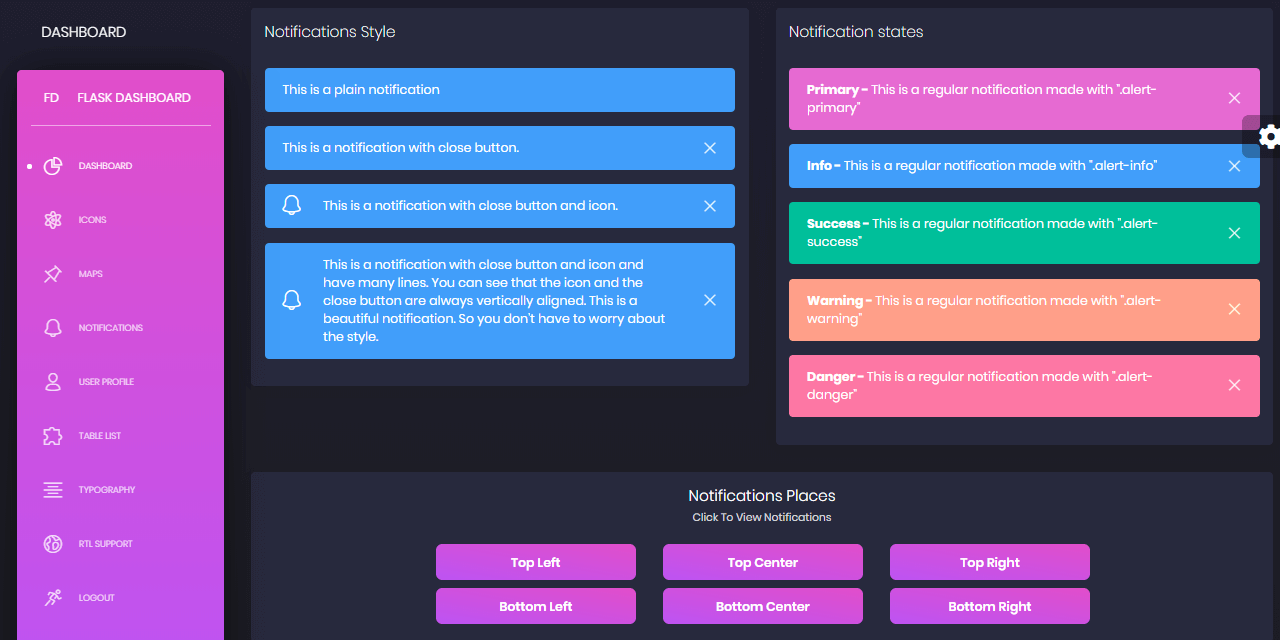
Flask Black Desing - UI Alerts Page
This modern IS is provided with many components and pre-build pages and might be a good idea to access the LIVE Demo and click around.
This modern UI is provided with many components and pre-build pages and might be a good idea to access the LIVE Demo and click around.
Because the LIVE deployment has already a default user, we can pass the login with a click.
Thanks for reading!
In case I've missed something, feel free to ask anything in the comments or send me a private message. I'm here on Codementor almost daily.
Flask - Links & Resources
- Flask, the official website
- Flask Documentation
- What is Flask - a short and comprehensive introduction to Flask (with samples)