
Flask User Authentication - Complete Flow and Free Sample
Hello Coders!
This article explains how to code User Authentication in Flask using Flask-Login library and Bootstrap 5 for page styling. Presented source code is quite simple, focused on the essential parts and also a fully-usable sample is provided at the end. For newcomers, Flask is a lightweight framework crafted on top of Python used for any kind of project and web apps: simple sites, APIs, microservices, or even complex eCommerce solutions.
Thanks for reading! Topics covered in this tutorial:
- 1# - The general view of the project
- 2# - What is Flask
- 3# - Login, Logout, Registration routes
- 4# - Full Source code (published on Github)
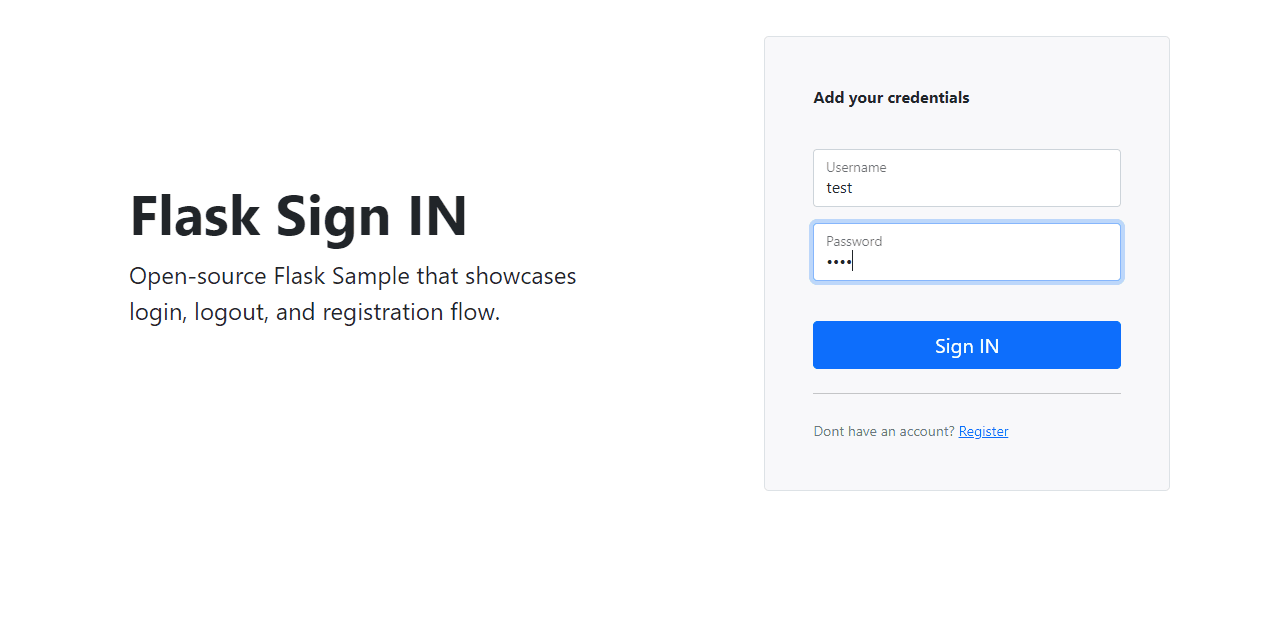
At the end, we should code somthing similar to this:
Project Overview
For simple projects and presentation websites an authentication system might not be necessary but for other types of projects with a bigger complexity being able to distinguish one user from another improves the usability substantially. During this tutorial the authentication flow will use a simple, intuitive codebase strcuture, database persistence via SQLite and page styling powered by Bootstrap 5.
< PROJECT ROOT >
   |
   |-- app/
   |    |-- static/
   |    |    |-- <css, JS, images>    # CSS files, Javascripts files
   |    |
   |    |-- templates/
   |    |    |
   |    |    |-- index.html           # Index File
   |    |    |-- login.html           # Login Page
   |    |    |-- register.html        # Registration Page
   |    |
   |    |
   |  __init__.py                     # Bundle APP as package
   |   config.py                      # Provides APP Configuration
   |   forms.py                       # Defines Forms (login, register)
   |   models.py                      # Defines app models
   |   views.py                       # Application Routes
   |
   |-- requirements.txt
   |-- run.py
   |
   |-- **************************************
Let's mention the most important files that implements the authentication flow:
run.py- is the entry point in our projectappdirectory bundles all files and assets used in our projectapp/config.py- isolates the app configuration in a single placeapp/forms.py- defines SignIN, SignUP formsapp/models.py- defines the Users tableapp/views.py- handles the app routing like login, logout and registerapp/__init__.py- bundles the app
What is Flask
Flask is a popular Python Framework designed to a project quick and easy, with the ability to scale up to complex applications. Flask can be used to code from simple one-page sites to APIs and complex eCommerce solutions.

The easiest way to install Flask is to use PIP, the official package manager shipped with Python.
$ pip install Flask
Once the installation is finished we can open an editor and code our first Flask app with a few lines of code:
from flask import Flask
app = Flask(__name__)

@app.route('/')
def hello_world():
    return 'Hello from Flask!'
In our simple project the authentication magic is provided by Flask-Login, probably the most used authentication library for Flask projects. In order to use Flask-Login in a Flask project we need to follow a few integration steps:
Step #1 - Install Flask-Login using PIP
$ pip install flask-login
Step #2 - Create a LoginManager() object
...
login_manager = LoginManager()
...
Step #3 - Bing the login_manager object to out Flask APP
...
login_manager.init_app(app)
...
Step #4 - Define the user_loader callback (required by Flask-Login)
@login_manager.user_loader
def load_user(user_id):
    return User.get(user_id)
Step #5 - Bundle all the above code when Flask app is initialized:
...
app = Flask(__name__)                       # constructs the Flask app

app.config.from_object('app.config.Config') # injects the configuration

db = SQLAlchemy  (app) # flask-sqlalchemy   # connects to SQLite DB

lm = LoginManager(   )                      # flask-loginmanager
lm.init_app(app)                            # init the login manager
Authentication Routes
All app routes are provided by the views.py file saved in app directory.
/register route - handles the onboarding of the new users/register route - handles the onboarding of the new users
@app.route('/register', methods=['GET', 'POST'])
def register():

    # declare the Registration Form
    form = RegisterForm(request.form)

    if request.method == 'GET':

        return render_template( 'register.html', form=form, msg=msg )

    # check if both http method is POST and form is valid on submit
    if form.validate_on_submit():

        # assign form data to variables
        username = request.form.get('username', '', type=str)
        password = request.form.get('password', '', type=str)
        email    = request.form.get('email'   , '', type=str)

        pw_hash = bc.generate_password_hash(password)

        user = Users(username, email, pw_hash)

        user.save()

        msg     = 'User created'
        success = True

    else:
        msg = 'Input error'

    return render_template( 'register.html', form=form, msg=msg, success=success )
/login route - authenticate registered users
@app.route('/login', methods=['GET', 'POST'])
def login():

    # Declare the login form
    form = LoginForm(request.form)

    # Flask message injected into the page, in case of any errors
    msg = None

    # check if both http method is POST and form is valid on submit
    if form.validate_on_submit():

        # assign form data to variables
        username = request.form.get('username', '', type=str)
        password = request.form.get('password', '', type=str)

        # filter User out of database through username
        user = Users.query.filter_by(user=username).first()

        if user:

            if bc.check_password_hash(user.password, password):
                login_user(user)
                return redirect(url_for('index'))
            else:
                msg = "Wrong password. Please try again."
        else:
            msg = "Unknown user"

    return render_template( 'login.html', form=form, msg=msg )
/logout route - delete the session data associated to the user
# Logout user
@app.route('/logout')
def logout():
    logout_user()
    return redirect(url_for('index'))
With this short presentation in mind, we can access all source code bundled in a project published on Github: Flask User Authentication.
To compile and start the project we should follow the build instructions provided by the README file:
Step #1 - Clone/download sources
$ git clone https://github.com/app-generator/flask-user-authentication.git
$ cd flask-user-authentication
Step #2 - Create a virtual environment
$ # Virtualenv modules installation (Unix based systems)
$ virtualenv env
$ source env/bin/activate
Step #3 - Install dependencies
$ pip3 install -r requirements.txt
Step #4 - Set Up Environment
$ # Set the FLASK_APP environment variable
$ (Unix/Mac) export FLASK_APP=run.py
$ (Windows) set FLASK_APP=run.py
$ (Powershell) $env:FLASK_APP = ".\run.py"
Step #5 - Create Tables (SQLite persistance)
$ # Create tables
$ flask shell
$ >>> from app import db
$ >>> db.create_all()
Step #6 - (optional) Enable DEBUG Environment (local development)
$ # Set up the DEBUG environment
$ # (Unix/Mac) export FLASK_ENV=development
$ # (Windows) set FLASK_ENV=development
$ # (Powershell) $env:FLASK_ENV = "development"
Step #7 - Start the project
$ # Run the application
$ # --host=0.0.0.0 - expose the app on all network interfaces (default 127.0.0.1)
$ # --port=5000    - specify the app port (default 5000)
$ flask run --host=0.0.0.0 --port=5000
$
$ # Access the app in browser: http://127.0.0.1:5000/
If all goes well, we should see the project running in the browser ready to register and authenticate new users.
Thanks for reading! For more resources, please access:
- Flask Dashboards - free & commercial products
- Free Admin Dashboards - a curated list provided by AppSeed