
Flask Dashboard Example - Adminator
Hello Coders,
In this article, I will present a Flask Dashboard Example coded with basic modules like authentication, database, and deployment scripts on top of a nice, modern UI - Adminator Dashboard. The code is released under the MIT License on Github and based on the permissive license, can be used for unlimited hobby & commercial projects.
Dashboard Sample Links
- Flask Dashboard - Adminator Design, product page
- Flask Dashboard Adminator Demo - LIVE App
What is Flask
Flask is a lightweight WSGI web application framework. It is designed to make getting started quick and easy, with the ability to scale up to complex applications. It began as a simple wrapper around Werkzeug and Jinja and has become one of the most popular Python web application frameworks. Compared to his older brother Django, Flask provides much freedom to the developer because only offers suggestions, but doesn't enforce any dependencies or project layout.
By using a framework we can reuse modules and features already coded and tested by other developers. Reinventing the wheel for classic modules is time-consuming and for these cases, a framework comes to the rescue. To read more about Flask, please access below links:
- Flask - official website
- Flask Documentation - recommended starting point for newcomers
Adminator - Free Dashboard
Adminator is a responsive Bootstrap 4 Admin Template. It provides you with a collection of ready to use code snippets and utilities, custom pages, a collection of applications, and some useful widgets. The modern and clean UI makes this design a good candidate for your next project.
Adminator Links (HTML Version)
- Adminator Demo - Something LIVE to click on
- Adminator Sources - released on Github, under the MIT License
Flask Sample - Adminator
The project is a simple, unopinionated Flask starter coded with a short-list of modules and deployment scripts for some well-known platforms: Docker, Heroku.
The permissive (MIT) license, makes this starter a good candidate for hobby and commercial projects. In case you have questions, please access the license file (saved on Github) or ask me anything in the comments.
How to use the code
To use the stater, Python3 should be installed properly in the workstation. If you are not sure if Python is properly installed, please open a terminal and type python --version. The full-list with dependencies and tools required to build the app:
- Python3 - the programming language used to code the app
- GIT - used to clone the source code from the Github repository
- Basic development tools (g++ compiler, python development libraries ..etc) used by Python to compile the app dependencies in your environment.
For more information on how to set up your environment please access the resources listed below, just in case we've missed something.
- How to set up Python
- Setup CentOS for development
- Setup Ubuntu for development
- Setup Windows for development
App Codebase (simplified)
Starter uses a simple codebase, with two Blueprints and a structure presented bellow:
< PROJECT ROOT >
   |
   |-- app/                      # Implements app logic
   |    |-- base/                # Base Blueprint - handles the authentication
   |    |-- home/                # Home Blueprint - serve UI Kit pages
   |    |
   |   __init__.py               # Initialize the app
   |
   |-- requirements.txt          # Development modules - SQLite storage
   |-- requirements-mysql.txt    # Production modules  - Mysql DMBS
   |-- requirements-pqsql.txt    # Production modules  - PostgreSql DMBS
   |
   |-- .env                      # Inject Configuration via Environment
   |-- config.py                 # Set up the app
   |-- run.py                    # Start the app - WSGI gateway
   |
   |-- *****************************************************************
Compile the source code
To built and start the app locally, follow the steps:
Get the source code
- Download the ZIP from Github Repo
- Using GIT tool in the terminal to clone the source code
Change the current directory to source code directory.
$ # Get the code
$ git clone https://github.com/app-generator/flask-dashboard-adminator.git
$ cd flask-dashboard-adminator
$
$ # Virtualenv modules installation
$ virtualenv env
$ source env/bin/activate
$
$ # Install modules - SQLite Database
$ pip3 install -r requirements.txt
$
$ # Set the FLASK_APP environment variable
$ export FLASK_APP=run.py
$
$ # Start the application (development mode)
$ flask run
$
$ # Access the dashboard in browser: http://127.0.0.1:5000/
This simplified build refers the Unix systems, for full build information please access the README file or the reference documentation: Flask Dashboard Boilerplate.
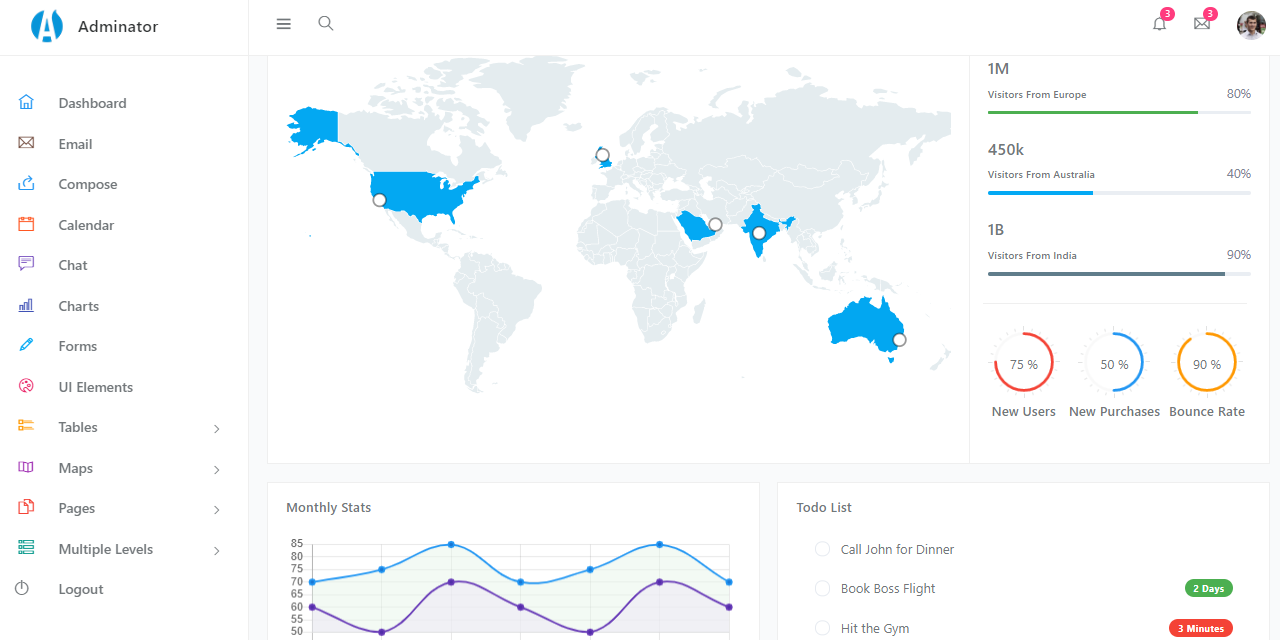
After authentication, the starter will unlocks some nice, beautiful pages provided in the Adminator UI kit.
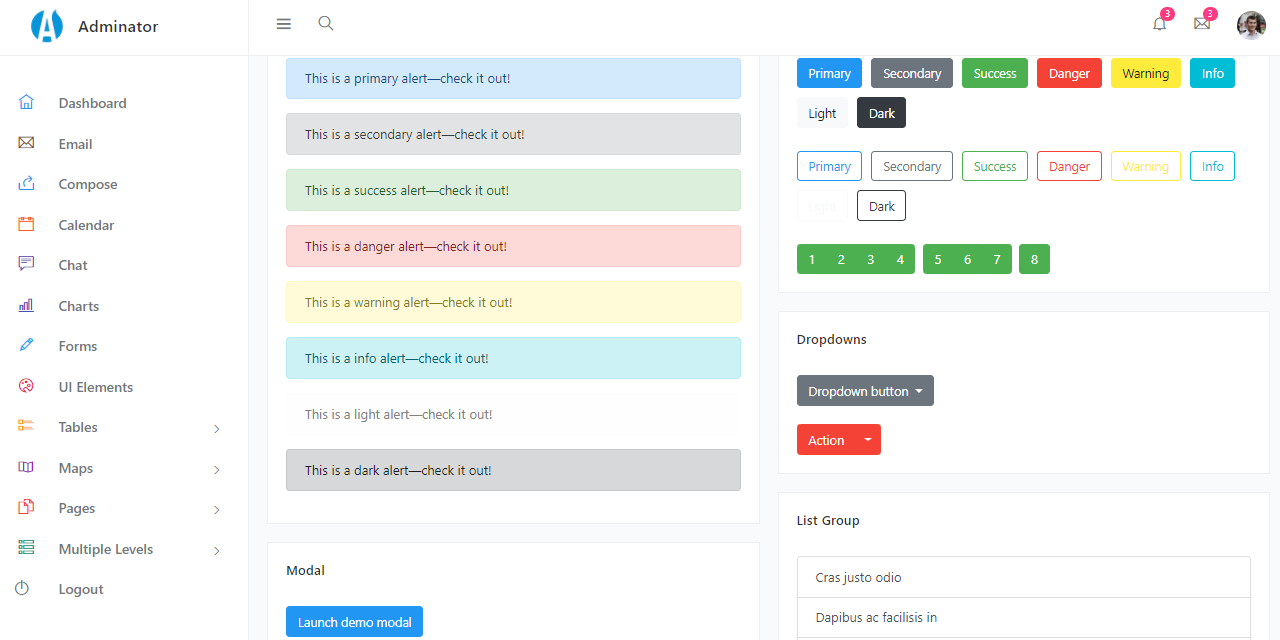
Flask Adminator - UI Elements
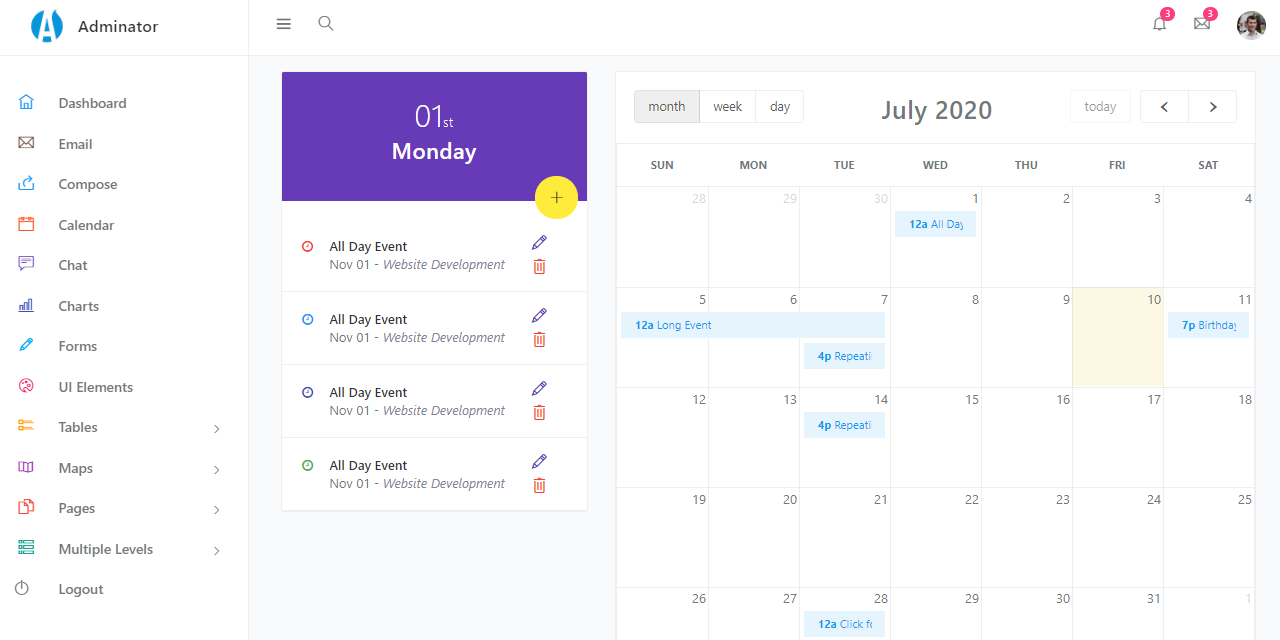
Flask Adminator - Calendar Page
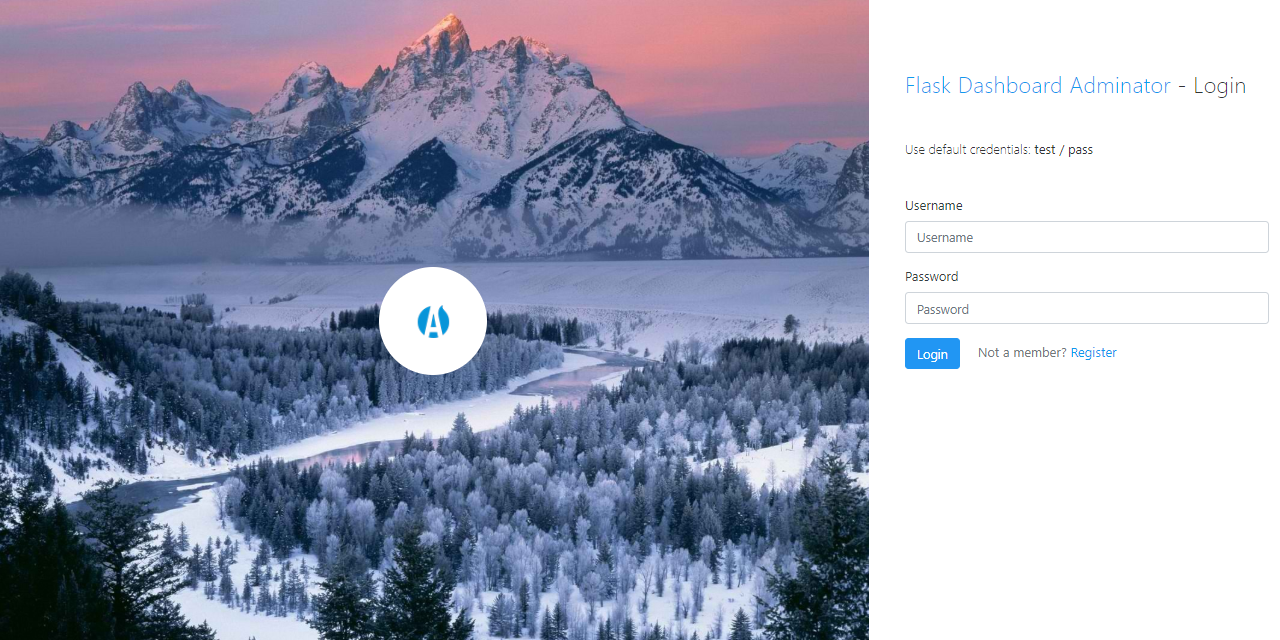
Flask Adminator - Login Page
Thanks for reading! Let me know in the comments your thoughts or suggestions regarding the new features to be added. Where to go from here:
- Read more about Flask - in the official documentation
- See more Flask Dashboards listed and actively supported by AppSeed