
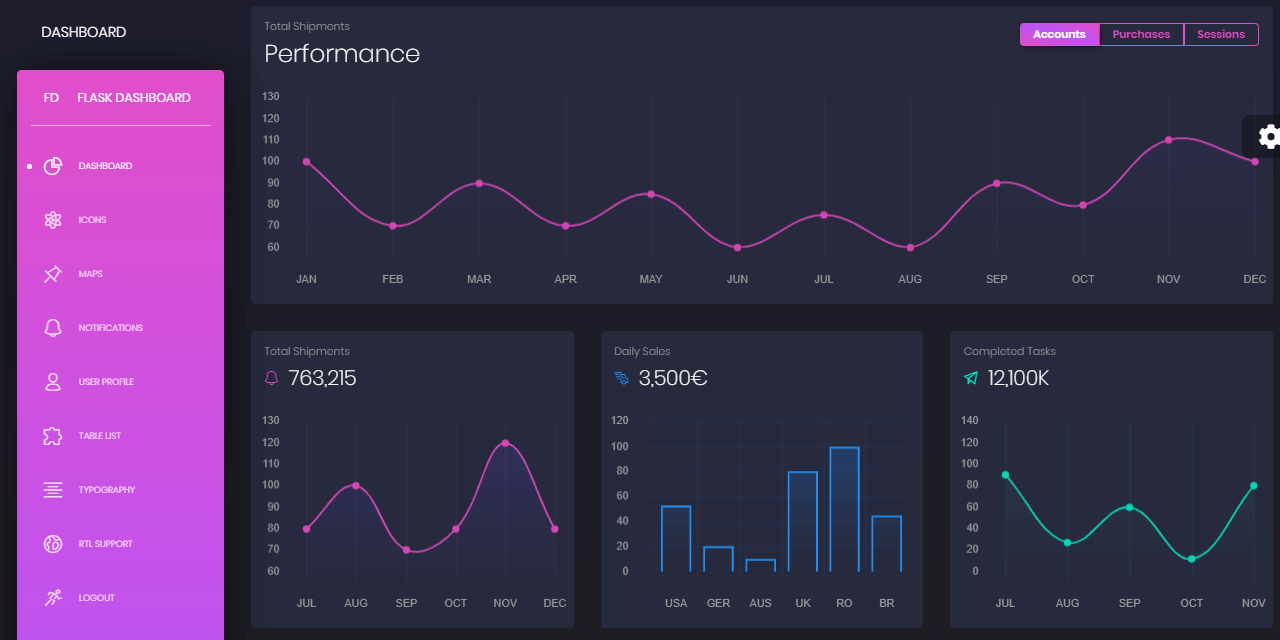
Flask Dashboard - Black Design
Hello Coders,
This article aims to help developers, especially the beginners, to accommodate with a simple Flask admin dashboard, coded on top of a free, beautiful design - Black Dashboard.
This minimal starter is provided by the AppSeed platform with a basic set of modules, quite common to many admin dashboards used for hobby and production projects:
- UI-Ready, using Jinja2 templates (no more manual work on HTML files)
- Database - SQLite for development, and PostgreSQL for production
- Flask-SqlAlchemy ORM - to manipulate database information with ease
- Codebase: Blueprints, App Factory pattern
- Session-Based authentication - login, register
- Deployment scripts for Docker, Nginx/Gunicorn stack and HEROKU
App Links - for fast-runers
- Flask Dashboard - Black Design, the product page
- Flask Dashboard Black Demo - LIVE app, default login - test / pass
What is Flask
Flask is a lightweight WSGI web application framework. It is designed to make getting started quick and easy, with the ability to scale up to complex applications. Classified as a microframework, Flask is written in Python and it does not require particular tools or libraries. It has no database abstraction layer, form validation, or any other components where pre-existing third-party libraries provide common functions.
Flask can be used from super simple one-page sites to complex eCommerce platforms, API servers or microservices. For more information about this amazing fraemwork, please access the links:
- Flask - the official website
- Flask Documentation - a must-read resource for every aspire flask developer
- More Flask Dashboards coded with basic modules
Set up environment
To use the stater, Python3 should be installed properly in the workstation. If you are not sure if Python is properly installed, please open a terminal and type python --version. The full-list with dependencies and tools required to build the app:
- Python3 - the programming language used to code the app
- GIT - used to clone the source code from the Github repository
- Basic development tools (g++ compiler, python development libraries ..etc) used by Python to compile the app dependencies in your environment.
For more information on how to set up your environment please access the resources listed below, in case I've missed something, or feel free to ask me anything in the comments:
- How to set up Python
- Setup CentOS for development
- Setup Ubuntu for development
- Setup Windows for development
App Codebase (simplified)
The starter uses a simple codebase with two Blueprints and the wsgi app created using the app-factory pattern.
< PROJECT ROOT >
   |
   |-- app/                    # Implements app logic
   |    |-- base/              # Base Blueprint - handles the authentication
   |    |-- home/              # Home Blueprint - serve UI Kit pages
   |    |
   |   __init__.py             # Initialize the app
   |
   |-- requirements.txt        # Development modules - SQLite storage
   |-- requirements-mysql.txt  # Production modules  - Mysql DMBS
   |-- requirements-pqsql.txt  # Production modules  - PostgreSql DMBS
   |
   |-- .env                    # Inject Configuration via Environment
   |-- config.py               # Set up the app
   |-- run.py                  # Start the app - WSGI gateway
   |
   |-- **************************
The bootstrap flow
run.pyloads the.envfile- Initialize the app using the specified profile: Debug or Production
- If env.DEBUG is set to True the SQLite storage is used
- If env.DEBUG is set to False the specified DB driver is used (MySql, PostgreSQL)
- Call the app factory method
create_appdefined in app/init.py - Redirect the guest users to Login page
- Unlock the pages served by home blueprint for authenticated users
Build the app
To built and start the app locally, follow the steps:
Get the source code
- Download the ZIP from Github Repository
- Using GIT tool in the terminal to clone the source code
Change the current directory tosource codedirectory
$ # Get the code
$ git clone https://github.com/app-generator/flask-black-dashboard.git
$ cd flask-black-dashboard
$
$ # Virtualenv modules installation
$ virtualenv --no-site-packages env
$ source env/bin/activate
$
$ # Install modules - SQLite Database
$ pip3 install -r requirements.txt
$
$ # Set the FLASK_APP environment variable
$ export FLASK_APP=run.py
$
$ # Start the application (development mode)
$ flask run
$
$ # Access the dashboard in browser: http://127.0.0.1:5000/
If all goes well, we can access the app in the browser. By default, the app is not provided with default users. Please create a new user using the registration page, and after authenticate and access the private pages:
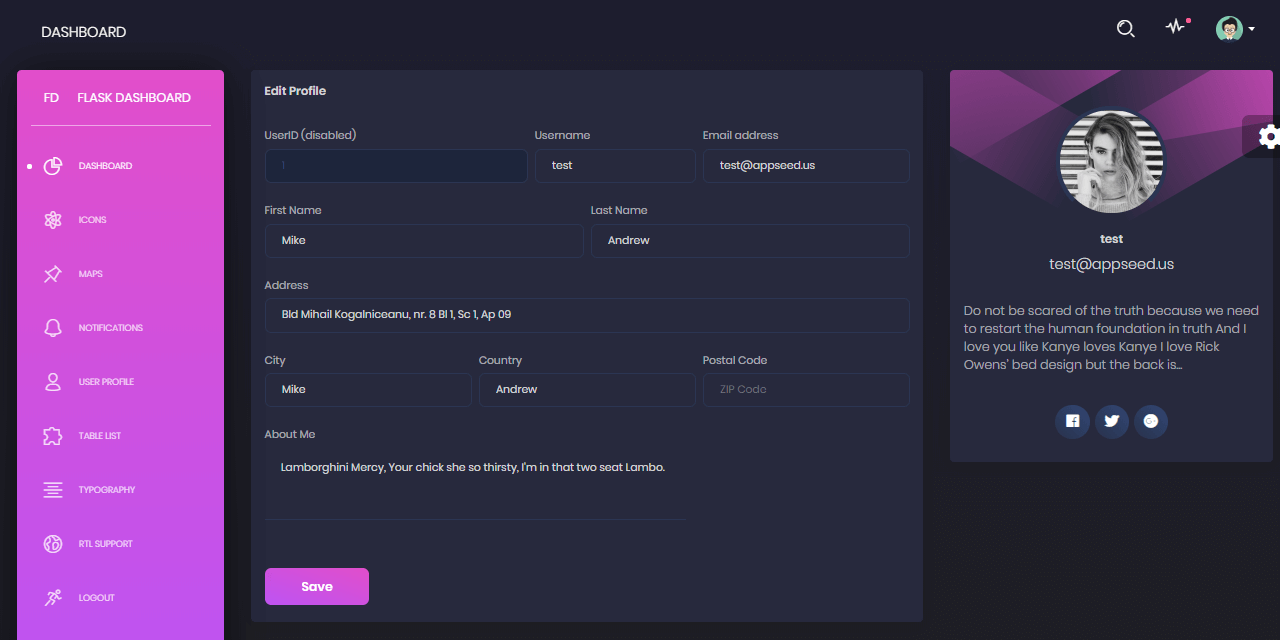
Flask Black Dashboard - User Profile Page
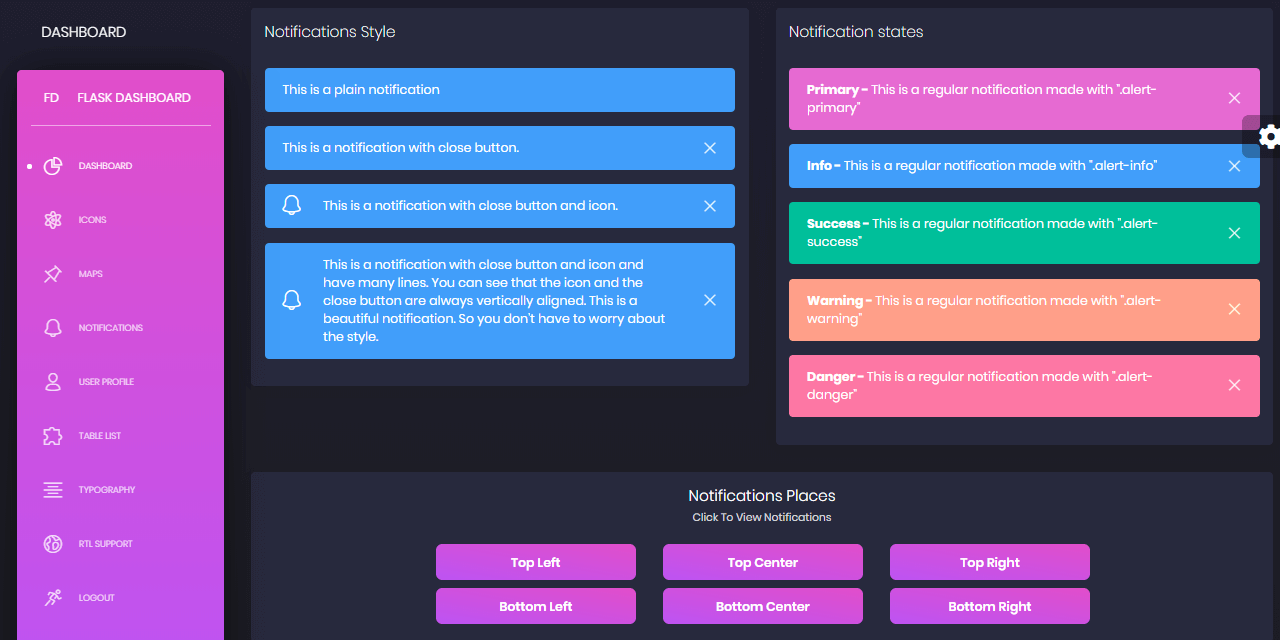
Flask Black Dashboard - UI Alerts
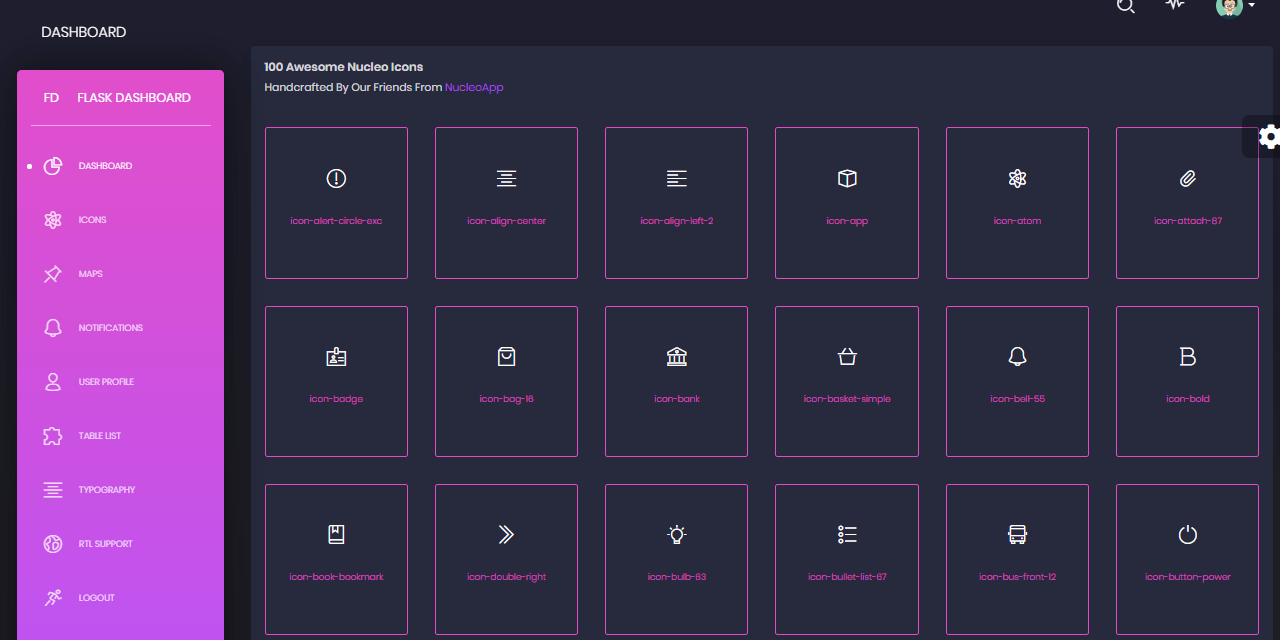
Flask Black Dashboard - UI Icons
Short Endnote
Being a free product, this simple Flask Dashboard can be used as a starting point to learn new things in Python, Flask and web development.
Thanks for reading! Feel free to ask me anything in the comments. I'll be super glad to find out that someone uses this free starter or just learn something new only by reading this short tutorial.
For more releated resources, please access the links below.
Links & Resources
- Flask - the official website
- Flask Documentation
- Flask Dashboard - Black Design - Product page
- Flask Dashboard Black Demo - LIVE app
- More Flask Dashboards - index hosted by AppSeed
- More Admin Dashboards - index hosted by AppSeed