
CoreUI - Free Flask Dashboard
Hello Coders,
This article presents a simple Flask Dashboard coded on top of CoreUI, an iconic admin dashboard provided for free by CoreUI agency and actively supported by many open-source enthusiasts. With more than 10k Github stars, CoreUI is definitely a good choice if your next project is an admin dashboard coded in Flask.
Thanks for reading! TL;DR; Links (for fast-runners)
- CoreUI Flask - product page
- CoreUI Flask Demo - LIVE Deployment

This open-source project might be used by beginners to accommodate with a production-ready starter coded on top of best practices and modern tools/libraries.
CoreUI
UI Vendor Notes - CoreUI is an Open Source Bootstrap Admin Template. But CoreUI is not just another Admin Template. It goes way beyond hitherto admin templates thanks to transparent code and file structure. And if that's not enough, let’s just add that CoreUI consists bunch of unique features and over 1000 high quality icons.
CoreUI is meant to be the UX game changer. Pure & transparent code is devoid of redundant components, so the app is light enough to offer ultimate user experience. This means mobile devices also, where the navigation is just as easy and intuitive as on a desktop or laptop. The CoreUI Layout API lets you customize your project for almost any device – be it Mobile, Web or WebApp – CoreUI covers them all!
More information about this material-based UI can be found on the official product page and Github Repo.
Short-intro for beginners
In case you're not familiar with Python/Flask and this project looks like a nice playground, just follow a few steps to prepare your environment to compile the project locally.
Python Installation
Flask is a Python-based framework and to use his magic, of course, we need to install Python first. The Python installer for all supported distributions can be found on this page. Select the installer that matches your OS and hit the install button. Once the installation is finished, open a terminal window and type python --version. You should see something like this:
python --version
Python 3.8.5
GIT usage
Another tool used in this article and also used on a daily basis by many programmers is GIT - the command tool versioning system. We need GIT to download the project source code using the terminal.
The official GIT definition - Git is a distributed version control system for tracking changes in source code during software development.
Basically, programmers use GIT to manage and update a common codebase in a collaborative way. For instance, our project is published on Github by the AppSeed core team, located in Romania.
Other developers are using the project from USA, India, or Australia. GIT allows this distributed access by taking care of all issues that might occur in such a context.
Some (useful) GIT resources
- Git Handbook - a good intro to
version control systemconcept - Git - Cheat Sheet - a short-list with GIT most used commands
Now let's move on with our CoreUI Flask Dashboard starters and say a few words about the app codebase & features. The project aims to help developers, not only beginners, to skip over the initial phase of a new project when you have nothing and the UI is just a bunch on flat, lifeless HTML files. What starter provide:
- UI-Ready, HTML files already converted to Jinja
- DBMS: SQLite, PostgreSQL (production)
- DB Tools: SQLAlchemy ORM, Alembic (schema migrations)
- Modular design with Blueprints
- Session-Based authentication (via flask_login), Forms validation
- Deployment scripts: Docker, Gunicorn / Nginx, Heroku
The starter hides the private pages and forces guest users to authenticate. This logical split inside the app is done via blueprints.
The simplified codebase structure of CoreUI Flask can be visualized below:
< PROJECT ROOT >
   |
   |-- app/             # Implements app logic
   |    |-- base/       # Base Blueprint - Authentication Flow
   |    |-- home/       # Home Blueprint - Serve UI Kit pages
   |    |
   |   __init__.py      # Initialize the app
   |
   |-- requirements.txt # Development modules
   |
   |-- .env             # Inject Env Configuration
   |-- config.py        # Set up the app
   |-- run.py           # Start the app - WSGI gateway
   |
   |-- ******************************************************
The app bootstrap flow is quite simple.
- Flask executes run.py (entry point of our app)
run.pyloads.envand use the settingsrun.pyconfigure the SQLite DB usage- Call
create_appdefined in app/init.py - Redirect the guest users to Login page
- Unlock the pages served by home blueprint (auth users)
- Call
CoreUI Flask - Compile the code
To compile the code and see the starter in action we need to complete a short-list with simple steps.
#1 - Clone source code
$ git clone https://github.com/app-generator/flask-dashboard-coreui.git
$ cd flask-dashboard-coreui
The sources can be also downloaded (ZIP format) from the project page. Once the ZIP is downloaded, unZIP it, open a terminal window and change your current directory INSIDE directory (where all project files are saved).
#2 - Install Modules
$ # Install modules - SQLite Database
$ pip3 install -r requirements.txt
CoreUI Flask is coded on top of a short-list with dependencies listed in the requirements.txt file:
- flask - The Flask library
- flask_login - Provides Login/Session-based functionality
- flask_wtf - Help us with forms & fields validation
- flask_sqlalchemy - Manipulate DB records with ease
- python-decouple - Read
.envsettings - gunicorn - Used in HEROKU deployment
#3 - Start the app
To start the app we can use the embedded (development ONLY) Flask server:
$ # Set the FLASK_APP environment variable
$ export FLASK_APP=run.py
$
$ # Start the application (development mode)
$ flask run
$
$ # Access the dashboard in browser: http://127.0.0.1:5000/
If all goes well and CoreUI Flask is visible in the browser, we should see the LOGIN Page.
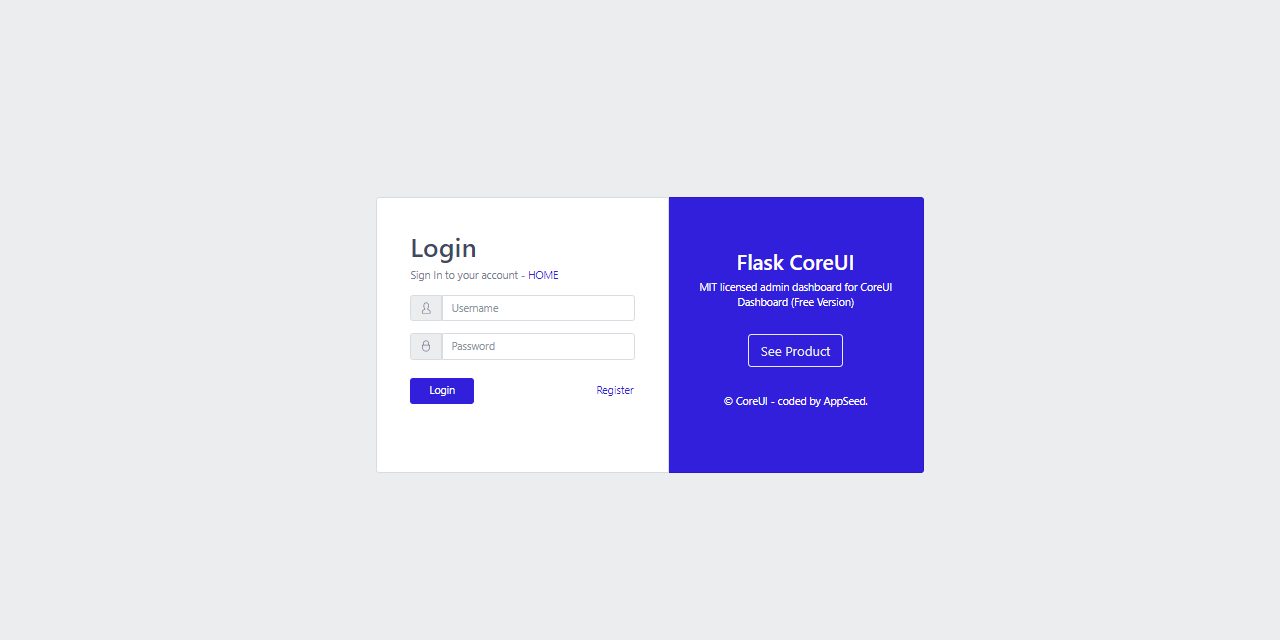
To pass the login and unlock the private pages, please register a new user (the app is not provided with default users).
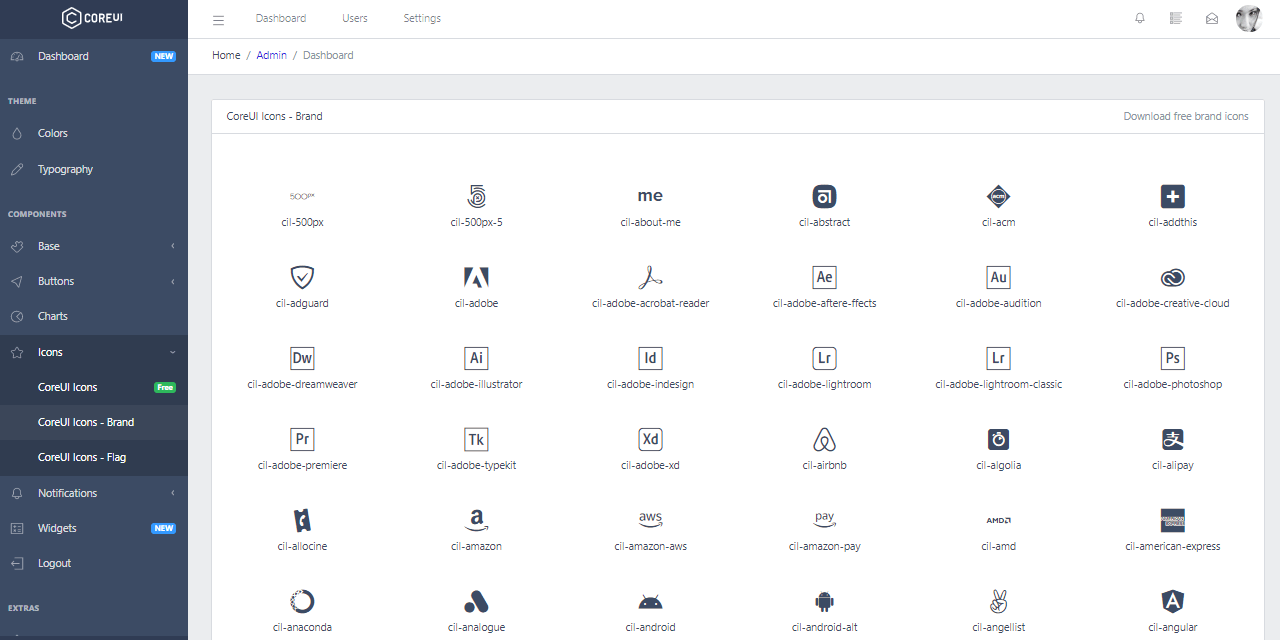
CoreUI Flask - UI Icons Page
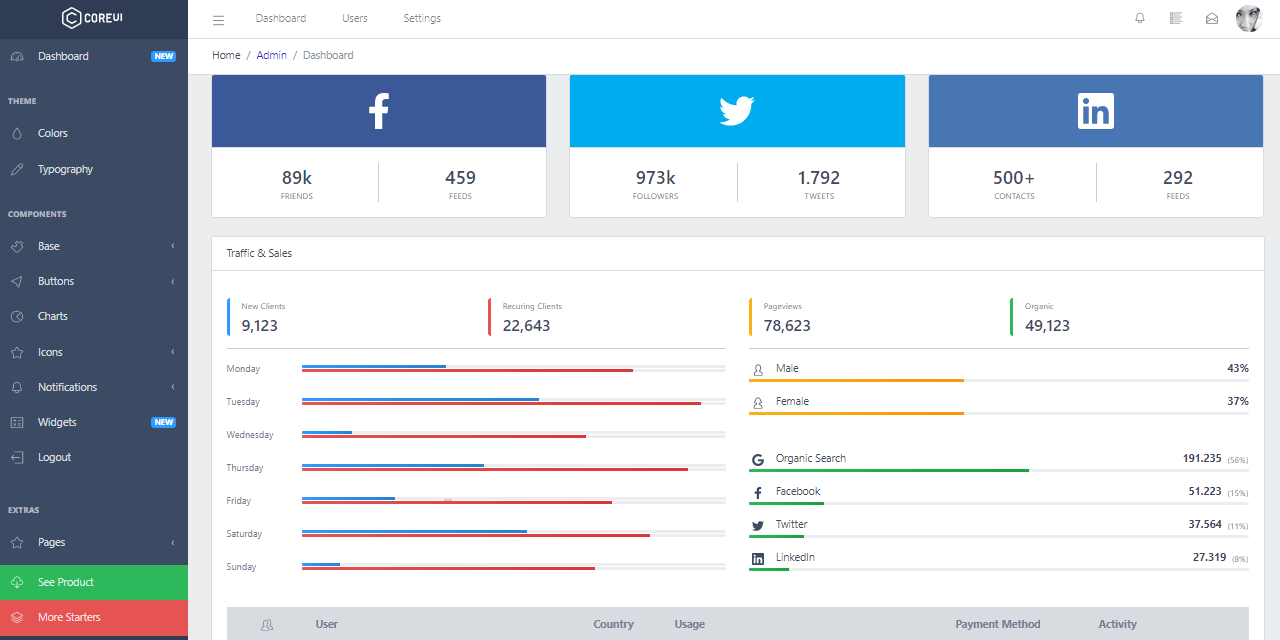
CoreUI Flask - UI Widgets Page

CoreUI Flask - UI Bar Charts
CoreUI - Deploy on HEROKU
This simple starter is already configured for HEROKU, a popular deployment platform for many languages and frameworks, including Python/Flask.
The steps to deploy are listed below:
- Create a FREE account on HEROKU platform
- Install the Heroku CLI that match your OS: Mac, Unix, or Windows
- Open a terminal window and authenticate via HEROKU login command
- Clone the sources and push the project for LIVE deployment
$ # Clone the source code & CD inside
$ cd flask-dashboard-coreui
$
$ # Check Heroku CLI is installed
$ heroku -v
$
$ # Check Heroku CLI is installed
$ heroku login
$ # this command will open a browser window - click the login button (in browser)
$
$ # Create the Heroku project
$ heroku create
$
$ # Trigger the LIVE deploy
$ git push heroku master
$
$ # Open the LIVE app in browser
$ heroku open
If the deployment is finished successfully (as it should), the new browser page should be identical to the official LIVE demo of CoreUI Flask Dashboard - aka the LOGIN page.
Thanks for reading!
In case any of you find this simple tutorial useful, feel free to drop a message in the comments section. Some other resources:
- CoreUI Flask - product page
- CoreUI Django - product page