
How to Set Up a React.js/TypeScript Project Using create-react-app
Brief Prelude
As an Angular developer, I am used to writing codes in TypeScript, which I love so much because TypeScript (a strict syntactical super-set of JavaScript), adds optional static typing to your codes.
Recently, I started working on how to transition my Angular/TypeScript projects into React/TypeScript. After scouring the web, I found tons of articles on how to set up React/TypeScript projects using Webpack, and they were very stressful and brain-racking.
I fine-tuned my search and I found out how you could easily set up a React/TypeScript project with zero stress using create-react-app and react-scripts-ts.
Why is this important
Suppose you want to start a new project with React.js and because you are a good software developer, you want to use npm, Babel, and Webpack.
What comes to mind is:
- Where do I start?
Before create-react-app, you had to search and try an infinite amount of boilerplates and example repositories to finally have a mediocre setup after two days of wasted time.
Now it’s easier.
Introduction
We will learn how to create a React/TypeScript project using the create-react-app utility. By the end, we’ll have
- A project with React and TypeScript
We’ll use the create-react-app tool to quickly get set up. I'll assume that you’re already using Node.js with npm.
Install create-react-app
First, install the global package.
npm install -g create-react-app
Create our new project
We’ll create a new project called myreactapp.
create-react-app myreactapp — scripts-version=react-scripts-ts
create-react-appis a global command-line utility that you use to create new projects.react-scripts-tsis a development dependency in the generated project to take the standard create-react-app project and bring TypeScript into the mix.
The _create-react-app — scripts-version=react-scripts-ts_ command will proceed to create the myreactapp folder and install the dependencies in the package.json file it generated.
Your project layout should look like this:
myreactapp/
├─ .gitignore
├─ node_modules/
├─ public/
├─ src/
 | — — index.tsx
 | — — registerServiceWorker.ts
 | — — logo.svg
 | — — App.tsx
 | — — App.test.tsx
 | — — App.css
 | — — index.css
 | — — assets/
├─ package.json
├─ tsconfig.json
└─ tslint.json
tsconfig.jsoncontains TypeScript-specific options for our project.tslint.jsonstores the settings that our linter, TSLint, will use.package.jsoncontains our dependencies, as well as some shortcuts for commands we’d like to run for testing, previewing, and deploying our app.publiccontains static assets like the HTML page we’re planning to deploy to, or images. You can delete any file in this folder apart from index.html.srccontains our TypeScript and CSS code. index.tsx is the entry-point for our file, and is mandatory.
Running the project
Okay, now that we are done with the setup, let's fire up our application. First, move into the project folder myreactapp.
cd myreactapp
Then, run the command:
npm run start
This runs the start script specified in our package.json, and will spawn off a server which reloads the page as we save our files. Typically, the server runs at http://localhost:3000, but should be automatically opened for you.
You can now navigate your favorite browser to localhost:3000 to see our application in action.
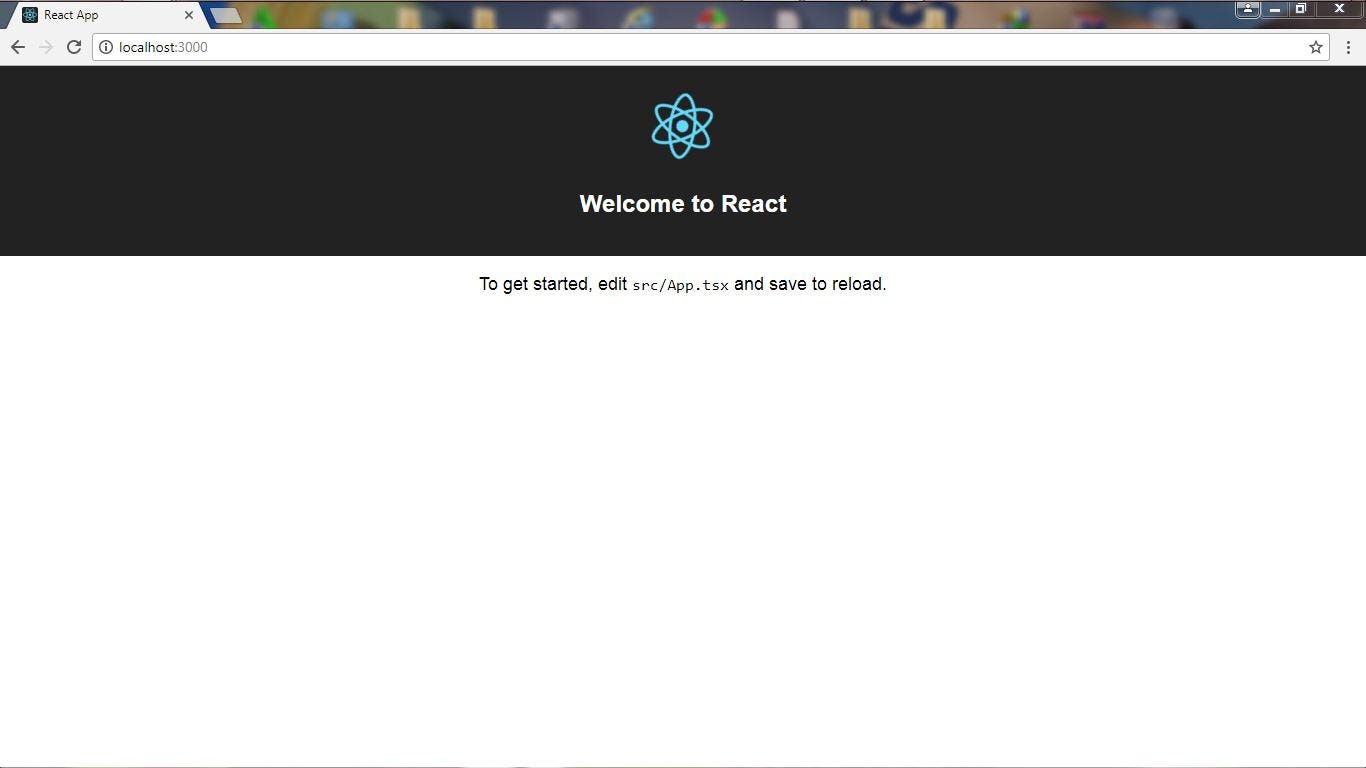
React/TypeScript Welcome Screen
Testing The Project
Testing is also just a command away:
npm run test
Creating a Production Build
When running the project with npm run start, we didn’t end up with an optimized build. Typically, we want the code we ship to users to be as fast and small as possible. Certain optimizations like minification can accomplish this, but often takes more time. We call builds like this “production” builds (as opposed to development builds).
To run a production build, just run:
npm run build
This will create an optimized JS and CSS build in ./build/static/js and ./build/static/css respectively.
You won’t need to run a production build most of the time, but it is useful if you need to measure things like the final size of your app.
Conclusion
You can see that create-react-app is a powerful command-line tool that simplifies the creation of React/TypeScript projects.
I can’t emphasize how useful and important create-react-app is for the ecosystem.
The first and obvious benefit is being able to quickly create new projects without having to think about building infrastructure, which is honestly the most painful part of building a modern React project.
create-react-app makes all the hard choices for you and gives you a reasonable set of defaults to work with.
I can’t thank the team behind this little tool enough for making it so easy and so much fun to build React applications!
This post is originally published by the author here. This version has been edited for clarity and may appear different from the original post.
Thanks for the post. it really helped. One thing I should note is this line in your post:
create-react-app myreactapp — scripts-version=react-scripts-ts
it should really be
create-react-app myreactapp --scripts-version react-scripts-ts
It seemed the – turned into a — which isn’t recognized on the command line and so it kept installing the standard react app settings with no TypeScript. Once I figured it out I was able to get the TS settings installed and configured correctly.
It seems the website keeps turning “–” into “—”. Argh.