
How I developed a captcha cracker for my University's website
Hello again!
Consider this a spinoff of my original article. I had some requests from the readers to explain how I developed the parser, and hence I decided to share the story of my first (significant?) project with you guys.
Repository Link
Let's start!
When I developed these set of scripts, I had zero knowledge of Image Processing or the algorithms used in it. It was in my fresher year that I worked on this.
The basic ideas I had in mind when I started:
- An image is basically a matrix, with pixels as individual cells.
- A color image has a tuple (Red, Green, Blue) values for every pixel, and a grayscale image has a single value and each pixel value ranges from (0, 255) in a general image
So the student login portal in my college looks like this:

To begin with, I had made some very useful observations about the image.

- The number of characters in the captcha is always 6, and it is a grayscale image.
- The spacing between the characters looked very constant
- Each character is completely defined.
- The image has many stray dark pixels, and lines passing through the image.
So I ended up downloading one such image and using this tool visualized the image in binary(0 for black and 1 for white pixel).
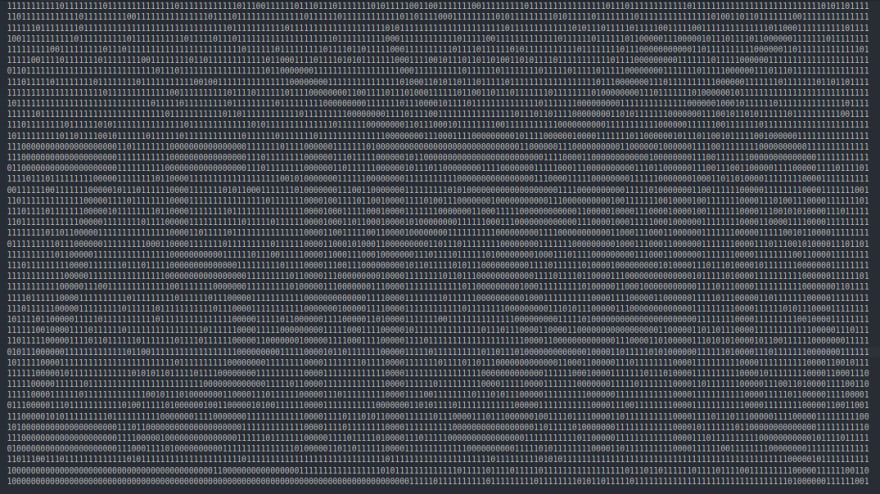
My observation was right - the image is 45x180 in dimension, and each character is allotted a space of 30 pixels to fit, thus making them evenly spaced.
Thus I got my step 1, that was
- Crop any image you get into 6 different parts, each having a width of 30 pixels.
I chose Python as my prototyping language, as its libraries are easiest to use and implement.
On some simple searching, found the PIL library. I decided to use the Image module, as my operation was limited to only cropping and loading the image as a matrix.
So, according to the documentation, the syntax for cropping an image is
from PIL import Image
image = Image.open("filename.xyz")
cropped_image = image.crop((left, upper, right, lower))
In my case, if you want to crop just the first character,
from PIL import Image
image = Image.open("captcha.png").convert("L") # Grayscale conversion
cropped_image = image.crop((0, 0, 30, 45))
cropped_image.save("cropped_image.png")
The image that got saved:

I wrapped this in a loop, wrote a simple script that fetches 500 captcha images from the site, and saved all the cropped characters into a folder.
Going to the third observation - Every character is well defined.
In order to "clean" a cropped character from the image (remove the unnecessary lines and dots), I used the following method.
- All the pixels in a character are pure black(0). I used a simple logic - If it's not completely black, it's white. Hence for every pixel that has a value greater than 0, reassign it to 255. The image is converted into a 45x180 matrix using the load() function, and then it is processed.
pixel_matrix = cropped_image.load()
for col in range(0, cropped_image.height): for row in range(0, cropped_image.width): if pixel_matrix[row, col] != 0: pixel_matrix[row, col] = 255
image.save("thresholded_image.png")
For clarity sakes, I applied the code to the original image. Original:
Modified:

So you can see, that all the pixels that weren't completely dark have been removed. This includes the line that passed through the image.
It was only later after the project was completed that I learnt that the above method is called thresholding in Image Processing.
Moving on the fourth observation - There are many stray pixels in the image.
Looped through the image matrix, and if an adjacent pixel is white, and pixel opposite to the adjacent pixel is also white, and the central pixel is dark, make the central pixel white.
for column in range(1, image.height - 1): for row in range(1, image.width - 1): if pixel_matrix[row, column] == 0 \ and pixel_matrix[row, column - 1] == 255 and pixel_matrix[row, column + 1] == 255 : pixel_matrix[row, column] = 255 if pixel_matrix[row, column] == 0 \ and pixel_matrix[row - 1, column] == 255 and pixel_matrix[row + 1, column] == 255: pixel_matrix[row, column] = 255
Output:

So you see, the image has been reduced to the individual characters themselves! Even though it may look like some characters have lost their base pixels, they serve as very good skeletons for other images to compare with. After all, the main reason we're doing so many changes is to generate a proper image for every possible character.
I applied the above algorithm to all the cropped characters and stored them in a new folder. The next task was to name at least one sample for each character belonging to "ABCDEFGHIJKLMNOPQRSTUVWXYZ0123456789". This step was like the "training" step, where I manually selected a character image for each one and renamed them.
With this step complete, I had a skeleton image for every character!

I ran couple other scripts to get the best image among all images of a character - for example, if there were 20 'A' character images, the image with the least number of dark pixels was obviously the one with the least amount of noise and was hence best fit for the skeleton images. So there were two scripts:
- One to group similar images sorted by character (constraints: no. of dark pixels, and similarity >= 90 - 95 %)
- One to get the best images from every grouped character
Thus by now, the library images were generated. Converted them to pixel matrices, and stored the "bitmaps" as JSON file.
Finally, here is the algorithm that solves any new captcha image
-
Reduced the unnecessary noise in the new image using the same algorithms
-
For every character in the new captcha image, brute forced through the JSON bitmaps I generated. The similarity is calculated on the basis of corresponding dark pixels matching.
- This means that, if a pixel is dark and at position (4, 8) in the image to crack the captcha for, and if the pixel is dark at the same position in our skeleton image/ bitmap, then the count is incremented by 1.
- This count, when compared with the number of dark pixels in the skeleton image is used to calculate the percentage match. The percentage and the character for which the percentage is calculated, is pushed to a dictionary.
-
The character that has the highest percentage of match is selected.
import json characters = "123456789abcdefghijklmnpqrstuvwxyz" captcha = "" with open("bitmaps.json", "r") as f: bitmap = json.load(f) for j in range(image.width/6, image.width + 1, image.width/6): character_image = image.crop((j - 30, 12, j, 44)) character_matrix = character_image.load() matches = {} for char in characters: match = 0 black = 0 bitmap_matrix = bitmap[char] for y in range(0, 32): for x in range(0, 30): if character_matrix[x, y] == bitmap_matrix[y][x] and bitmap_matrix[y][x] == 0: match += 1 if bitmap_matrix[y][x] == 0: black += 1 perc = float(match) / float(black) matches.update({perc: char[0].upper()}) try: captcha += matches[max(matches.keys())] except ValueError: print("failed captcha") captcha += "0" print captcha
And the final result we get is:

which is Z5M3MQ - The captcha has been solved successfully!
So that's pretty much how I did it. It was a great learning experience, and I developed a chrome extension that uses the algorithm, and it has 1800+ users!
Would love to see your opinions and suggestions!
The above code is hosted here