Testing in Ember with Ember CLI
One of the primary reasons that drew me to Ember was how easy the framework makes testing. When I worked with other libraries and frameworks, I typically only wrote unit tests because the setup was relatively easy and tests executed within a few seconds. However, my applications lacked acceptance testing because I found them difficult to set up, difficult to write, incredibly slow, and frankly not worth the time to invest in. Instead, I resorted to manual testing to ensure applications worked as a whole. Ember has an incredible test suite built on top of QUnit for unit, integration, and acceptance testing, and I think you’re going to love it.
First, let’s clarify the testing terminology. It seems like everyone has a different definition for each type of testing between framework and language communities. Ember has three types of testing: unit, integration, and acceptance. In this article we will look at unit and acceptance testing.
What are Unit Tests?
Most developers typically agree on the definition of a unit test. A unit test verifies that a specific unit, typically a function or a method on an object, behaves as expected in an isolated environment. Unit tests are very low level. If a unit test breaks, you know exactly which unit went wrong.
What are Acceptance Tests?
Acceptance tests automate user actions such as clicking elements on the page and filling out forms, and verify that your application works as a whole. If you’re coming from Angular, this is the equivalent to end to end (E2E) tests using Protractor. However, one big difference between the two is that Ember does not use Selenium.
Many acceptance testing tools start up a browser, run your tests, and close the browser, and it repeats for each acceptance test. The consequence of this is that running all of your acceptance tests ends up being painfully slow. Trying to get high acceptance test coverage becomes difficult, and many times developers resort to writing acceptance tests only for the happy paths of their application.
Ember, on the other hand, is very fast when it comes to acceptance testing. Instead of using a tool that automates opening and closing a browser, it uses its dependency injection system called the container to reset the state between acceptance tests. When your Ember application starts up, all of your Ember objects like routes, controllers, and services get placed into the container, and this container gets recreated between tests which is much faster than restarting a browser. Because Ember’s acceptance tests run very quickly and are easy to write as you’ll see, you are likely to have higher acceptance test coverage.
Enough theory. Let’s look at an example of each.
Running Tests
Whenever you run ember serve, you can view all of the tests by navigating to http://localhost:4200/tests. This page will refresh on every file change. Alternatively, you can run your tests from the command line using ember test or ember test --server. The latter will run your tests on every file change. When you open that page up, you’ll notice that there are a few passing tests related to JSHint. Ember already includes JSHinting in your test suite! This helps detect potential JavaScript problems, like missing semicolons.
Unit Test Example
Let’s look at an example of unit testing an Ember service for a simple shopping cart. Every time you use the CLI to generate something in Ember, it automatically creates a corresponding unit test file with all of the setup code. This alone allows you to write tests much more quickly. Let’s generate a shopping cart service (source code):
Running ember g service cart will generate the following files:
// app/services/cart.js

import Ember from 'ember';

export default Ember.Service.extend({});
// tests/unit/services/cart-test.js

import { moduleFor, test } from 'ember-qunit';

moduleFor('service:cart', 'Unit | Service | cart', {
  // Specify the other units that are required for this test.
  // needs: ['service:foo']
});

// Replace this with your real tests.
test('it exists', function(assert) {
  var service = this.subject();
  assert.ok(service);
});
There are a few things to take note of in this test template. The first is moduleFor(fullName, description, callbacks). moduleFor is similar to QUnit.module() but modified a bit for Ember. The first string argument passed in is the resolver friendly name of the object under test used to look up the object in Ember’s container. The resolver name follows the convention “type:name”. For example, you might also have model:post, controller:login, and route:index. The second argument is a description, and the third argument is where we can pass in beforeEach() and afterEach() hooks, just like with QUnit.module().
The next thing you’ll notice is this.subject() which corresponds to an instance of our cart service. Let’s create a few simple tests.
// tests/unit/services/cart-test.js

moduleFor('service:cart', 'Unit | Service | cart', {
  beforeEach() {
    window.localStorage.removeItem('cart-test');
  }
});

test('add() writes items to local storage', function(assert) {
  var cart = this.subject();
  cart.add({ id: 1, product: 'movie 1' });
  cart.add({ id: 2, product: 'movie 2' });
  assert.equal(window.localStorage.getItem('cart-test'), JSON.stringify({
    '1': { id: 1, product: 'movie 1', quantity: 1 },
    '2': { id: 2, product: 'movie 2', quantity: 1 }
  }));
});

test('add() updates the quantity by 1 when a duplicate item is added to the cart', function(assert) {
  var cart = this.subject();
  var items;

  cart.add({ id: 1, product: 'movie 1' });
  cart.add({ id: 1, product: 'movie 1' });
  items = JSON.parse(window.localStorage.getItem('cart-test'));

  assert.equal(items['1'].quantity, 2);
});
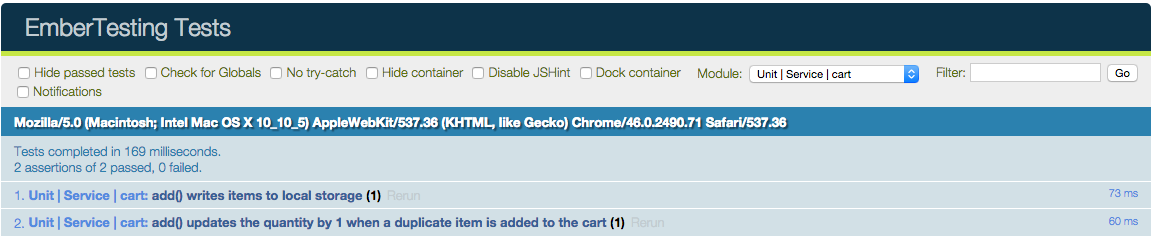
Here I’ve written two tests. The first test verifies that the items added to the cart are written to local storage. The local storage key containing cart items gets removed between each test in the beforeEach so that each test starts off with a clean slate. The second test checks that duplicate items added to the cart simply increment the quantity by one.
Here is the implementation of the cart service:
// app/services/cart.js

import Ember from 'ember';
import env from 'ember-testing/config/environment';

export default Ember.Service.extend({
  add(item) {
    var items = window.localStorage.getItem(env.APP.cartKey);

    if (items) {
      items = JSON.parse(items);

      if (items[item.id]) {
        items[item.id].quantity += 1;
      } else {
        item.quantity = 1;
        items[item.id] = item;
      }
    } else {
      items = {};
      item.quantity = 1;
      items[item.id] = item;
    }

    items = JSON.stringify(items);
    window.localStorage.setItem(env.APP.cartKey, items);
    return item;
  }
});
One thing to note is that I am using an environment variable env.APP.cartKey to specify the key that will contain cart items in local storage. In my development environment, the key is set to cart. In the test environment, the key is set to cart-test. This way the shopping cart won’t get emptied by the execution of the unit tests when I am manually testing in the browser.
// config/environment.js

if (environment === 'development') {
  // ...
  ENV.APP.cartKey = 'cart';
}

if (environment === 'test') {
  // ...
  ENV.APP.cartKey = 'cart-test';
}
As you can see, the tests pass.
Acceptance Test Example
To create an acceptance test, run the following command:
ember g acceptance-test adding-to-cart
This will generate the following file:
// tests/acceptance/adding-to-cart-test.js

import Ember from 'ember';
import { module, test } from 'qunit';
import startApp from 'ember-testing/tests/helpers/start-app';

var application;

module('Acceptance | adding to cart', {
  beforeEach: function() {
    application = startApp();
  },

  afterEach: function() {
    Ember.run(application, 'destroy');
  }
});

test('visiting /adding-to-cart', function(assert) {
  visit('/adding-to-cart');

  andThen(function() {
    assert.equal(currentURL(), '/adding-to-cart');
  });
});
The generated test code looks similar to our previous tests. Let’s now write a test that verifies we can add items to our cart and those items are rendered on the page in our shopping cart. Let’s remove the generated test and replace it with the following:
// tests/acceptance/adding-to-cart-test.js

import Ember from 'ember';
import { module, test } from 'qunit';
import startApp from 'ember-testing/tests/helpers/start-app';

var application;

module('Acceptance | adding to cart', {
  beforeEach: function() {
    application = startApp();
    window.localStorage.removeItem('cart-test');
  },

  afterEach: function() {
    Ember.run(application, 'destroy');
  }
});

test('adding products to our cart', function(assert) {
  visit('/products');

  click('#product-0 .btn');
  click('#product-1 .btn');
  click('#product-2 .btn');

  andThen(function() {
    assert.equal(find('#cart .cart-item').length, 3);
  });
});
Here we are visiting the route /products using the visit() helper. Then each of the three “Add to Cart” buttons are clicked using the click() helper. An assertion is then made to verify that the added products were rendered in the #cart element. The find() helper finds an element within the app’s root element using jQuery. Ember offers several other helpers for interacting with the page including: fillIn, keyEvent, and triggerEvent for filling out forms and triggering other types of DOM events other than click.
The code to make this acceptance test is the following:
// app/services/cart.js

export default Ember.Service.extend({
  // ...

  all() {
    var items = window.localStorage.getItem(env.APP.cartKey);

    if (items) {
      items = JSON.parse(items);

      return Object.keys(items).map((key) => {
        return items[key];
      });
    }

    return [];
  }
});
First, an all() method was added to return all items in the cart.
// app/routes/application.js

import Ember from 'ember';

export default Ember.Route.extend({
  cart: Ember.inject.service(),

  actions: {
    addToCart(item) {
      this.get('cart').add(item);
      this.controllerFor('application').set('cartItems', this.get('cart').all());
    }
  }
});
Next, whenever an “Add to Cart” button is clicked, the addToCart action gets called and all cart items are placed as a property on the application controller.
// app/routes/products.js

import Ember from 'ember';

export default Ember.Route.extend({
  model() {
    return [
      { id: 1, name: 'Product 1' },
      { id: 2, name: 'Product 2' },
      { id: 3, name: 'Product 3' }
    ];
  }
});
The ProductsRoute model hook returns a few static products to be displayed.
<!-- app/templates/application.hbs -->

<div id="cart">
  {{#each cartItems as |cartItem index|}}
    <div class="cart-item">
      {{cartItem.name}}
    </div>
  {{/each}}
</div>

{{outlet}}
<!-- app/templates/products.hbs -->

{{#each model as |product index|}}
  <div id="product-{{index}}">
    {{product.name}}
    <button type="button" class="btn" {{action 'addToCart' product}}>Add to cart</button>
  </div>
{{/each}}
And the corresponding HTML for the shopping cart and the list of products.
Once again, the tests pass.
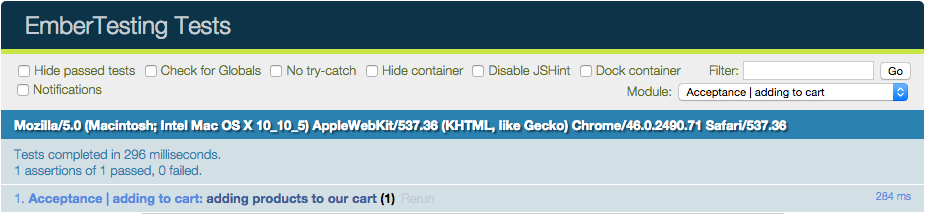
As you can see from this example, acceptance tests are really easy to write, very readable, and incredibly fast to execute.
Summary
Ember’s testing story is one of the things that originally drew me to the framework. With more logic and state being moved to the client, tests are a crucial part of any frontend web application. Not only is unit testing as easy, if not easier, than with other frameworks, it also makes acceptance testing a breeze, and you are likely to have more acceptance tests because they execute quickly. Having high confidence that nothing broke in your application with every change you make is a wonderful feeling. To learn more about testing in Ember, visit the well documented Ember Guides and Ember CLI’s documentation on testing.
About the Author
 David Tang is a full-stack engineer passionate about testing, application architecture, and creating great user experiences. David is a part-time lecturer for the University of Southern California, and has contributed to or created popular repositories such as: Restangular, angular-data, validatorjs, and Backbone Computed Properties. Find more of David’s tips and tricks on writing testable JavaScript on his blog!
